8
THE APPLIANCE BASIC PARTS (see page 1. fig. 1)
2 ― Thermostat knob. The temperature is controlled using the thermostat knob by
turning it to one side or the other.
3 ― Blower switch. Opening the door, the blower 1 switches off.
4 ― On / off switch for interior light. By pressing the button of the double switch 4
with the arrow „downward“, the luminaire 9 may be switched on. By pressing
the other button with the arrow “upwards” the luminaire of the promotional
shield may be switched on.
INSTALLATION AND OPERATING CONDITIONS OF THE
APPLIANCE
Preparing the appliance for operation
It is recommended to prepare the appliance for operation with a helper.
Remove boards of foamed polystyrene from the top and the bottom of the appliance. They are
intended for transportation only. Remove adhesive tapes and open the door.
Take out the plug with the supply cord 10 from the water tray 11 (see page 1, fig. 1) which is
placed under a compressor (this is intended for transportation only.
When the appliance is running, the cord can’t be in the tray. The appliance should
not be connected to the mains until all packing and transport materials aren’t removed.
Suitably dispose the packaging material
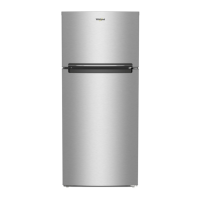
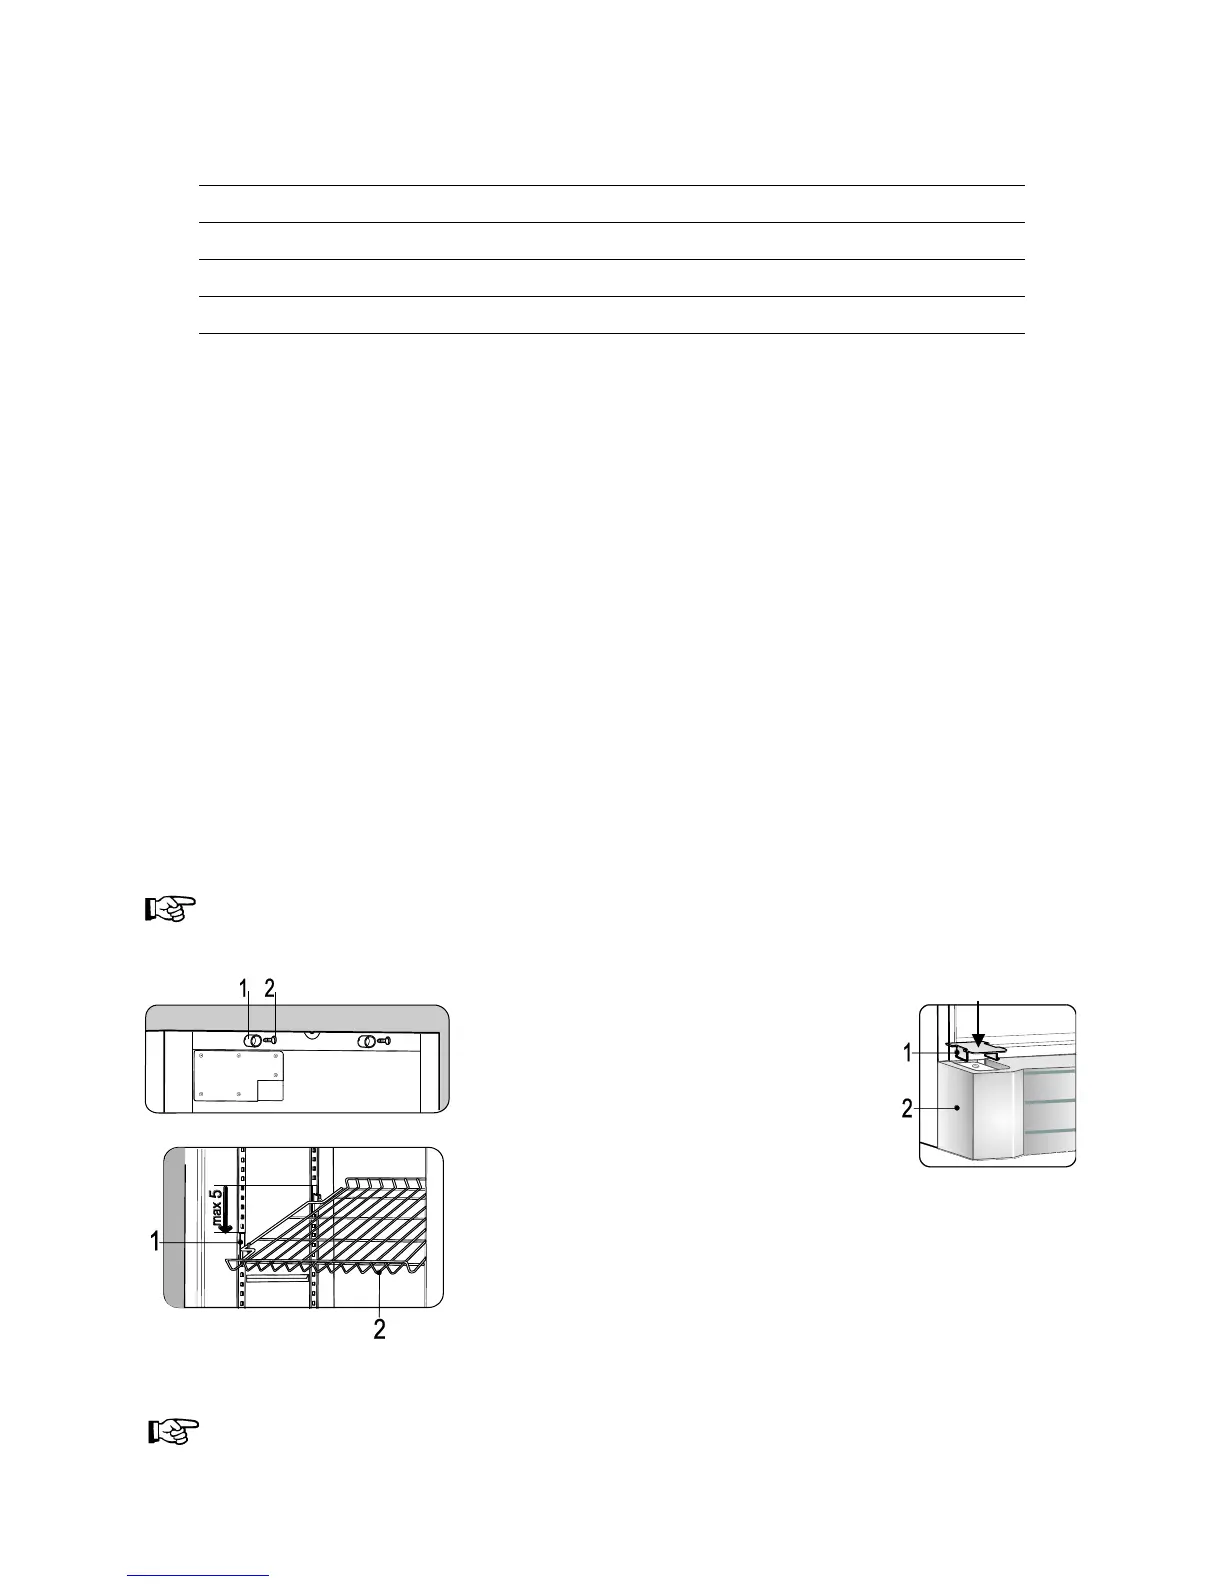
Take out two supports 1 from a bag
and screw them by screws 2 into marked
places at the back of a appliance.
Take out the cover 1 from the bag and
insert the cover into the grid 2 placed
under the door.
It is permissible the conversion of the
shelf 2. Maximum conversion of the shelves is obtained by
lowering front holders 1 by five step.
In case of moving the appliance to another place, lift its front in
such a way that its supports couldn’t touch the floor.
In case of adjusting supports, mount the appliance slightly
inclined backwards to provide a spontaneous closing of its doors.
It is very important that both front supports would abut on the
floor uniformly.
If the appliance is brought in from the cold (temperature is not higher than +12 °C), you
should wait for two hours before connecting it to the mains.