GB16
The hood has been designed to be installed and used either as a "Suction Model", or as a "Filter Model".
Suction model
Cooking steam is sucked and channelled outside the house through a discharge duct (not supplied), fitted to the hood steam outlet.
Ensure that they type of fitting between the hood steam outlet and the discharge duct fits correctly to both.
IMPORTANT: If already installed, remove the carbon filter/s.
Filtering model
The air is filtered through one of the carbon filters and then resent to the room.
IMPORTANT: Ensure appropriate air circulation around the hood.
Before using the hood ensure that the carbon filter/s has/have been installed.
The hood should be installed away from particularly dirty areas, windows, doors and heat sources.
The hood is sold with all necessary components for installation on most types of walls or ceilings. However, ask a qualified technician to check that the items
supplied are suitable for the type of wall/ceiling.
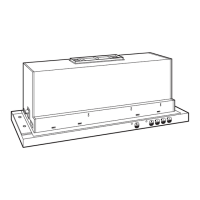
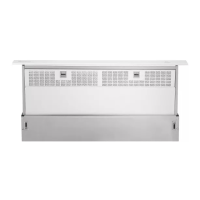
INSTALLATION - PRELIMINARY ASSEMBLY INSTRUCTIONS
Remove all components from their packaged. Check that everything is included.
• Assembled hood with motor, light bulbs, perimeter suction panel and grease filters installed.
• 1 Preassembled lattice-work
• 1 Filtering fitting with extensions
• Assembly and user instructions
• 1 installation template
• 6 screws, 6x70
• 6 wall plugs, Ø 10x60
• 6 screws, Ø 3.5x13
• 4 screws, Ø 4x8
• 14 screws, Ø 4x7
• 14 cage nuts
• 23 screws, Ø 3.5x9.5
• 4 screws, Ø 3x9
Flange fitting materials (low ceilings only)
• Flange
• Assembly instructions
• 4 self locking nuts
• 4 washers
• 4 screws, 6x70, flat tip
ITEMS SUPPLIED