Do you have a question about the White SPEEDYLOCK 1500 and is the answer not in the manual?
Key safety points to follow when operating the overlock machine.
Essential steps to perform before operating the sewing machine for the first time.
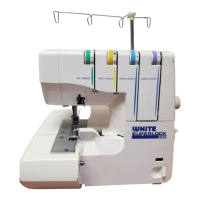
Instructions for correctly positioning the thread pole for optimal threading.
Guidance on using cone holders for different types of thread spools, including industrial cones.
Instructions for using spool caps with domestic type thread spools.
Explanation of how the foot control regulates the sewing machine's speed.
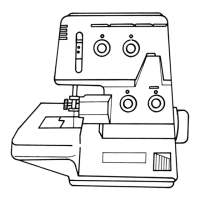
Details about the machine's safety switch and its function to prevent operation with covers open.
Instructions for attaching the waste catcher to keep the working area clean during sewing.
Instructions on the correct direction to turn the handwheel for sewing machine operation.
Steps for opening and closing the front cover of the sewing machine.
Procedure for opening the free arm for threading and sewing specific items like cuffs.
How to adjust needle thread tensions when they are too loose, affecting seam appearance.
How to adjust looper thread tensions when one is tight and the other is loose, impacting seam balance.
Information about the convenient built-in pocket handle for carrying the sewing machine.
How to set the proper cutting width for fabric edges to avoid curling or looping.
Steps to adjust the cutting width to be wider when thread loops off the fabric edge.
Steps to adjust the cutting width to be narrower when fabric edges curl during sewing.
Instructions for safely replacing the sewing machine's light bulb.
How to adjust the special presser foot for normal overlock or rolled edge sewing.
Steps to create a rolled edge, including setting tensions and pulling upper looper thread to the fabric underside.
Steps to create a narrow edge for sheer or lightweight fabrics with balanced tension.
Explanation of the differential feed mechanism involving front and rear feed teeth moving independently.
How to adjust the differential feed using the external knob to control fabric feeding and prevent puckering or stretching.
Using differential feed (set to 2.0) with a long stitch length to create flat seams or gather stretchy knit fabrics.
Using differential feed (set to 0.7) to hold fabric taut and prevent puckering on lightweight woven fabrics.
| Brand | White |
|---|---|
| Model | SPEEDYLOCK 1500 |
| Category | Sewing Machine |
| Language | English |