Assembly
4
(1) Remove the outer packaging taking care not to damage the surface of the Oven with
box cutters or other sharp implements.
Minor scratches can be buffed out of the stainless steel surface with an abrasive brillo
pad or similar, while painted surfaces can be touched up at any time with an Aerosol
touch up spray available from Wildcat.
(2) At this stage you will see a box and other parts inside the oven, leave these for now,
they can be removed easily once the oven is lifted off the pallet.
(3) Remove the pallet screws from the front and back of the oven, (Hex head)
(4) Lift the oven off the pallet (Two people required to lift the oven comfortably) and set
aside.
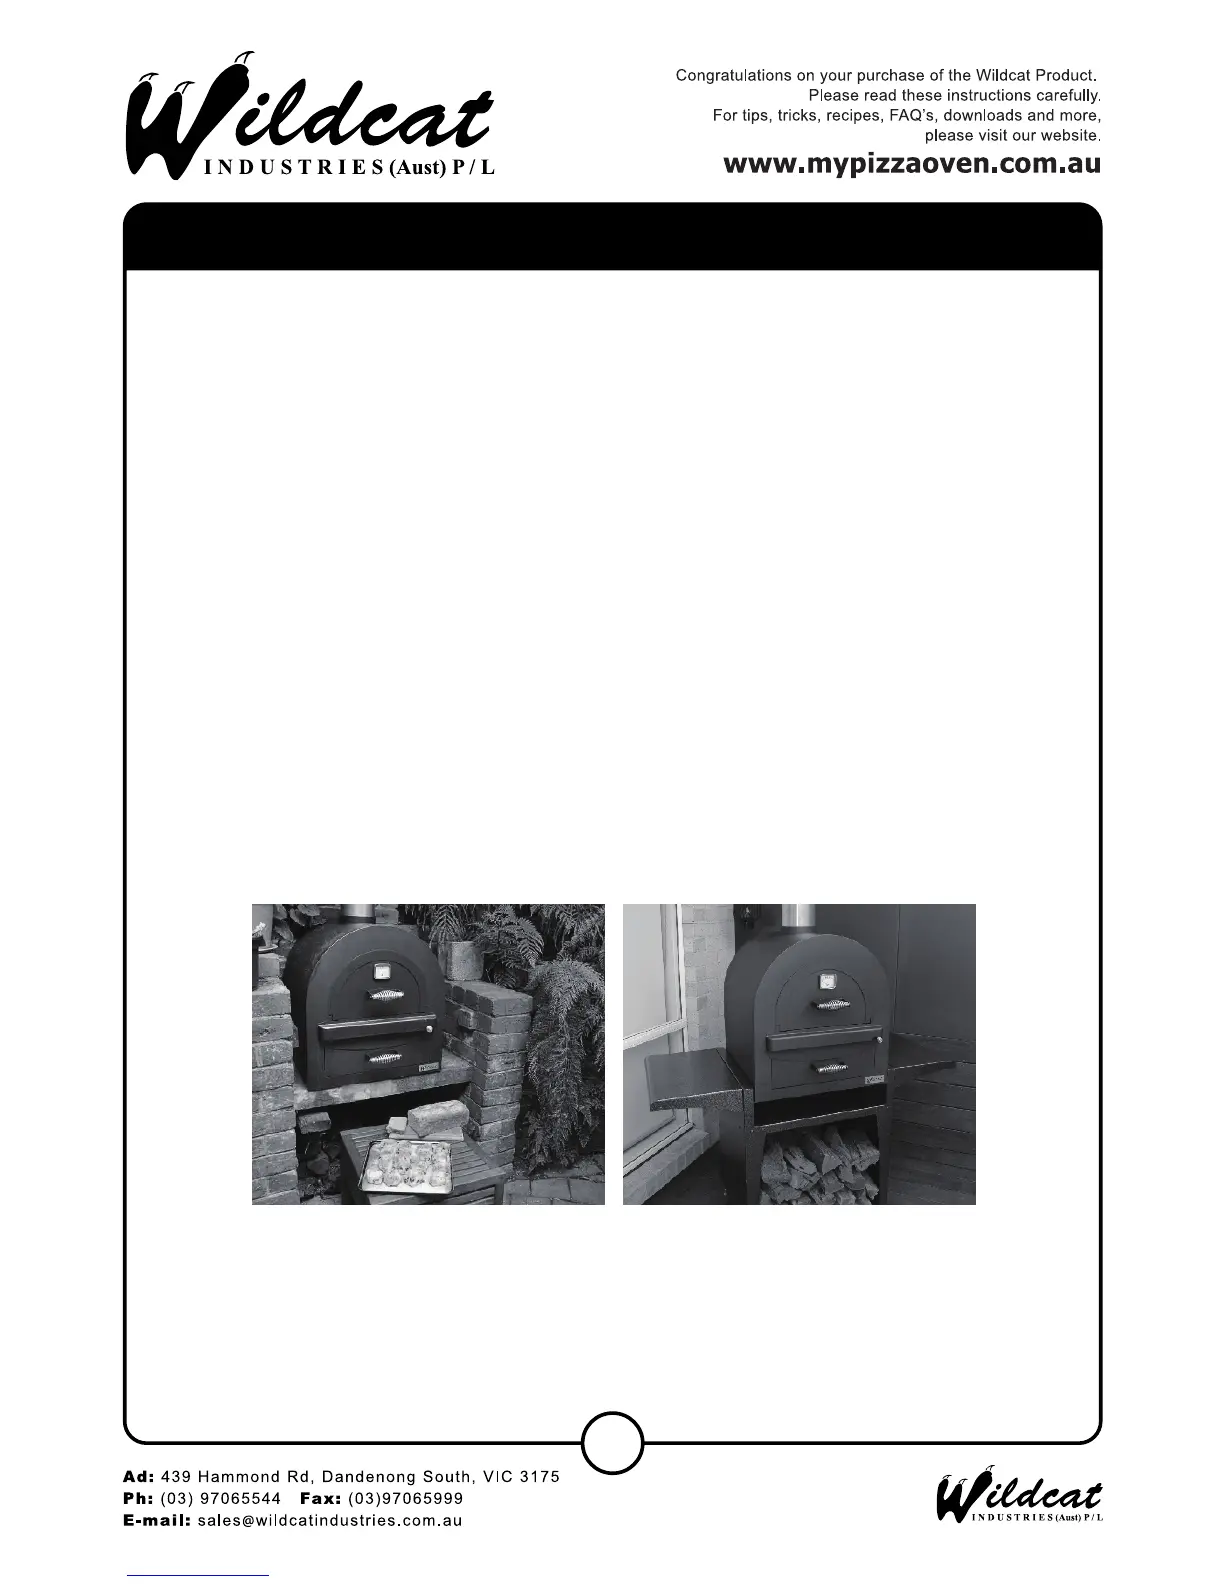
(5) Prepare the area where the oven is to be placed. The Wildcat wood fired outdoor oven
can be installed several ways. It can be mounted on a portable Wildcat heavy duty
trolley. It can be mounted on a fixed steel framed stand (with leveling feet) which
Wildcat manufacture, or it can be built in to a new or existing outdoor kitchen or
entertaining area. The Wildcat oven has been approved for through roof flue
installation and can be installed as close as 50mm to combustibles at the rear, and
300mm from the side.
(6) If the Oven is to be fitted onto the optional Wildcat 6000 Series oven stand, then the
stand should be assembled and levelled prior to fitting the oven and bricks because
it will be too heavy to do so later.
(Sitting the oven on the bricks) (Sitting the oven on the trolley)