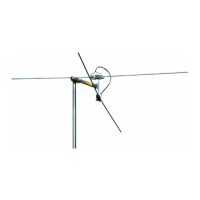
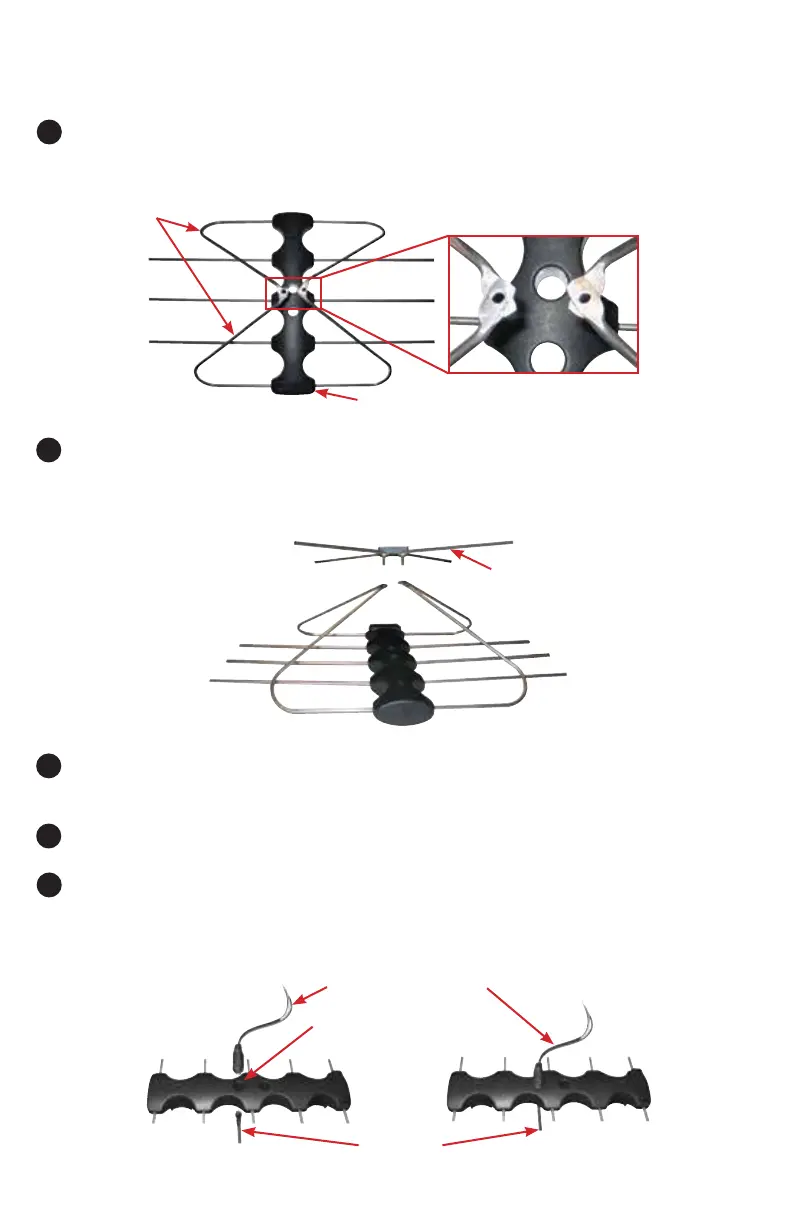
Antenna Assembly
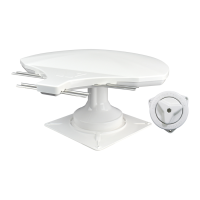
Orient the antenna so that the Winegard logo is facing forward. Flip the
forward elements to the front until the holes in the elements align.
With the holes lined up, install the UHF elements by inserting the
threaded posts into the holes in the forward elements. The threaded posts
should extend down towards the body of the FreeVision
®
antenna.
Thread the supplied 10-32 hex flange nuts on the back of the threaded
posts. Do not tighten at this time.
Remove and dispose of the rubber boot on the matching transformer.
With the logo facing up, thread coaxial cable through the bottom of the
FreeVision antenna. Connect the coax cable to the matching transformer
(A). Insert the coaxial cable and matching transformer into the installation
place (B).
Coax Cable
Installation Place for
Matching Transformer
Matching Transformer
A B
Forward
Elements
Winegard logo
UHF Elements
2
4
1
3
5
1 2
For Sales Information Please Contact RoadTrucker Inc (www.RoadTrucker.com)
8312 Sidbury Rd.; Wilmington, NC 28411 - (800) 507-0482 / (910) 686-4281