7-13
SECTION 7 –
PLUMBING
site. This keeps the solids in suspension, allowing
them to be carried out with the liquids when the
dump valve is opened.
If the valve is left open, the liquids will drain
off, leaving solids in the tank. Should this
accidentally happen, disconnect the sewage drain
hose, fill the tank about half full with water, and
drive a few miles to dislodge the solids. A few
starts and stops will aid in the process. Then
reconnect the sewage drain hose and drain in the
normal manner.
NOTE: Always keep sewage drain outlet
capped while sewage connection is not in use.
Holding Tank Level Indicators
See “Systems Monitor Panel” in Section 4 -
Appliances for further information on the
monitor panel and checking tank levels.
See “Specifications” in Section 1 -
Introduction for tank capacities for your model.
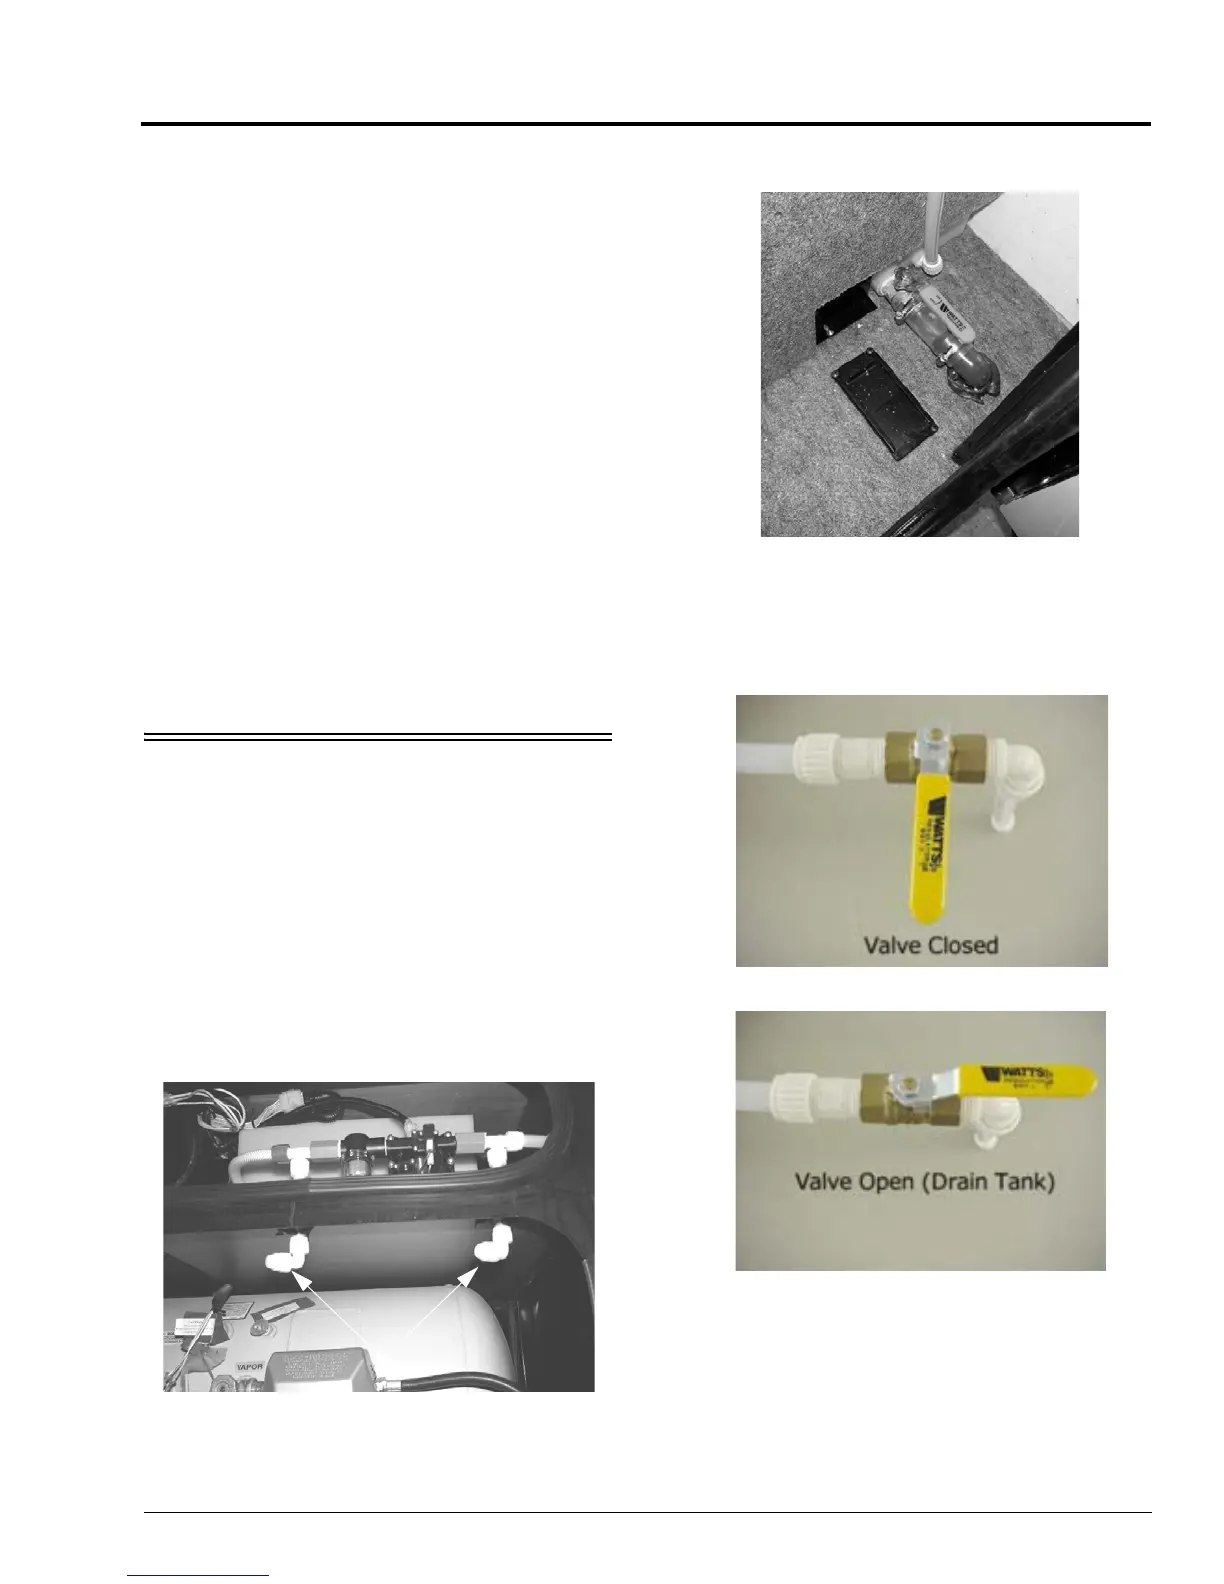
WATERLINE AND TANK DRAIN
VALVES
The waterline and tank drain valves are used
to drain water from the water tank and the water
supply lines when preparing the motorhome for
storage or when sanitizing the water system.
See the “Water System Drain Valve
Locations” chart at the end of this section for
locations on your model.
Waterline Drain Valves
Water Tank Drain Valve
Waterline Drain Valves
(Located in driver side compartment)
-Typical installation shown
Water Tank Drain Valve
(Located in first
passenger side compartment)
-Typical installation shown
 Loading...