15
TILLER
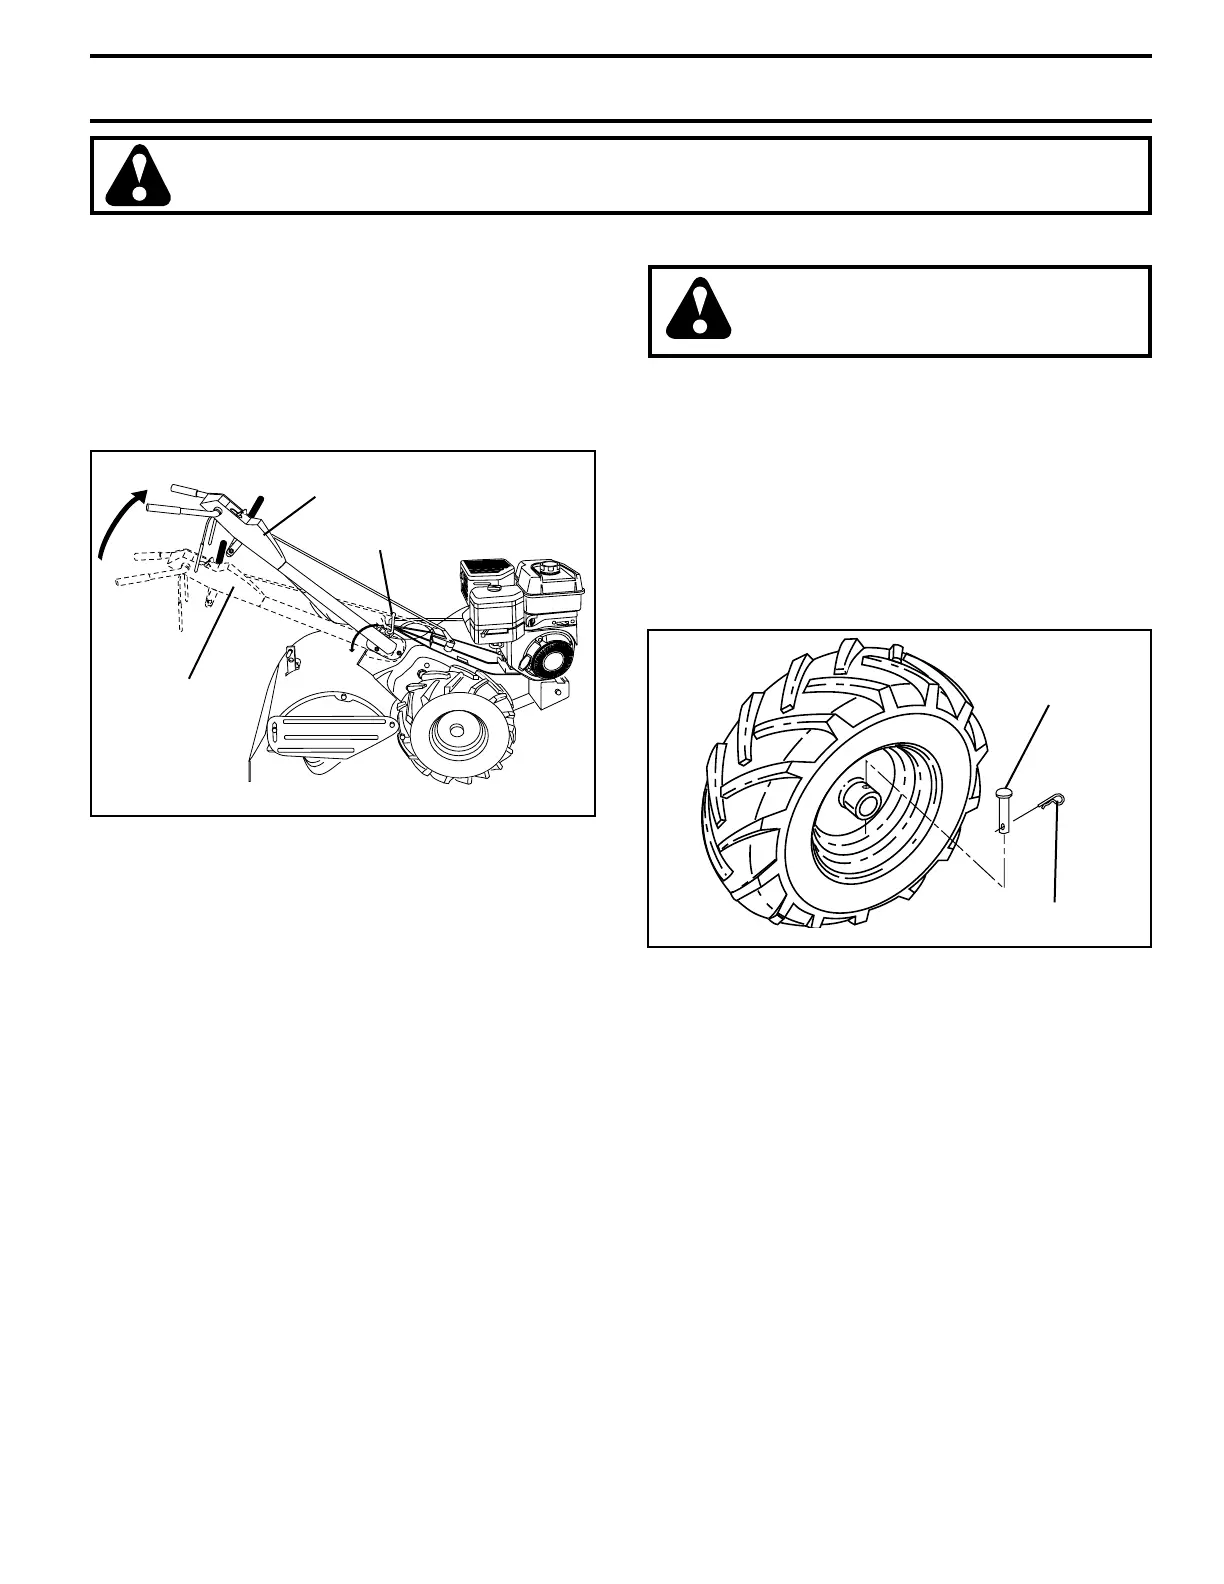
TO ADJUST HANDLE HEIGHT (See Fig. 22)
Select handle height best suited for your tilling conditions.
Handle height will be different when tiller digs into soil.
• First loosen handle lock lever.
• Handle can be positioned at different settings between
“HIGH” and “LOW” positions.
• Retighten handle lock lever securely after adjusting.
HANDLE LOCK LEVER
HANDLE (LOW
POSITION)
HANDLE (HIGH POSITION)
FIG. 22
TIRE CARE
CAUTION: When mounting tires, un-
less beads are seated, over in fl a tion can
cause an explosion.
• Maintain 20 PSI (1.4 kg/cm
2
) of tire pressure. If tire
pres sures are not equal, tiller will pull to one side.
• Keep tires free of gasoline or oil which can damage
rubber.
TO REMOVE WHEEL (See Fig. 23)
• Place blocks under trans mis sion to keep tiller from
tip ping.
• Remove hairpin clip and clevis pin from wheel.
• Remove wheel and tire.
• Repair tire and reassemble.
FIG. 23
SERVICE AND ADJUSTMENTS
CAUTION: Disconnect spark plug wire from spark plug and place wire where it cannot come into
contact with plug.
CLEVIS PIN
HAIRPIN CLIP
For Parts Call K&T 606-678-9623 or 606-561-4983
www.mymowerparts.com