Do you have a question about the Woo Audio WA22 and is the answer not in the manual?
CAUTION: Install tubes correctly to avoid serious damage. Warranty may not cover incorrect installation.
Turn off immediately if smoke or unusual smell occurs. Continued operation may cause injury.
Do not disassemble. High voltage circuit. Repair by qualified technician only.
Keep out of reach of children to prevent injury.
WARNING: Failure to follow instructions can result in fire, electric shock, or damage.
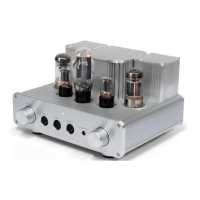
Lists features like point-to-point wiring, true balanced topology, all-tube design, and soft start protection.
Details tubes (5U4G, 6SN7, 6AS7/6080), attenuator, and input/output types.
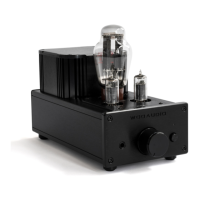
Highlights die-cast aluminum enclosure and anodized finish.
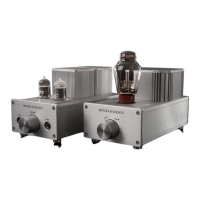
Lists included items: WA22 amplifier, power tubes, rectifier tube, driver tubes. Notes on appearance and included cables.
Learn how to correctly install vacuum tubes into their respective sockets, ensuring proper fit and alignment.
Verify that all tube pins are fully inserted into the socket receptacles for proper electrical contact.
Ensure the correct AC voltage setting (115V or 230V) is selected to prevent amplifier damage.
Install the power cord and connect audio sources via RCA or XLR inputs.