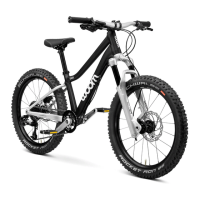
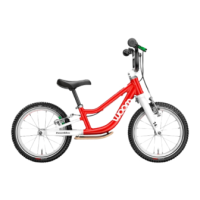
45 46
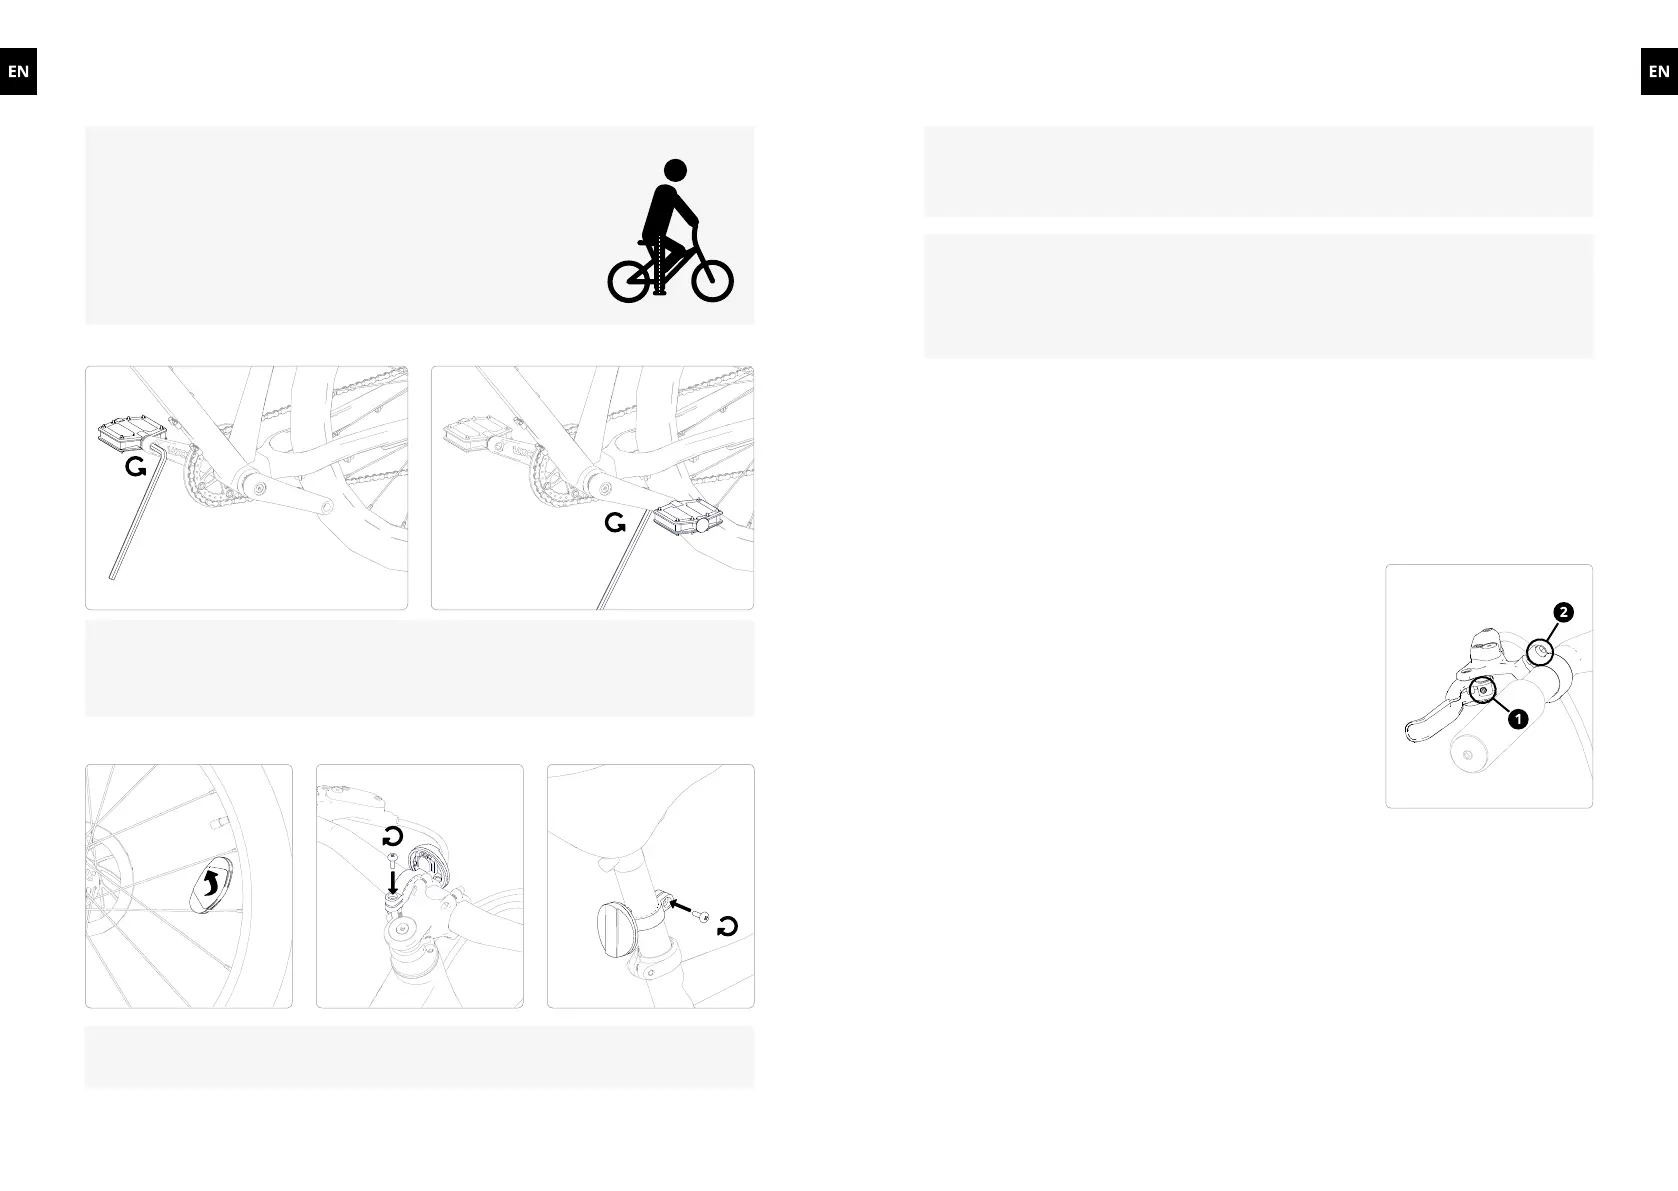
Installing the pedals
Installing the reectors
Checking
ATTENTION
Before each ride, check that the front and rear brakes work and that the tyres have
sucientpressure.
HINT
Disc brakes need some time until they are bedded in. You can speed up this process
by braking several times from medium speed until you come to a standstill.
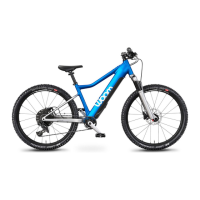
6�3 Adjusting handlebar and brake levers
See Section 11.1 on page 56 for tightening torques.
Once you've assembled all the parts, the woom OFF is ready to go. The following adjustments
areonlynecessaryifyoundthatthepositionofthebrakeleverorshifterortheinclination
of the handlebar is not suitable for your child.
Adjusting the brake lever position and grip width
The distance from the brake lever to the handlebar grip is set
to a default value depending on the woom OFF model.
To reduce the distance between the brake lever and the
handlebar grip, use a 2 mm hex key to turn the brake lever
adjustingscrew(1–seegure)counterclockwise.Toincrease
the distance, turn the screw clockwise (observe the warning!).
To adjust the position of the brake lever on the handlebar,
loosentheclampingscrew(2–seegure)byturningitcounter
clockwise and reposition the lever. Then tighten the clamping
screwtothetorquespeciedinSection11.1onpage56.
Make sure:
that the brake levers are positioned in such a way that your child can brake
safelyandeasilyand;
that the shifter can be easily reached
Screw the pedal marked "R" in the direction of
the arrow into the right crank arm and tighten
with a hex key.
Screw the pedal marked "L" in the direction of
the arrow into the left crank arm and tighten
with a hex key.
Attachtheclip-onreectorsto
the spokes.
Mountthewhitereectortothehandlebarandtheredreector
to the seat post.
HINTS
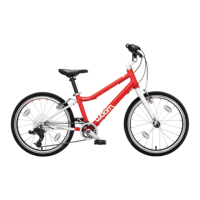
Correct seat height: With your child sitting on the saddle,
have them place their heel on the pedal (the one in the lowest
position) and stretch out their leg. Sitting on the saddle and
with the saddle height adjusted, your child should be able
to touch the ground with both feet and remain in a stable
position. Set the saddle lower for beginners.
8 mm 8 mm