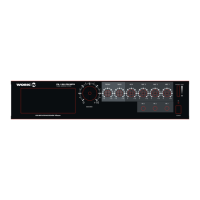
3.Output connections.
Caution.
+/-To avoid the risk of electrical shock, never touch the bare conductors leading to the
output terminals of the amplifier when it is in operation. Show the possible connections
of the "output" speaker terminal accessible by removing the protective cover. Bear in
mind the following rules:(see following).
+/-Re-apply the output terminal cover and fasten the screws after
+/-Constant the low impedance lines.
(1) The total impedance of the speakers connected must correspond to that selected
on the amplifier's output terminals.
(2) The sum of the power capacities of the speakers must be no lower than the amplifier's
power capacity.
(3) The length of the connecting cables must be short as possible; with equal of line
that CLASS ¢ wire .
+/-Constant the high voltage lines.
(1) Each speaker must be equipped with a line transformer that with an input voltage,
with equal of the line that CLASS¢wire .
(2) The sum of the power capacities of the speakers must not exceed the output power
capacity of the amplifier.
(3) The length of the connecting cables must be short as possible; in any case, the cables
of long-distance must be covered in cross-section.
(4) LINE OUT: connected other rear Amplifier or recorder.
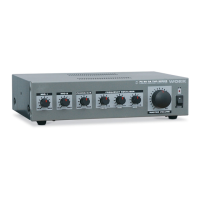
OPERATION
BASIC OPERATION
1.Press the POWER button to ON, then the power lights up; press again to turn the power
off, then the power lights extinct.
2.Bass control, modifies the low-frequency sound of the left and right channels as much
as +/- 10dB. Set this control at a suitable position for your taste and room acoustics.
3.Treble control, modify the high-frequency sound of the left and right channels as much
as +/- 10dB. Set this control at a suitable position for your taste and room acoustics.
4.MIC1-3, CD, AUX all have independent volume control, turn the VOLUME clockwise
to increase the volume and counter clock wise to decrease it.
5.Master volume control, turn the VOLUME clockwise to increase the volume and counter
clockwise to decrease it, the volume of the front, center, and rear channels is changed
at the same time.
6.Play the CD tape.
When you press the CD power switch's button to on, then the compact disc player will
display, at the same time, tell you that the CD player at the state of ready work.
a. Press the open/close button, the CD window will push out, then take a CD tape in it.
Next, press the same button again and after wait about for 5seconds press the play/Pause
button, at this time, the CD player was working at the normal conditions.
b. CD function buttons.
" "CD power switch with two-position for on-off modes. Before press it, please turn off
the master volume.
"OPEN/CLOSE", Press the open/close button, the CD window will push out; press the
same button again the CD window will push in.
"PLAY/PAUSE", when press it, the CD player will playback; press the same button again,
the CD player will pause play.
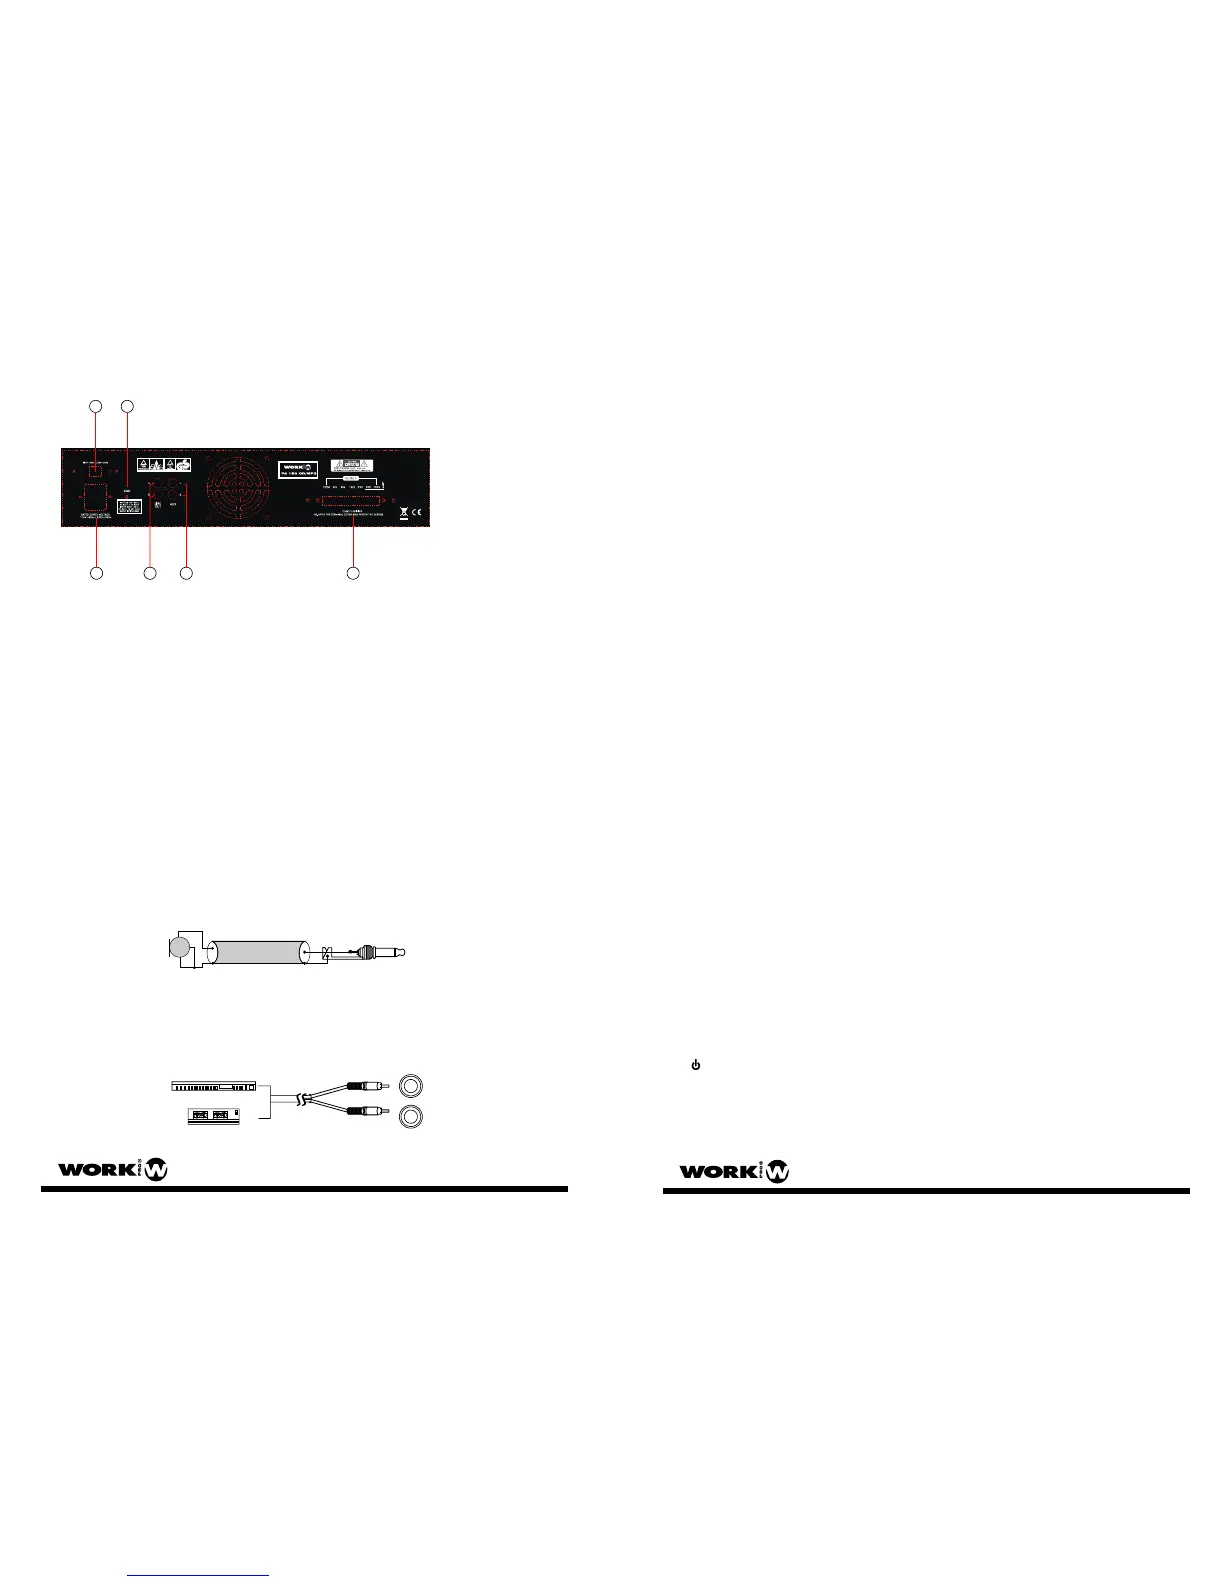
INSTALL AND CONNECTIONS
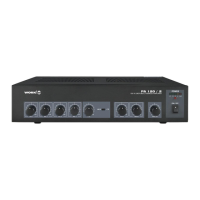
MIC
Micrófono desbalanceado
Conector mono
L
R
AM/FM
Cassette
AUX
1
2
3
4 5 6
1. ENTRADA AC: Conecte la unidad a la toma de red adecuad
2. SELECTOR AC: Seleccione el voltaje de entrada (115V/230 V AC)
3. TORNILLO DE CONEXION DE TIERRA
4. LINE OUT: Este terminal de salida mezcla todas las fuentes y permite la conexión
a otro amplificador o grabador.
5. AUX INPUT: Las tomas “L” y “R” permiten introducir señal por ambos canales
6. SALIDAS DE ALTA Y BAJA IMPEDANCIA: Conecte los altavoces de baja o
alta impedancia de acuerdo a las necesidades de la instalación.
Precaución:
El selector AC sólo debe ser cambiado por el fabricante.
1. Conexión del cable de alimentación
Antes de usar la unidad por primera vez, asegúrese que la toma suministra el voltaje
adecuado. Conecte la unidad sólo a una clavija con toma de tierra.
Si la alimentación es otra a la usada por la unidad, no cambie usted el selector, debe
hacerlo el fabricante.
2. CONEXIONES DE ENTRADA
(1) Conexión de micro
CONEXIONES DE ENTRADA DE MICRO DESBALANCEADOS: Use un cable apantallado
conectando el conductor a pin central del conector y la malla al chasis.
(2) AUX IN: Una pletina de cassette, un sintonizador de radio, mezcladores u otros
elementos de alto nivel de entrada pueden ser conectados a la entrada auxiliar.
PA 150 CD MP3 User Manual /Manual de Usuario Pag 12
PA 150 CD MP3 User Manual /Manual de Usuario Pag 5
 Loading...