ASSEMBLY AND USE
The cleaner should be switched o and disconnected from the mains power supply before you
start to assemble.
Part 1
1. Connect the 3-piece metal tube together.
2. Connect the handle on the hose to the tube.
3. Connect the tube to the combination oor tool or the crevice tool/dusting brush.
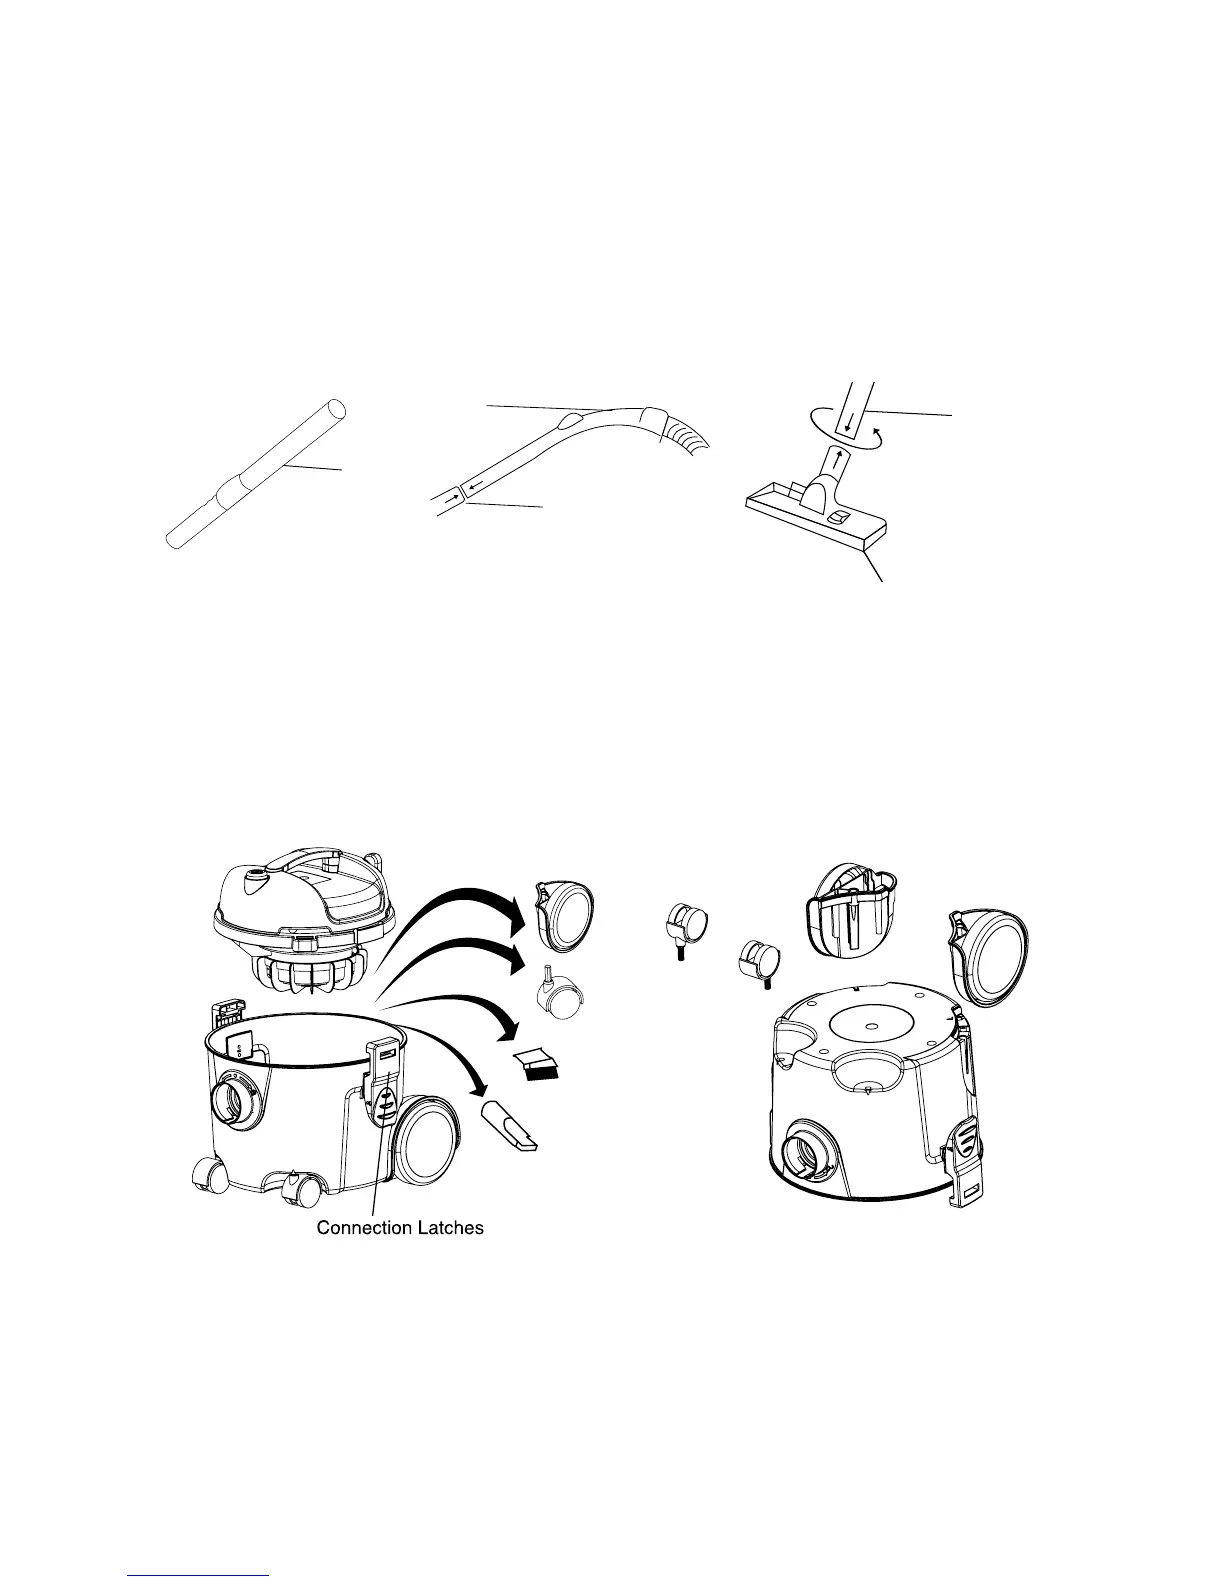
Part 2
1. Disconnect latches on side of machine and remove the canister lid.
2. Remove all accessories from inside the tank.
3. Fit the wheels to the base of the tank. Install the big wheels into the relevant positions and
then x with screws included. (Note wheels are marked “R” and “L” to help installation).
4. Replace the canister lid (with the power cord facing the opposite direction of the hose inlet)
and connect the latches.
Tube