Random orbital sander WX652 WX652.1
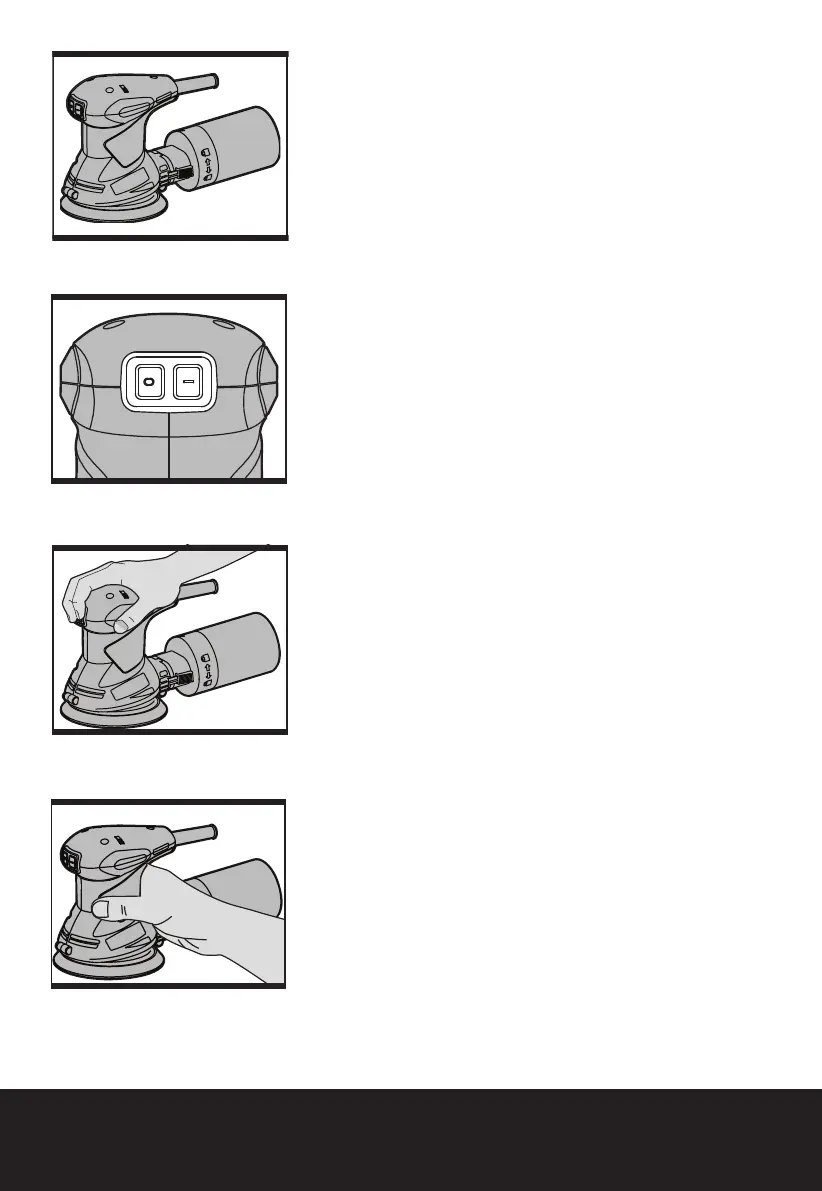
Your sander is designed to be held either around the
main housings, or by the top of the main housing.
When sanding for long periods at a time, it is
recommended you periodically alternate between the
two holding positions.
5. SANDING SURFACES
Place the machine with the complete Sand paper on
the surface to be worked. Ensure uniform sanding
pressure. Less sanding pressure increases the sanding
capacity and protects the machine and the sanding
tool. The removal capacity and the sanding pattern are
determined mainly by the selection of the Sand paper
(grain size), the speed of the sanding plate and the
application pressure.
ROUGH SANDING
Attach a Sand paper with coarse grain. Apply only
light sanding pressure to achieve increased material
removal.
FINE SANDING
Attach a Sand paper with fine grain. With moderate
pressure, move the machine in a circular pattern or
alternately in lengthwise and crosswise directions over
the workpiece. Do not tilt the machine to avoid sanding
through the work piece (e.g. when sanding veneer).
After finishing the work, switch off the machine and lift
it from the workpiece.
6. ORBITAL SANDING
Guide your sander parallel to the working surface and
move it in circles or in a cross pattern. Do not tilt the
tool in order to avoid deep unwanted sanding marks.
The amount of material removed is determined by the
speed of the sanding disc and the grit size used. The
speed of the sanding disc diminishes relative to the
pressure applied to the tool. For faster removal, do not
increase pressure on the tool, but use a coarser grit
size.
7. SELECTING THE RIGHT GRADE OF
SANDPAPER
— Different grades of sanding paper can be purchased
from good DIY shops. Available grades are Coarse,
Medium and Fine.
— Use coarse grits to sand down rough finishes,
medium grit to smooth the work and fine grit to
finish off.
— The higher the grade number, the finer the grit. For
rough work start with a low grade of grit. (e.g. 60
grit) and change to a higher, finer grade (e.g. 120
D
E
F
G

 Loading...