Random orbital sander WX652 WX652.1
A
B
C1
C2
OPERATING INSTRUCTIONS
NOTE: Before using the tool, read the instruction
book carefully.
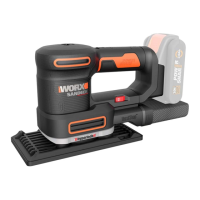
1. CHANGING HOOK & LOOP SANDPAPER (See
Fig. A, B)
The sandpaper and sanding plate are provided with
a hook and loop attachment system to allow quick
and easy changing of the sanding and polishing
accessories. Firstly, remove any dust or other objects
from the hook and loop on the sanding plate and
sandpaper. As the sandpaper has dust extraction holes
you must align these with the holes in the sanding
plate, otherwise the dust extraction will not function.
(See Fig. A)
To remove the sandpaper, lift one corner of the paper
and pull off from the sanding plate. (See Fig. B)
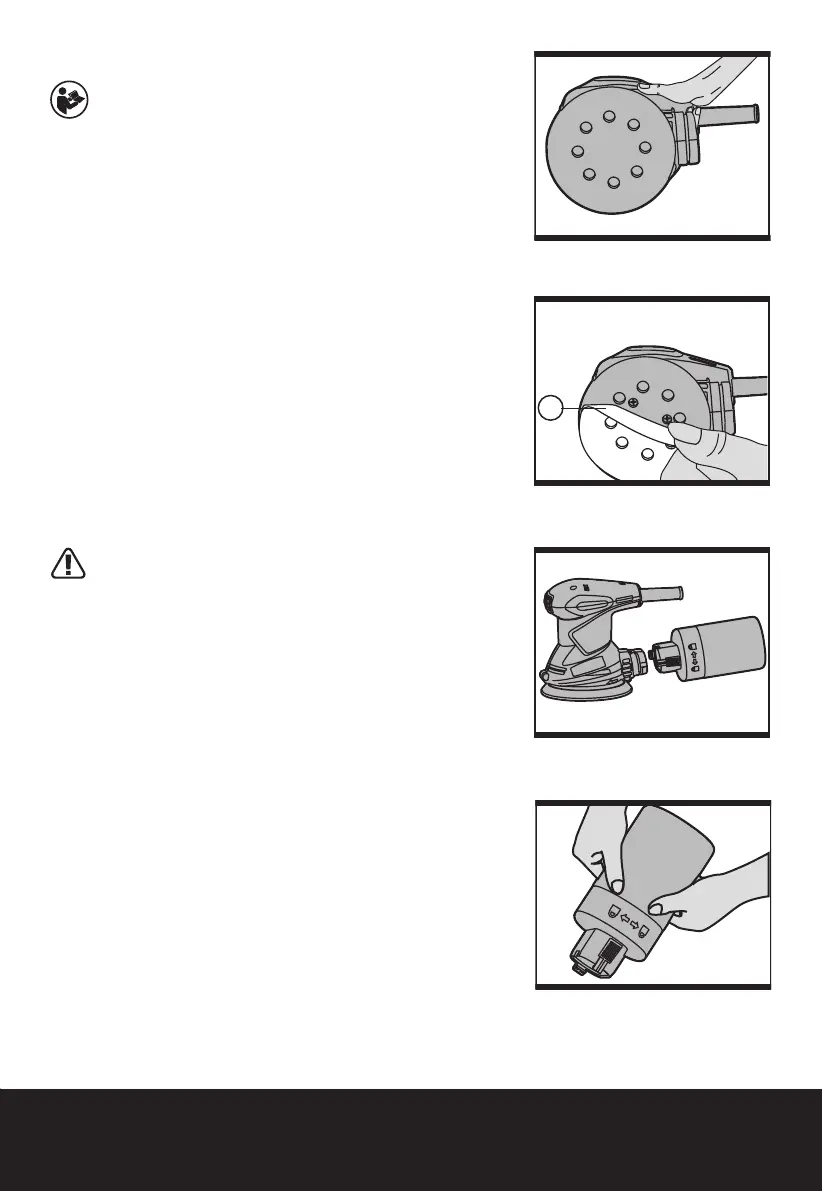
2. DUST BAG (See Fig. C1, C2, D)
— ATTACHING THE DUST BAG (See Fig. C1)
Always operate your sander with the dust bag fitted.
To attach, slide the bag onto the outlet piece and take
care that the latching lever engages.
CAUTION!
To prevent the possibility of sanding dust or
foreign body being thrown in to your face or eyes,
never attempt to use your sander without the dust bag
properly installed.
— EMPTY THE DUST BAG (See Fig. C1, C2, D)
For more efficient operation, empty the dust bag every
5-10mins. This will permit the air to flow through the
bag better.
Method 1: To empty the dust bag, press the latching
lever in and pull off the bag from the dust extraction
port, and shake out dust. (See Fig. C1, C2)
Method 2: To empty the bag, rotate the bag to the
unlock position. Remove the bag and shake out dust.
(See Fig. D)
3. OPERATING THE ON/OFF SWITCH (See
Fig.
E)
To start your sander, depress the protective cover over
the switch at the position marked “I”.
To stop your sander, depress the protective cover at the
position marked “0”.
4. HAND GRIP AREA (See Fig. F, G)

 Loading...