5. Use the double sided tape to fix the soldered wire properly, install the right and left analog
sticks and LT, RT buttons. Correctly place the PC board to X1 (plus) replacement shell, finally
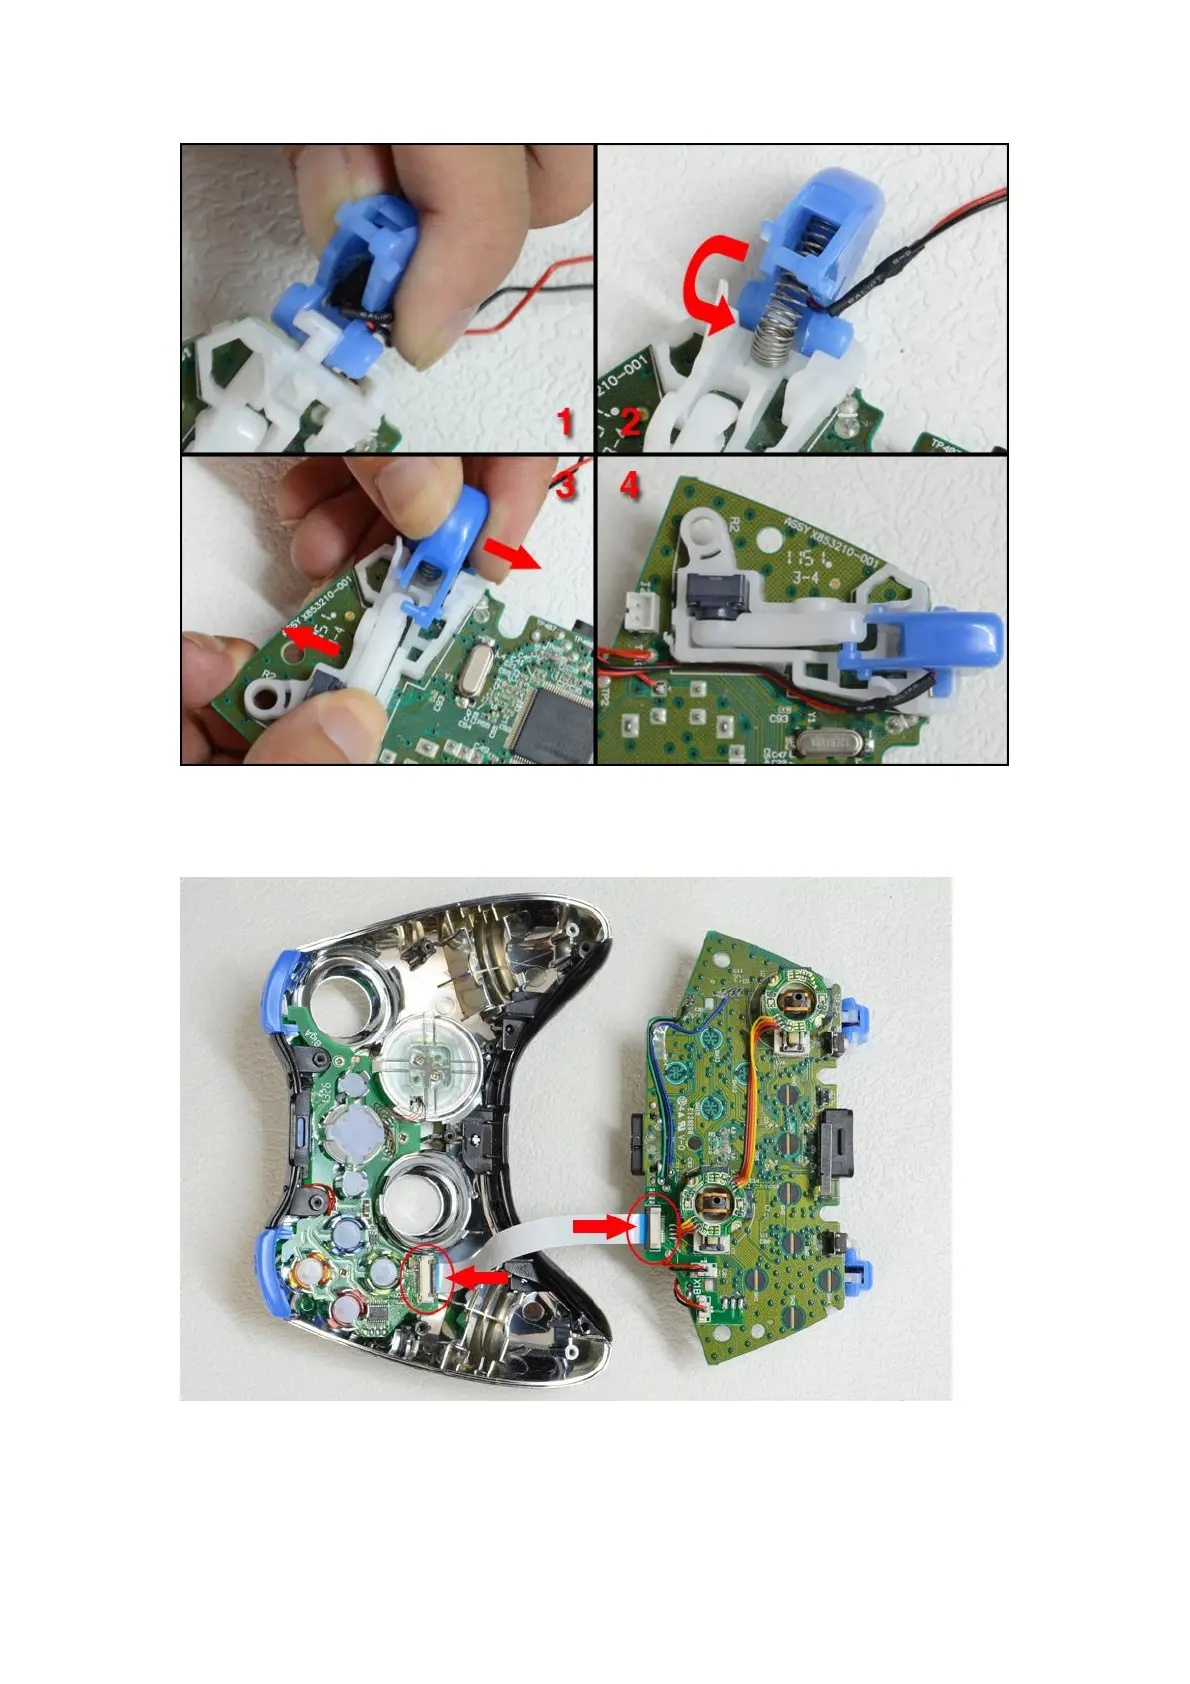
plug the soft flat cable to the socket (as shown on the picture below, the arrow indicated)
6. Now cover up the bottom part of X1 (Plus) replacement shell and tighten it with screws,
the installation is now completed.