9
4. Maintenance and inspection
CAUTION
- Be careful not to allow the pump and lift to accidentally operate during maintenance and inspection.
- When performing maintenance or inspection, notify workers by hanging a sign or other method to
keep them from touching the unit.
- Gasoline is a high volatile fuel. Never use it for cleaning of the unit. Risk of fire or explosion may
exist.
4.1 Maintenance and inspection
INTERVAL ACTION
Daily
①Inspect operation of pump.
②Inspect operation of lift.
Weekly
③Lubricate pump. (turbine oil, class#1, additive-free: ISO V 32)
Annually
④Check for loose bolts and nuts.
⑤Clean and lubricate lift rail. (lithium soap base grease: No.1)
Triennially
⑥Overhaul pump.
①Inspect operation of pump
Inspect pump to ensure the following:
- The pump operates normally and smoothly,
- There is no air/material leak in each part of the pump or air/material
piping,
- There is no abnormal noise during pump operation, and
- There is no abrasion or deterioration apparently in each part of the
pump.
②Inspect operation of lift
Inspect lift to ensure the following:
- The lift operates normally and smoothly,
- There is no air leak in air piping of the lift,
- There is no abnormal noise during lift operation, and
- There is no abrasion or deterioration apparently in each part of the lift.
- When the unit moves, shaking isn't big. (Compared with the beginning)
③Lubricate pump
Lubricate pump according to the following procedure:
- Close the air valve for the pump and set the pump air regulator knob to
0MPa.
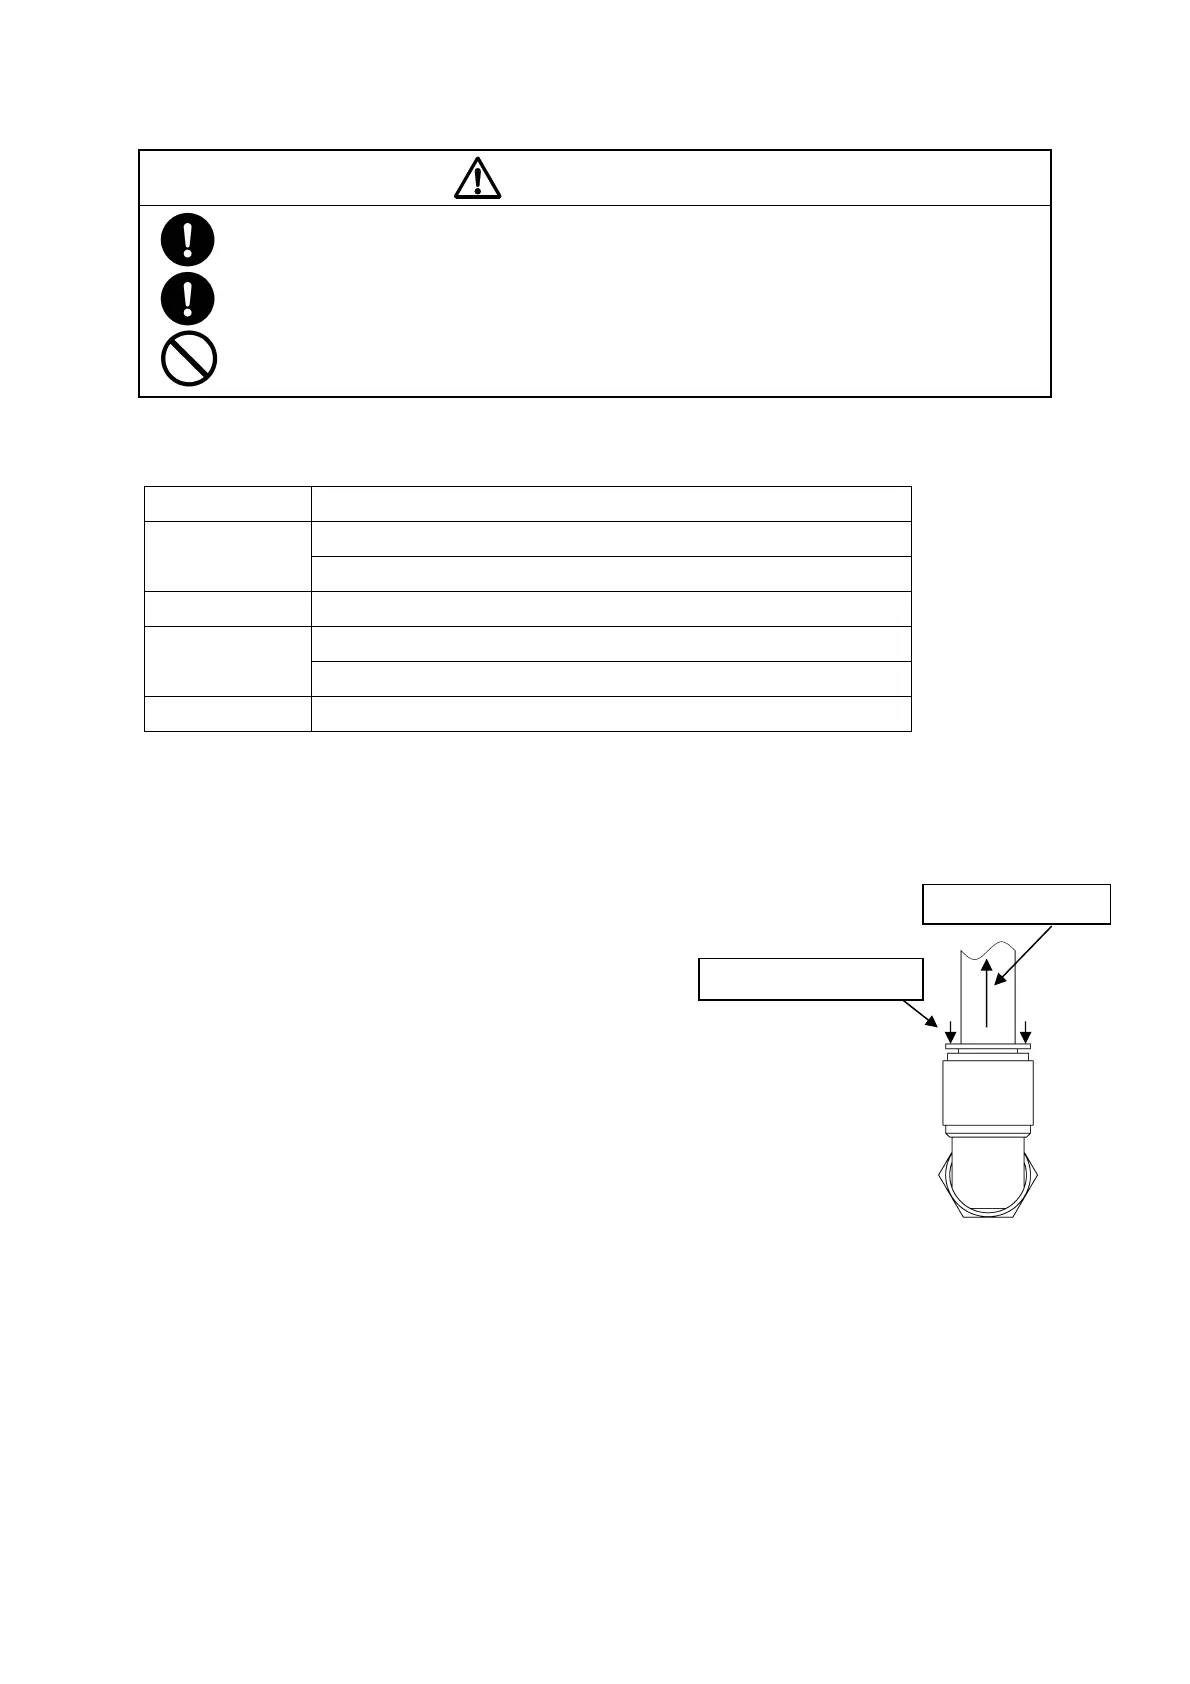
- Disconnect a tube from fitting on the air inlet. (Fig. 9)
- Apply a few drops of lubricant oil (turbine oil, class#1, additive-free: ISO
VG 32) to the port of the fitting from which the tube has been
disconnected.
- Reinsert the tube all the way into the fitting. Then, pull it to ensure it is
securely connected.
Fig. 9 Removal of tube
②Pull out the tube.
①Keep pushing the lip.
 Loading...