C
Crystal HoganSep 23, 2025
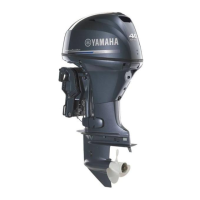
Why doesn't my Yamaha Outboard Motor boat speed gauge show?
- RRachel FrostSep 23, 2025
If the boat speed and/or coolant pressure gauge isn't showing, it means the optional sensor hasn't been installed. Install the optional sensor to fix this.