EasyManua.ls Logo

Yamaha PSR 225 User Manual

Yamaha PSR 225
3 pages
To Next Page IconTo Next Page
Page #1 background imageLoading...
Page #1 background image
Yamaha PSR 225 Keyboard Set Up Instructions
Full View: Close Up View:
1.) Turn on your keyboard (power) button #22.
2.) Next to the power button, push the touch button one time. Be sure on your digital screen it
says touch and off (button #21).
3.) Hit the down or up triangle on “Demo Smart” (just below and to the left of the display screen)
until you get to “Accomp. Volume”. Tap on the “+” button on the right as high as you can go (up
to 129).
4.) Push the magic blue button (chord guide button #15) twice. You will see the word smart
appear on the digital screen just above and to the left of the blue button. Use the + and -
signs just above and to the right of the blue button in order to set the keyboard to the needed
smart quote number. Note: Your choices will be the numbers 01 up to 15.
Question and Answer IconNeed help?

Do you have a question about the Yamaha PSR 225 and is the answer not in the manual?

Yamaha PSR 225 Specifications

General IconGeneral
Number of Keys61
Styles100
MIDIYes
DisplayLCD
TypePortable Keyboard
EffectsReverb, Chorus
Headphone JackYes
ConnectionsMIDI In/Out
Power SupplyAC Adapter or Batteries
Polyphony32-note

Summary

Yamaha PSR 225 Keyboard Setup Guide

Power On and Touch Mode Activation

Turn on the keyboard and activate touch mode, verifying the digital screen display.

Accompaniment Volume Adjustment

Set the accompaniment volume to the maximum level using the '+' button.

Smart Function Configuration

Select and set the desired 'smart quote' number using the +/- buttons.

Style Selection and Tempo Setting

Input the required style number and adjust the song tempo (beats per minute).

Start/Stop Button Functionality

Understand the dual function of the 'Start/Stop' button for rhythm and shutdown.
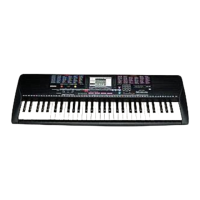
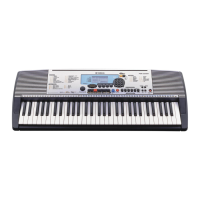
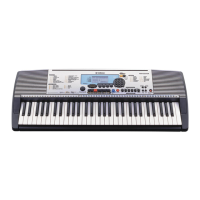
Related product manuals