14.
Synth Rise
A
15. Clav A
16. Tine Electric
Piano
17.
Breath Control Flute
18. Horn Section A
19.
Double
Harp A
20.
Electric Guitar
A
21
.
Electric
Bass
A
22. Harpsichord A
23. Vibraphone
A
24. Breath Control Saxophone
25. FM Piano A
26. Modulation Wheel Timpani
27.
Time Warp
28.
Tube
Rise
A
29. Violins A
30. Katimba
A
31. Harmonic
Synthesizer
32.
Orchestral
The
pre-programmed
internal
voices can
be
accessed immediately,
so we'll use them to become familiar with the
TX7 and
its
operating procedures. Later we'll find out how to load voice set A into the
DX7
and
voice
set
B into
the
TX7 for
combined
use
(voice sets A and B are designed primarily to be used together —see the
"CASSETTE
OPERATIONS" section, beginning
on
page
21).
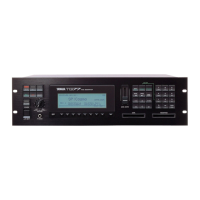
Begin by turning the TX7
ON-
-after connecting it to
your DX7
as
illustrated on the
"CONNECTIONS"
page.
You
will
be
greeted by the
<<
YAM
AHA
TX7>>
display which
will
appear
on the
LCD
panel
for
a
few
seconds,
and
then the LCD panel will read
"CMB
1 ACC. PIANO", indicating that voice number
1
(acoustic
piano) is selected
in
the combined mode- -but
we'll find out what that means a little later. First we'll need to know how to set the
TX7's
OUTPUT and PHONES volume level.
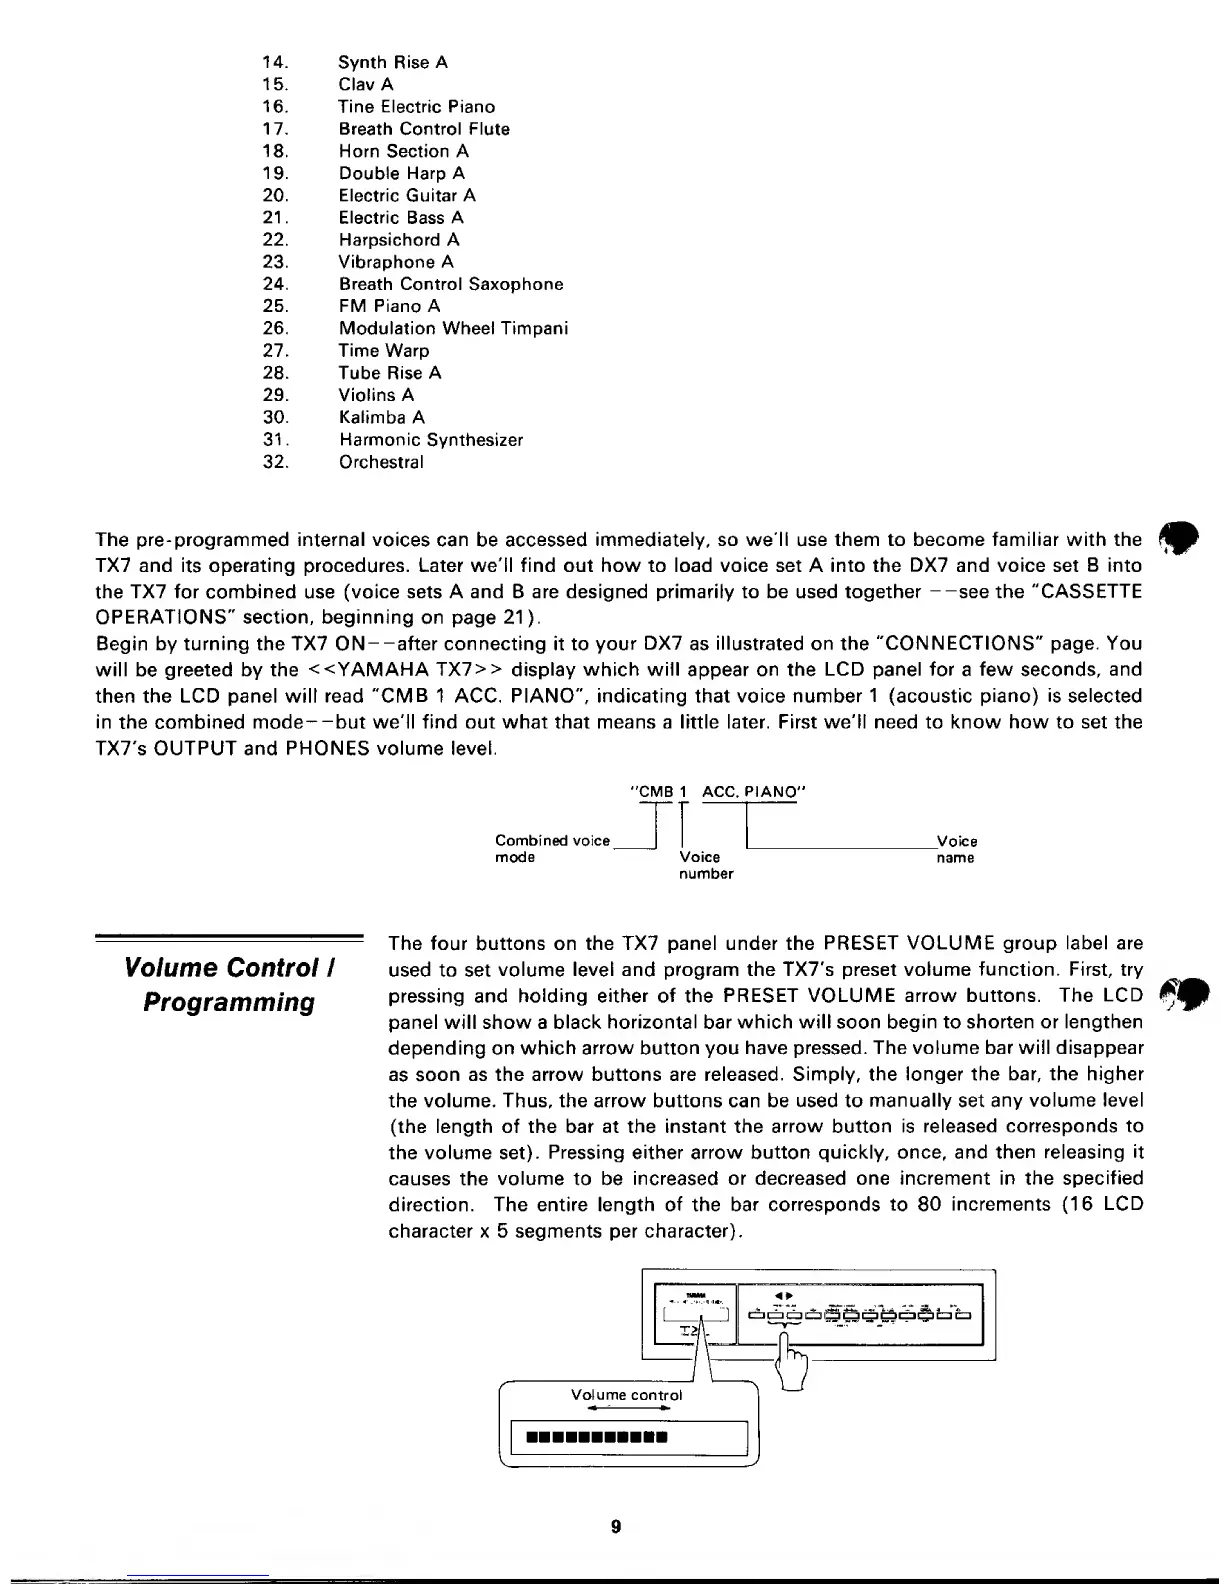
"CMB 1 ACC. PIANO"
Combined voice
mode
J]
Voice
Voice
number
name
Volume Control I
Programming
The four buttons on the TX7 panel under the
PRESET VOLUME group label
are
used to set
volume
level and program the TX7's preset volume
function. First, try
pressing and
holding either of the
PRESET VOLUME arrow buttons. The
LCD
panel will show a
black horizontal bar
which will
soon begin to
shorten or lengthen
depending on
which arrow button
you
have pressed.
The volume bar will
disappear
as soon
as the arrow buttons are released.
Simply,
the
longer the bar, the higher
the volume. Thus, the arrow buttons can be used to
manually
set
any
volume level
(the length of the bar at the instant the
arrow
button is
released corresponds to
the
volume
set).
Pressing
either
arrow button quickly, once, and
then releasing it
causes the
volume
to be
increased or
decreased one increment in the
specified
direction. The entire length
of
the
bar corresponds to 80
increments
(16
LCD
character x 5 segments per character).