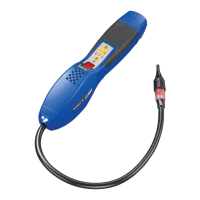
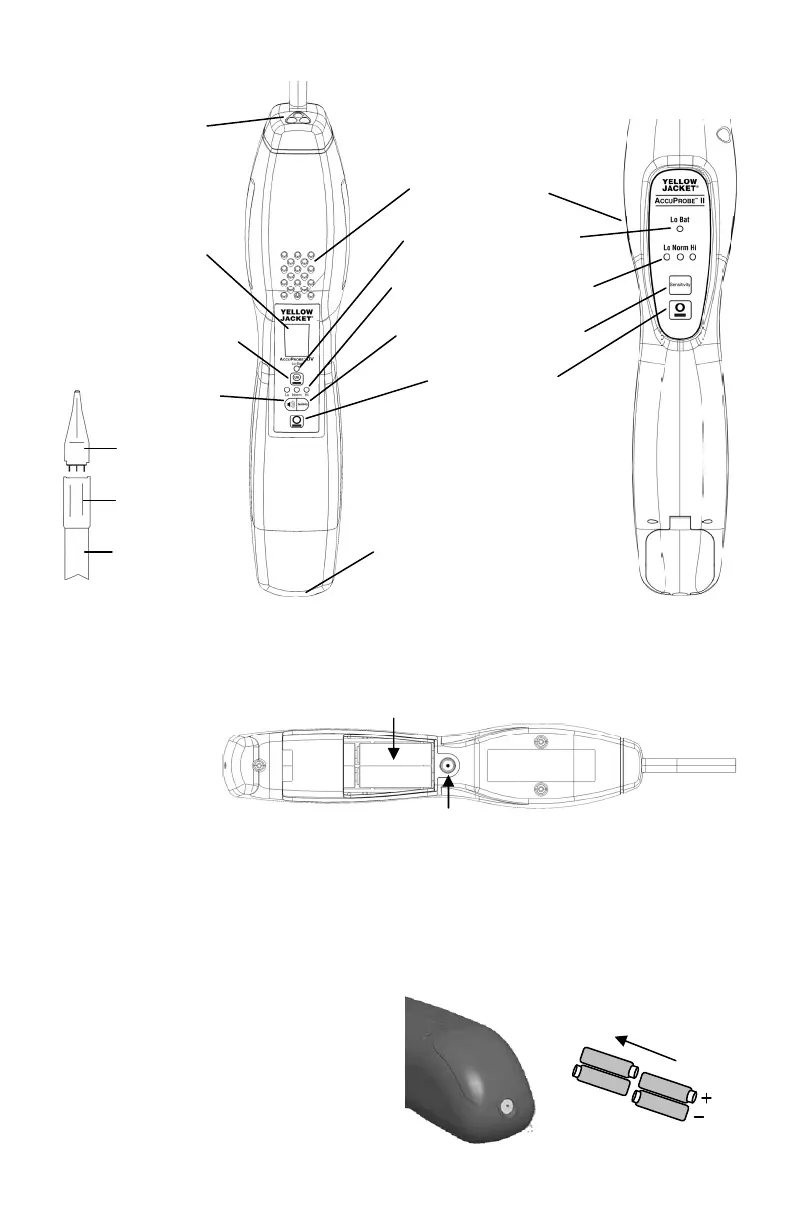
Parts and Controls
Heated sensor
Flashing LED
Flexible probe
Alarm speaker
Digital SmartAlarm
™
Low battery indicator
Sensitivity level indicators
Sensitivity adjust/select
Audio mute
Power ON/OFF
A/C adapter jack
3
AccuProbe UV
Battery Installation
1. Loosen battery door screw located on the
bottom of the detector and remove door.
2. Install 4 AA alkaline batteries observing
the proper battery polarity as labeled
inside the battery compartment and
shown above.
3. Reinstall the battery door and tighten the
screw.
AccuProbe UV
AccuProbe II
1. Loosen screw located at rear end of unit
and pull down hinged battery door to
open as shown.
2. Always insert all four batteries with the
proper polarity.
AccuProbe II
AccuProbe UV
Tip
UV LEDs
UV LED
Power ON/OFF