Do you have a question about the YitaHome FTPLCG-0302 and is the answer not in the manual?
Essential safety measures including ground anchoring, wind/snow limits, and pre-use inspection for stability.
Details on warranty exclusions, such as improper installation, misuse, and failure to follow safety guidelines.
General advice on assembly, including required personnel, tools, weather conditions, and screw tightening strategy.
Comprehensive list of all components with reference images and quantities required for assembly.
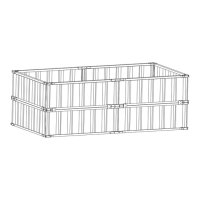
Attaching base parts (A, J) using specific screws (1).
Connecting side beams (B, B1) to central connectors (P) using screws (1).
Assembling upper frame sections using beams (B, B1) and fasteners (U).
Connecting corner posts (A) to the upper frame (B, B1) using screws (1, 8).
Fixing upper corner brackets (H, H1) to the main posts (A) using screws (1).
Attaching roof support beams (K, K1) to the structure using screws (4, 10).
Installing roof support brackets (W3) onto roof beams (E) using screws (10).
Connecting central structure parts (L, F) to roof beams (E) using screws (1).
Integrating the roof framework (E) with the main posts (A) using screws (1).
Attaching roof panel supports (E1, W2) to the structure using screws (10).
Connecting roof struts (F1) and beams (E, E1) using screws (1).
Mounting decorative caps (M, Za) onto the roof apex using screws (3).
Securing intermediate supports (G3, N) to roof beams (E, E1) with screws (1).
Attaching roof panels (S, Sa) to the roof structure.
Connecting inner roof supports (G1) to the structure using parts (E, N2) and screws (1).
Completing roof frame connections using parts (W, W1, F1) and screws (1).
Installing panel connectors (V1) to roof beams (E, E1, N) using screws (1, 5).
Attaching roof panel elements (Z, Z1) to the main roof panels (Q1-Q6).
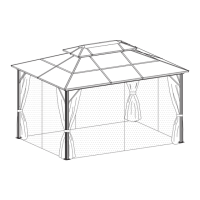
Placing and aligning the prepared roof panels (Q1-Q6) onto the structure.
Connecting roof framework components (B, B1, E1, F1, Y) with roof panels.
Securing ceiling supports (Y) to the central structure using screws (1, 2, 3, 4, 6, 7).
Installing corner roof supports (G5, G6, N, N1) onto the main posts (A).
Hanging the curtain panels (T) onto the gazebo frame.
Attaching sidewall curtains (T) using fasteners (U) to the frame.
Attaching netting panels (T1) to the gazebo frame.
Finalizing curtain and netting attachment using fasteners (U) and hooks.
Anchoring the gazebo to the ground using expansion screws or ground nails for stability.
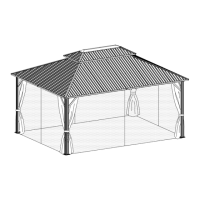
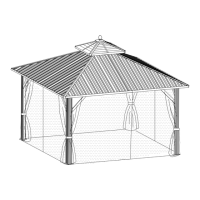
Final confirmation of successful gazebo assembly.
Provides phone numbers and email addresses for customer inquiries and support.
| Brand | YitaHome |
|---|---|
| Model | FTPLCG-0302 |
| Category | Outdoor Furnishing |
| Language | English |