ASSEMBLY INSTRUCTIONS
1
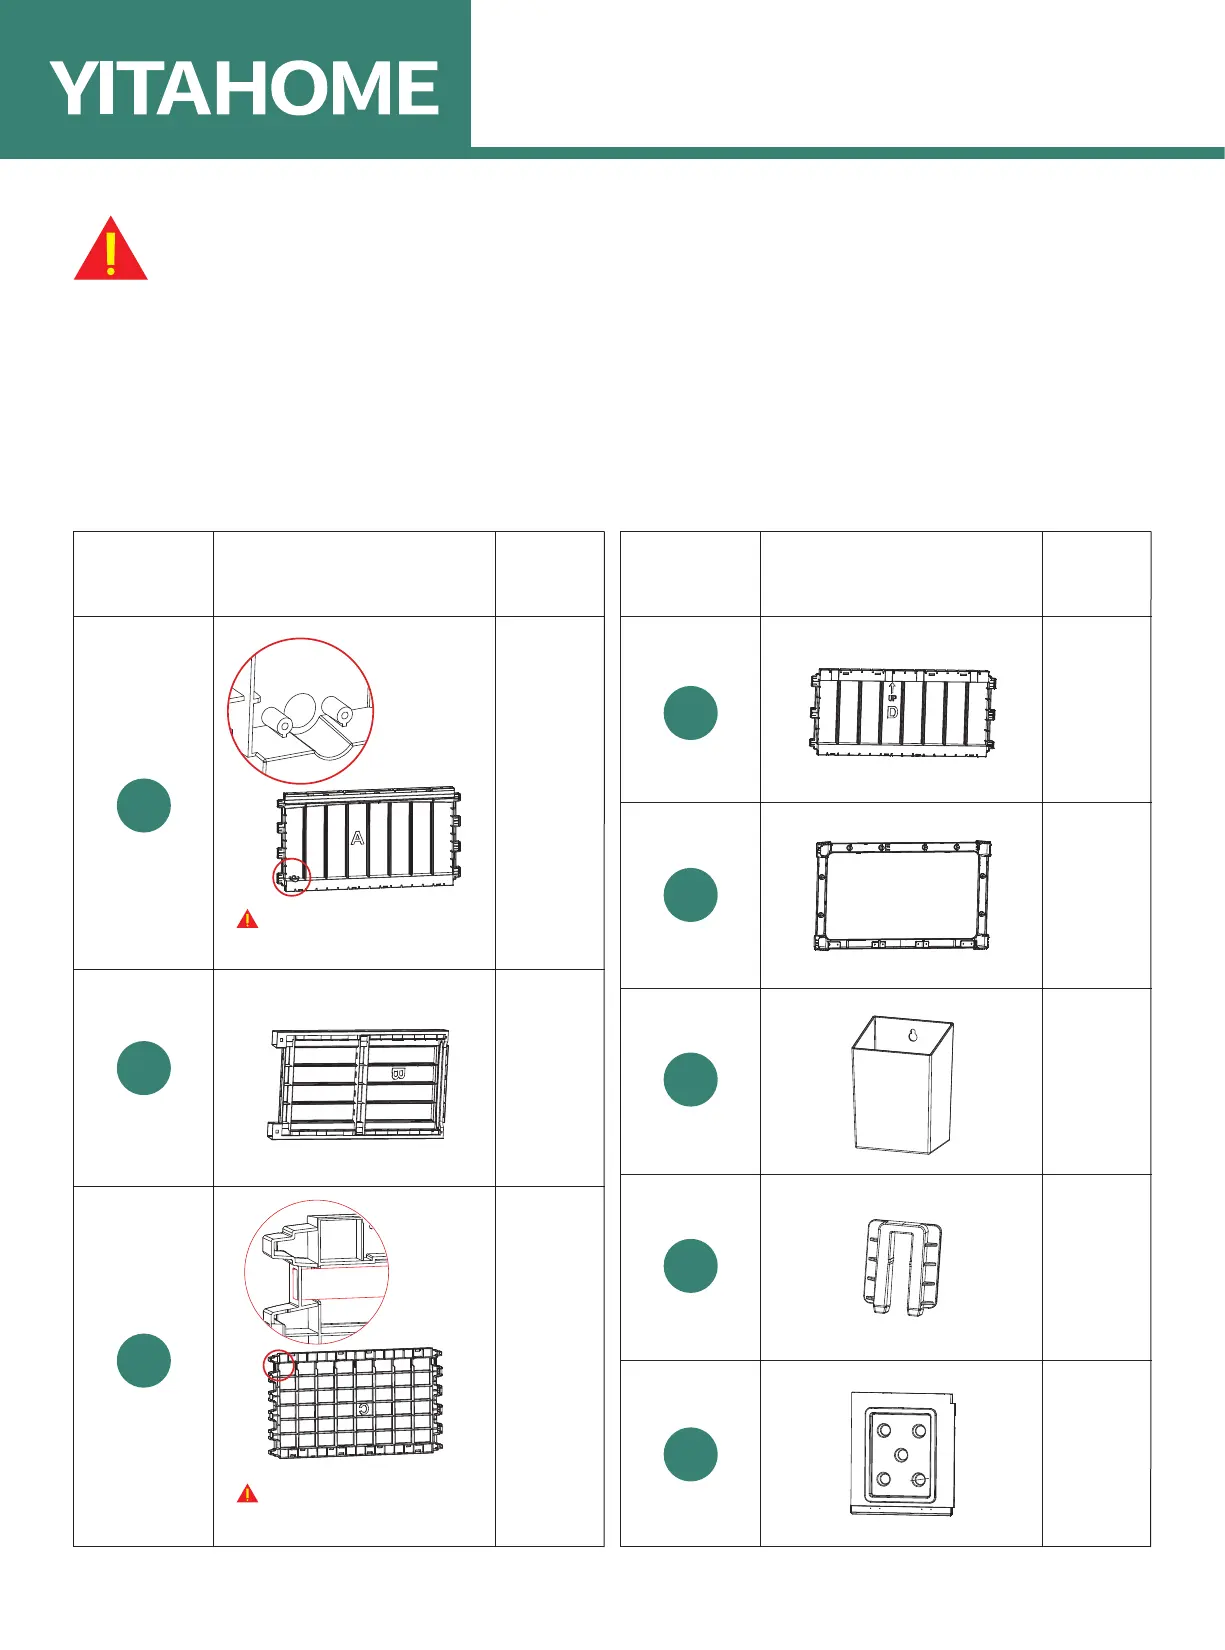
A
B
C
D
J
E
X2
X2
X1
X1
X1
X2
Item no. Reference Image Qty. Item no. Reference Image Qty.
G
H
X4
X1
Once installed, the product cannot be detached. Strictly follow each step
in the installation manual.
1. Gather and organize all required parts prior to assembly.
2. Assemble on a flat, clean and soft surface.
3. Please prepare rubber mallet in advance for convenient installation.
4. The product’s structure prevents it from being conveniently assembled in
low temperatures, so do not intentionally install at low temperatures.
5. During installation, please refer to the accessories guides to ensure that
they are installed in the correct directions.
Note: One has a
drain hole
Note: One has an
iron rod
 Loading...