Made of light weight, high strength aero grade aluminum, alloy with HAIII military grade
hard-anodized finish.
High-efficiency regulaon circuit provides unwavering output.
Reverse polarity protecon guards against improper baery installaon.
Low-voltage warning funcons remind you to replace the baery. When the voltage was under
2.6V, the LED would blink 3 mes and then turn off.
Intelligent memory funcon.
Mode switch interface provides one-handed operaon and easily access to all funcons.
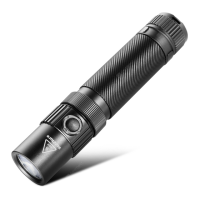
Machined from a solid aluminum bar give F1 its superior shock and impact resistance.
All metal outer appearance and metal nut provide IPX-8 highest grade waterproof and weather
two meters submersible adventure.
Micro USB charging port and indicator; fully charging me is 4 hours.
Stainless steel tanium-plated clip include.
Tail stand capability, an-roll, slip-resistant body design.
Tail safety hammer.
Tail on/off switch.
Baery specificaons
Type
Dimensions
Nominal voltage Recommended
Rechargeable baery(Li-ion)
Rechargeable baery(Li-ion)
Non-rechargeble baery(Lithium)
18650*1
RCR123*2
CR123A*2
3.7V
3V
3.7V
√
√
Baery installaon
Insert one 18650 baery or two CR123 baeries with the posive pole poinng forward the light
head.
Unscrew the tail switch cap and inset.
Ensure baeries are inserted with the posive (+) end poinng to the head. The F1 will not
operate with incorrectly inserted baeries.
Baeries are not included.
PLZ note: If the tail cap is not ghtened snugly, the flashlight will not turn on.
 Loading...