Do you have a question about the Zanussi ZF-1616C and is the answer not in the manual?
Emphasizes reading instructions for safety, assembly, operation, cleaning, and care.
Verify the fan's condition and all parts are present and undamaged after unpacking.
Ensures packing materials are kept out of reach of children.
Specifies appliance is for room ventilation only; not for bathrooms.
Warns against inserting objects into the fan grille.
Advises against touching the appliance with wet or damp hands.
Instructs not to pull the cable or appliance to disconnect the plug.
Requires unplugging before any cleaning or servicing.
States that repairs must be done by a qualified engineer.
Mandates replacement of damaged supply cords by manufacturer or qualified persons.
Ensures the fan is switched off before removing the guard.
Clarifies appliance use by persons with reduced capabilities requires supervision or instruction.
Assemble the base and main pillar using the pole fixing nut.
Adjust the fan height using Fixing screw B and re-tighten.
Connect motor housing to the upper pillar with Fixing screw A.
Secure the rear grille to the motor housing using fixing pins and guard knob.
Mount the blade onto the motor shaft and secure with the blade locking cap.
Fit the front grille onto the rear grille and secure with the safety screw.
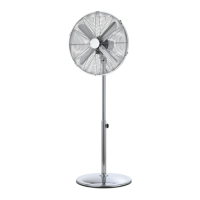
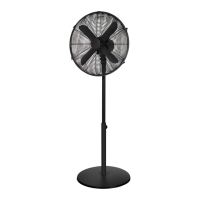
Position the fan on a level surface at least 30 cm from walls.
Select fan speed (Off, Low, Medium, High) using the rotary switch.
Control oscillation with the knob and adjust airflow direction by tilting the motor housing.
Always disconnect the fan from the mains socket before cleaning.
Clean the fan using only a soft damp cloth.
Do not immerse the fan in water or allow water into the motor housing.
Do not use harsh chemicals, polish, or corrosive liquids for cleaning.
Store the fan in its original box or covered in a dry place if not in use.
| voltage | AC 220-240V~ 50Hz |
|---|---|
| wattage | 60W |
| product size | 45 x 41 x 90/125 cm |
|---|---|
| net weight | 5.6 kg |