PS20 Personal Shopper Quick Start Guide
8
• When connected to a 1.5 cradle (fast charge mode), charge time is less than three hours.
LED Status Indicators
By default, the charging LED indication is disabled.
To enable the charging LED indication:
1. Swipe down from the status bar to open the quick access panel and then touch .
2. Touch Display.
3. Touch Charging LED. The option switch turns green.
4. Touch .
Installing the Battery
To install the battery:
1. Loosen the captive screw that secures the battery cover, using a Phillips (PH00) screwdriver.
2. Lift the battery cover from the handle.
3. Guide and press the battery cable connector into the shrouded male pin connector inside the battery compartment. The
connector is designed to only fit one way.
4. Place the battery inside the battery compartment.
NOTE To charge the battery in the device, it is recommended to use a charging cradle instead of the USB cable,
since it is more time efficient.
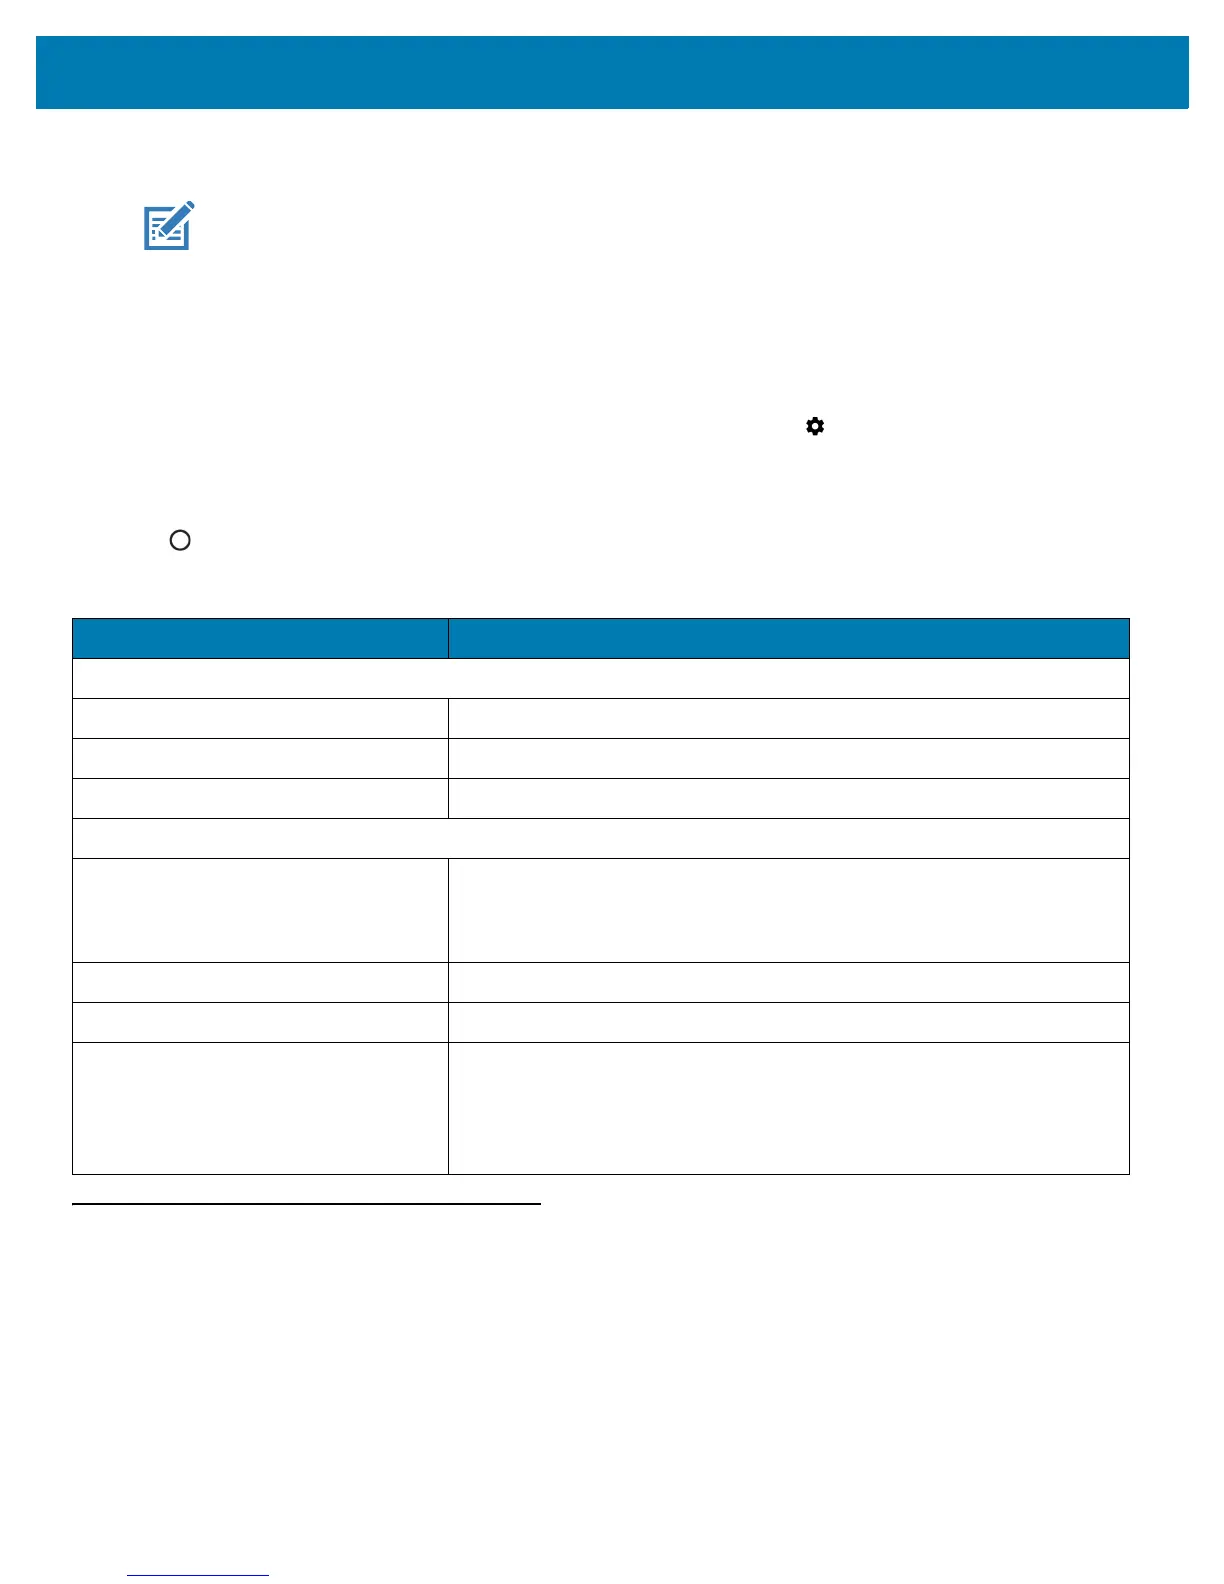
Table 4 LED Status Indicators
LED State Indication
Imaging
Off Normal operation or PS20 is turned off.
Red Imaging in progress (Scan key is pressed).
Single Green Blink Successful decode.
Charging (PS20 docked in cradle)
Off Power not applied to cradle.
PS20 not inserted properly.
Charging LED feature disabled.
Blinking Green Charging.
Solid Green Charging complete.
Blinking Red Charging error, for example:
• Temperature is too low or too high.
• Charging has gone on too long without completion (typically eight
hours).