14
Setup: Connecting USB
Connecting Power
Electric Shock • Limit AC power supplied to the Printer to 90V~264V, 48–62Hz. Limit excess current
draw to 16 amps or less, using an associated circuit breaker or other such device. Never operate the
Printer in a location where operator, computer, or printer can get wet. Personal injury could result.
The Printer must be connected to an earthed electrical power source and properly protected against
electrical surges and grounding faults; the electrical reliability of the Printer is based on the reliability of
the main power source and the earth connection.
The Printer’s power supply is an internal unit that can only be serviced or replaced by trained and
authorized personnel
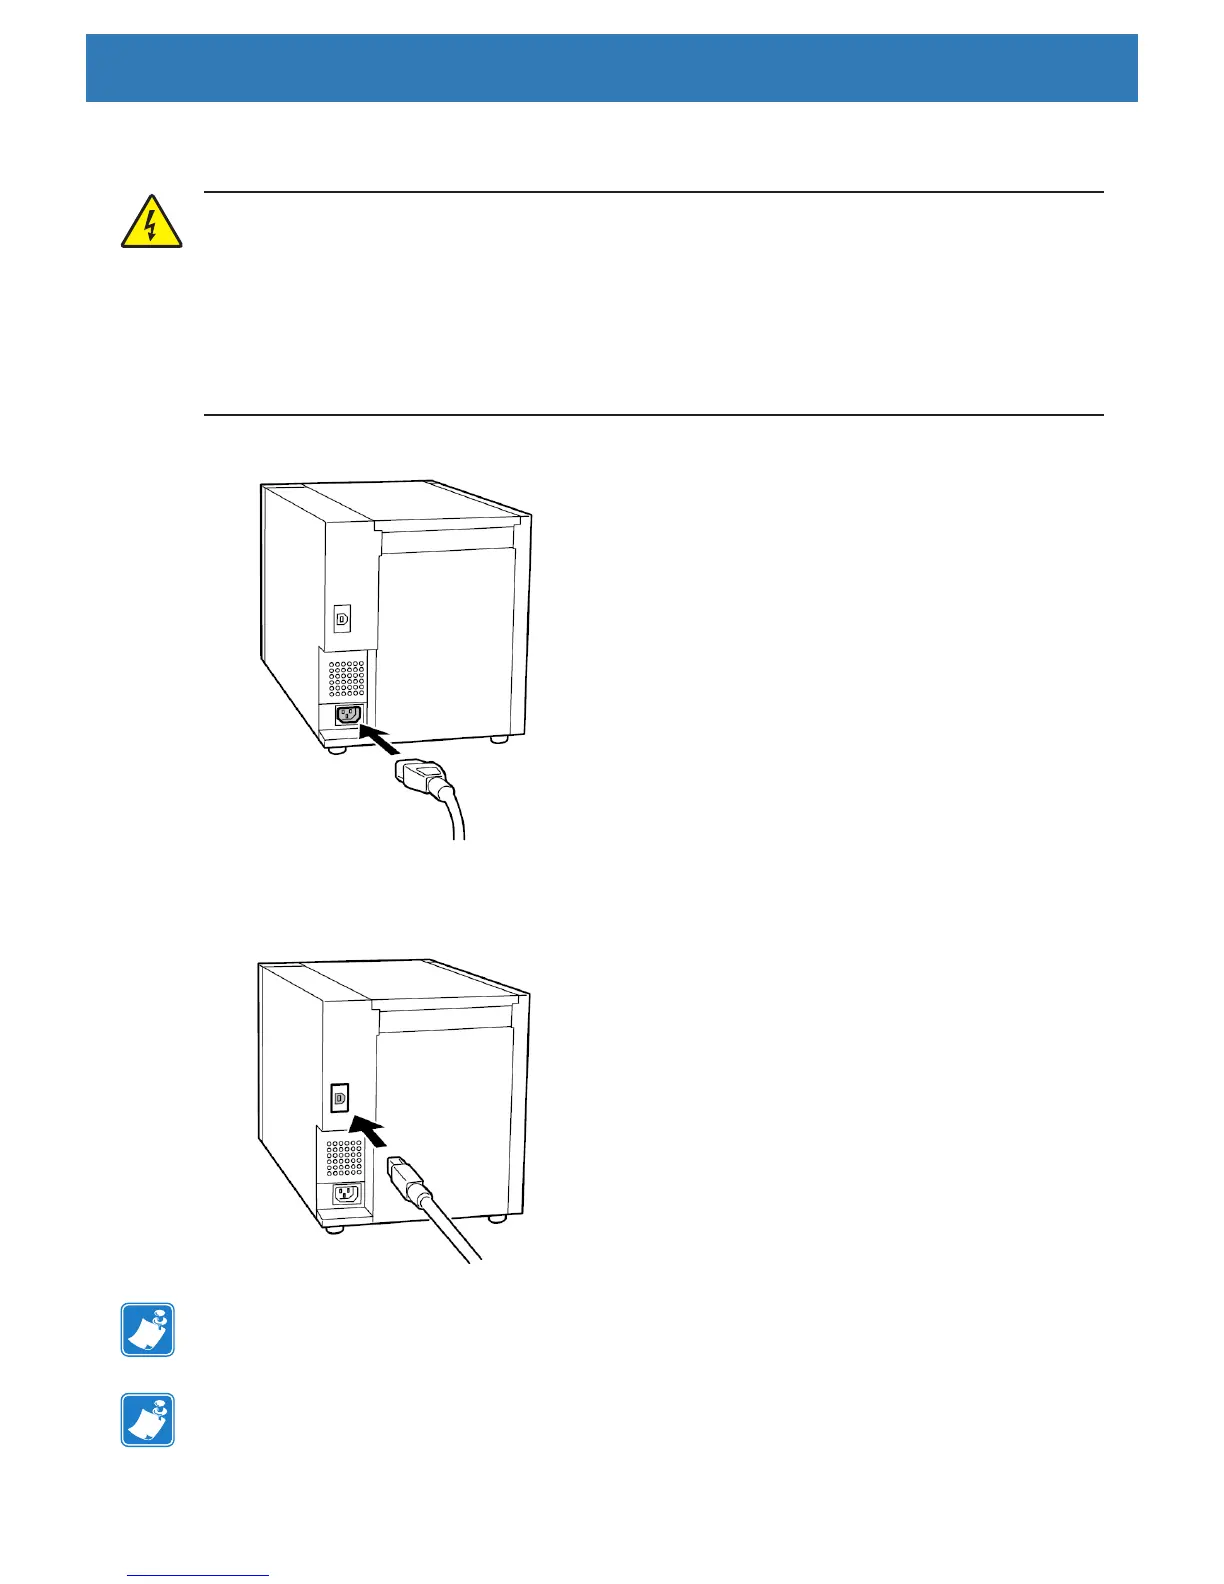
Step 1. Insert the power cable into the receptacle located on the rear of the printer.
Connecting USB
Step 1. Connect the device side of the USB cable into the receptacle located on the rear of the printer.
Note • Before turning the printer power on, install the USB Printer Driver (see “Windows Driver
Installation” on page 9).
Note • Do not remove the USB cable during data transfer.