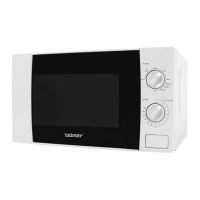
4. Protect exposed areas by covering them with narrow stripes of alumi-
num foil. Remember, however, not to use too much foil and to keep
the foil at least 3 cm away from the oven walls.
The list below shall make the choice of the right dishes and kitchen uten-
sils easier.
Kitchen utensils
Micro-
waves
Grill
Combination
mode
Heat-resistant glass
Non-heat-resistant glass
Heat-resistant ceramic utensils
Microwave safe plastic dishes
Parchment paper
Metal tray
Metal gridiron
Aluminum foil and foil containers
Yes
No
Yes
Yes
Yes
No
No
No
Yes
No
Yes
No
No
Yes
Yes
Yes
Yes
No
Yes
No
No
No
No
No
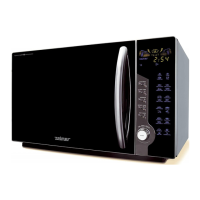
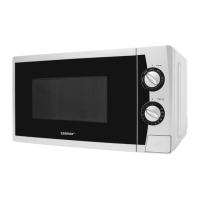
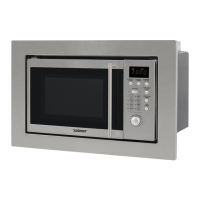
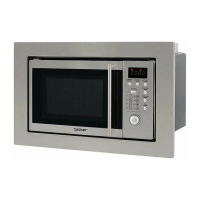
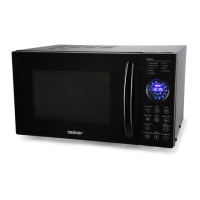
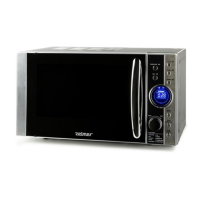
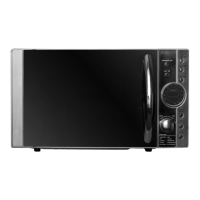
MICROWAVE OVEN FEATURES TYPE 29Z010
1. Safety lock
2. Oven window
3. Ventilation opening
4. Roller
5. Turntable ring assembly
6. Glass turntable
7. Control panel
8. Grill heating element
9. Metal gridiron
CONTROL PANEL
● MENU DISPLAY
− The clock, cooking time and operation symbols are shown on the
display.
● POWER
− Is used to set the microwave program.
● GRILL/COMB (Grill/Combination mode)
− Is used to set the grill program and the combination mode
● AUTO DEFROST
− Is used to set the defrosting program.
● WEIGHT ADJ./CLOCK (Weight adjustment/Clock)
− Is used to determine the weight of the food.
− Is used to set the clock.
● START/QUICK START
− Is used to start a program or to set the quick cooking mode.
● STOP/CANCEL
− Is used to cancel a setting and reset the oven before setting
a cooking program.
− Press once to pause cooking or press twice to cancel the whole
cooking process.
− Press and hold to set the child lock.
● TIME/MENU
− Is used to set the time or menu.
DYNAMIC FLICKER FUNCTION
In the standby mode, the Dynamic Flicker Function will start immediately
when WEIGHT ADJ./CLOCK and POWER are pressed ed at the same
time.
SETTING THE CLOCK
The appliance is equipped with a 12 or 24 hour clock.
To set the current time, press and hold for 3 seconds the WEIGHT ADJ./
CLOCK button in the standby mode. The clock indicator will start to ash
on the display.
The display will show Hr24 which allows setting the clock in the 24 hour
mode. Press again to set the clock in the 12 hour mode.
Set the current time using the knob.
EXAMPLE: In order to set the oven clock at 8:30.
1. Press and hold the WEIGHT ADJ./CLOCK button for 3 seconds to
start setting the time.
2. Turn the TIME/MENU knob so that the display shows the digit 8.
3. Press the WEIGHT ADJ./CLOCK button.
4. Turn the TIME/MENU knob to set 30 minutes.
5. Press the WEIGHT ADJ./CLOCK button to conrm the setting.
MENU: Indicators – signalling
1. Multi stage cooking 2. Switching on the microwaves
3. Grill 4. Clock 5. Display
6. Child lock 7. Product weight in grams
 Loading...