9 10
Installation illustration
Installation(1)
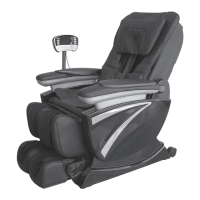
Step 1.Take out chair
Take out these parts from packaging box: chair body, cushion, pillow, left/right arms, remote control
holder, cables, etc. It need 2 people to take the chair body out. Catching the metal frame( point out in
below picture) and take the main body out from box slowly.
Catchheretotakeout.
Backcushion
Mainbody
Pillow
Seatcushion
VFDremotecontrol
Remotecontrolholder
Cable
2. Takingtwoarmsfromarmsbox.Catchingtwosidesofthearmsandtakethemoutslowly.
leftarm
rightarm
Installation
Installation Illustration
Installation(2)
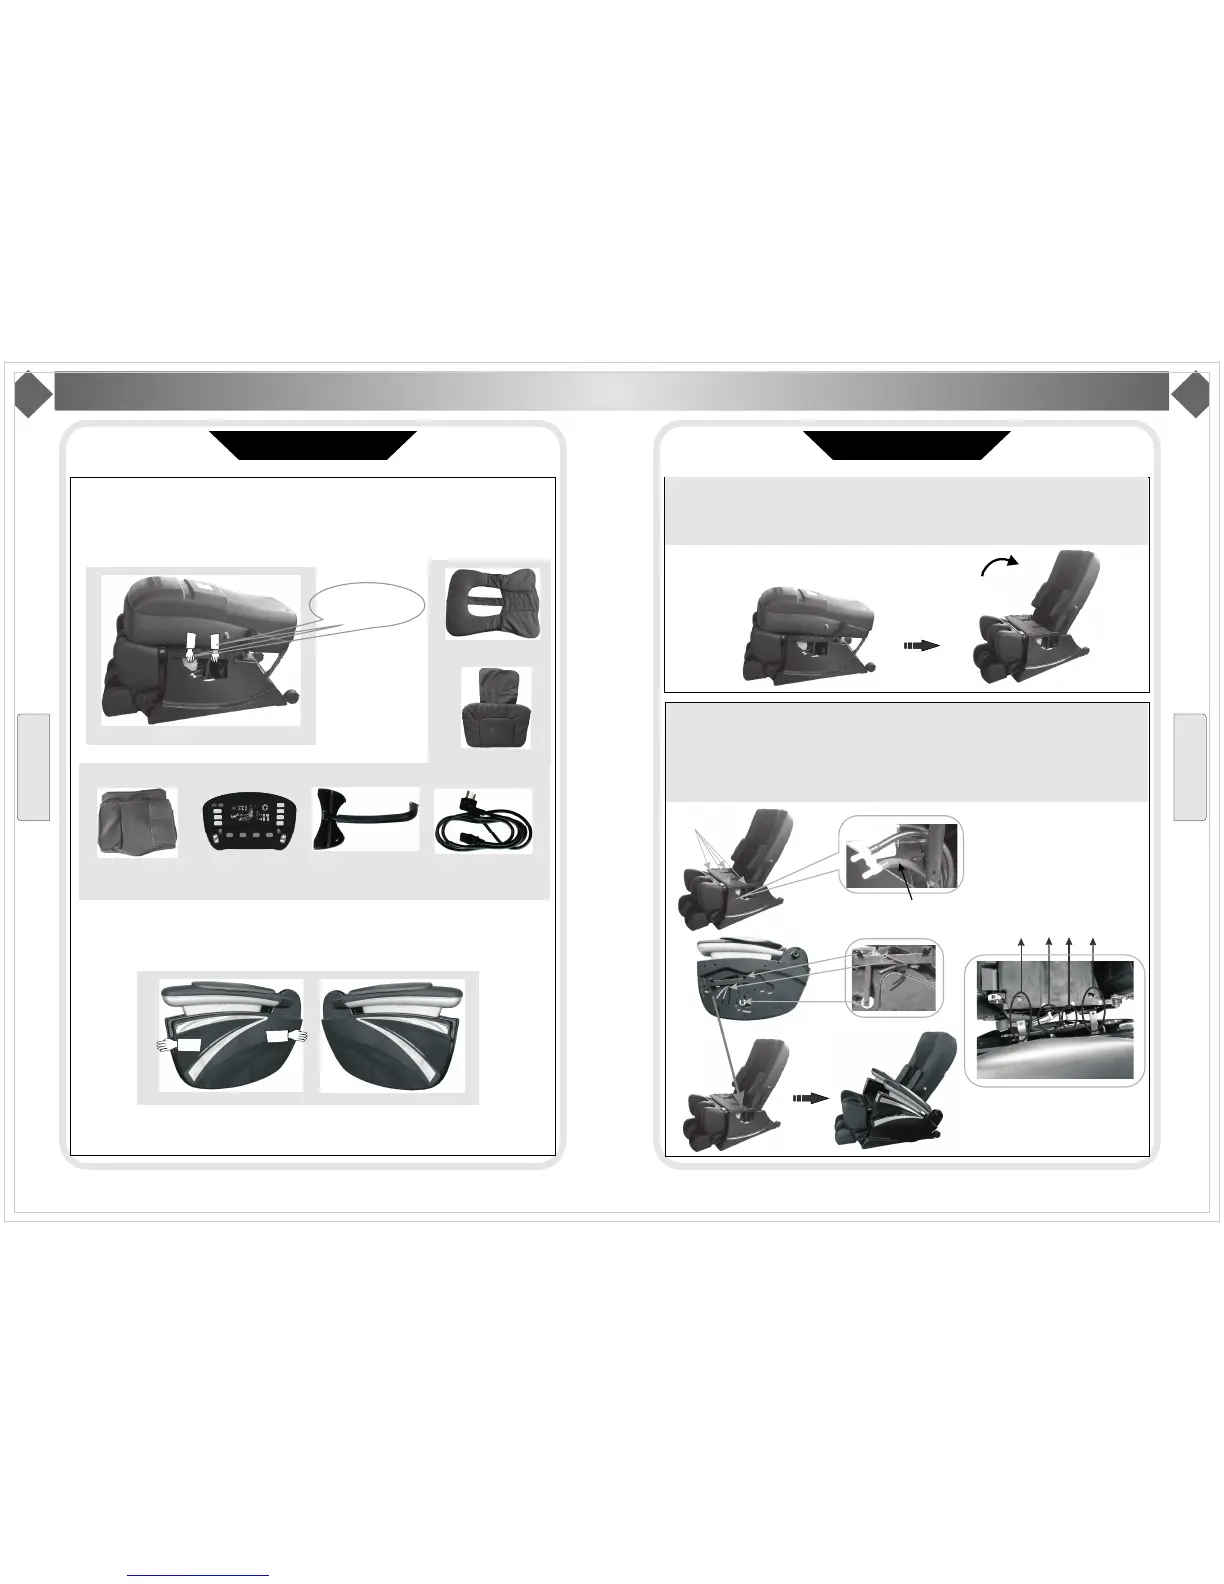
Step2. Setting the main body
Raising up the back to 120 degree, you could hear a click sound, it means back and buckle of
seat connect well.
Step3. Install lower arms
(1) Unloading the screwM6*16(4pcs) on seat metal frame. Connect the tubes on main body and lower
arm(Purple tube connect with purple one, and black with black); Inserting the rotating shaft in lower arm
into the cap in seat frame; Then, moving the lower arm to make the ledger plate aligns with the holes in
seat metal frame and fix with with screws(4pcs M6*16).
ScrewM6*16
Tubeconnector
Tube should be in front
Ledger plate
Tube
Lower rotating shaft
arm
The parts in circle is connector
between arms and seat
B
ac
k ledg
er pla
te and whol
e
Ro
tati
ng sha
ft and cap
T
ub
e conne
ctor
F
ron
tledg
erp
late
and
hole
Installation
O
n/off
T
iming
Mechanical
Massage
P
ressure
Massage
Z
ERO-G
Stop
S
houlder
W
ast
I
ntensity
F
atigue
recovery
Pain
relieving
Comfortable
mood
Demo
Auto
Custom
Returning...Bodydetecting...
O
verall
S
houlder
B
ack
Waist
Point
Width
Speed
3D
Strength
V
olume
 Loading...