WWW.ZETR.COM.AU / CONTACT@ZETR.COM.AU
13 FLUSH FIRE RATED ENCLOSURE / 13-FRE
CONTINUE INSTALLATION FROM STEP 5 OF
THE ‘13-AMA INSTALLATION GUIDE’
Insert the fire rated enclosure into the hole cut-
out. Lightly tap the staples into the wall so the
enclosure sits flush
dovetail washers contained in the mounting
assembly allowing the inner shroud to freely
move back and forth within the mesh frame.
INSTALLATION GUIDE
1
4
5
thread through the fire rated enclosure.
ATTENTION We recommend that the hole
cut-out in your substrate is laser, waterjet or
results. N.B. Consult your substrate fabricator
for best results.
PRE-FABRICATION
POST-FABRICATION
2
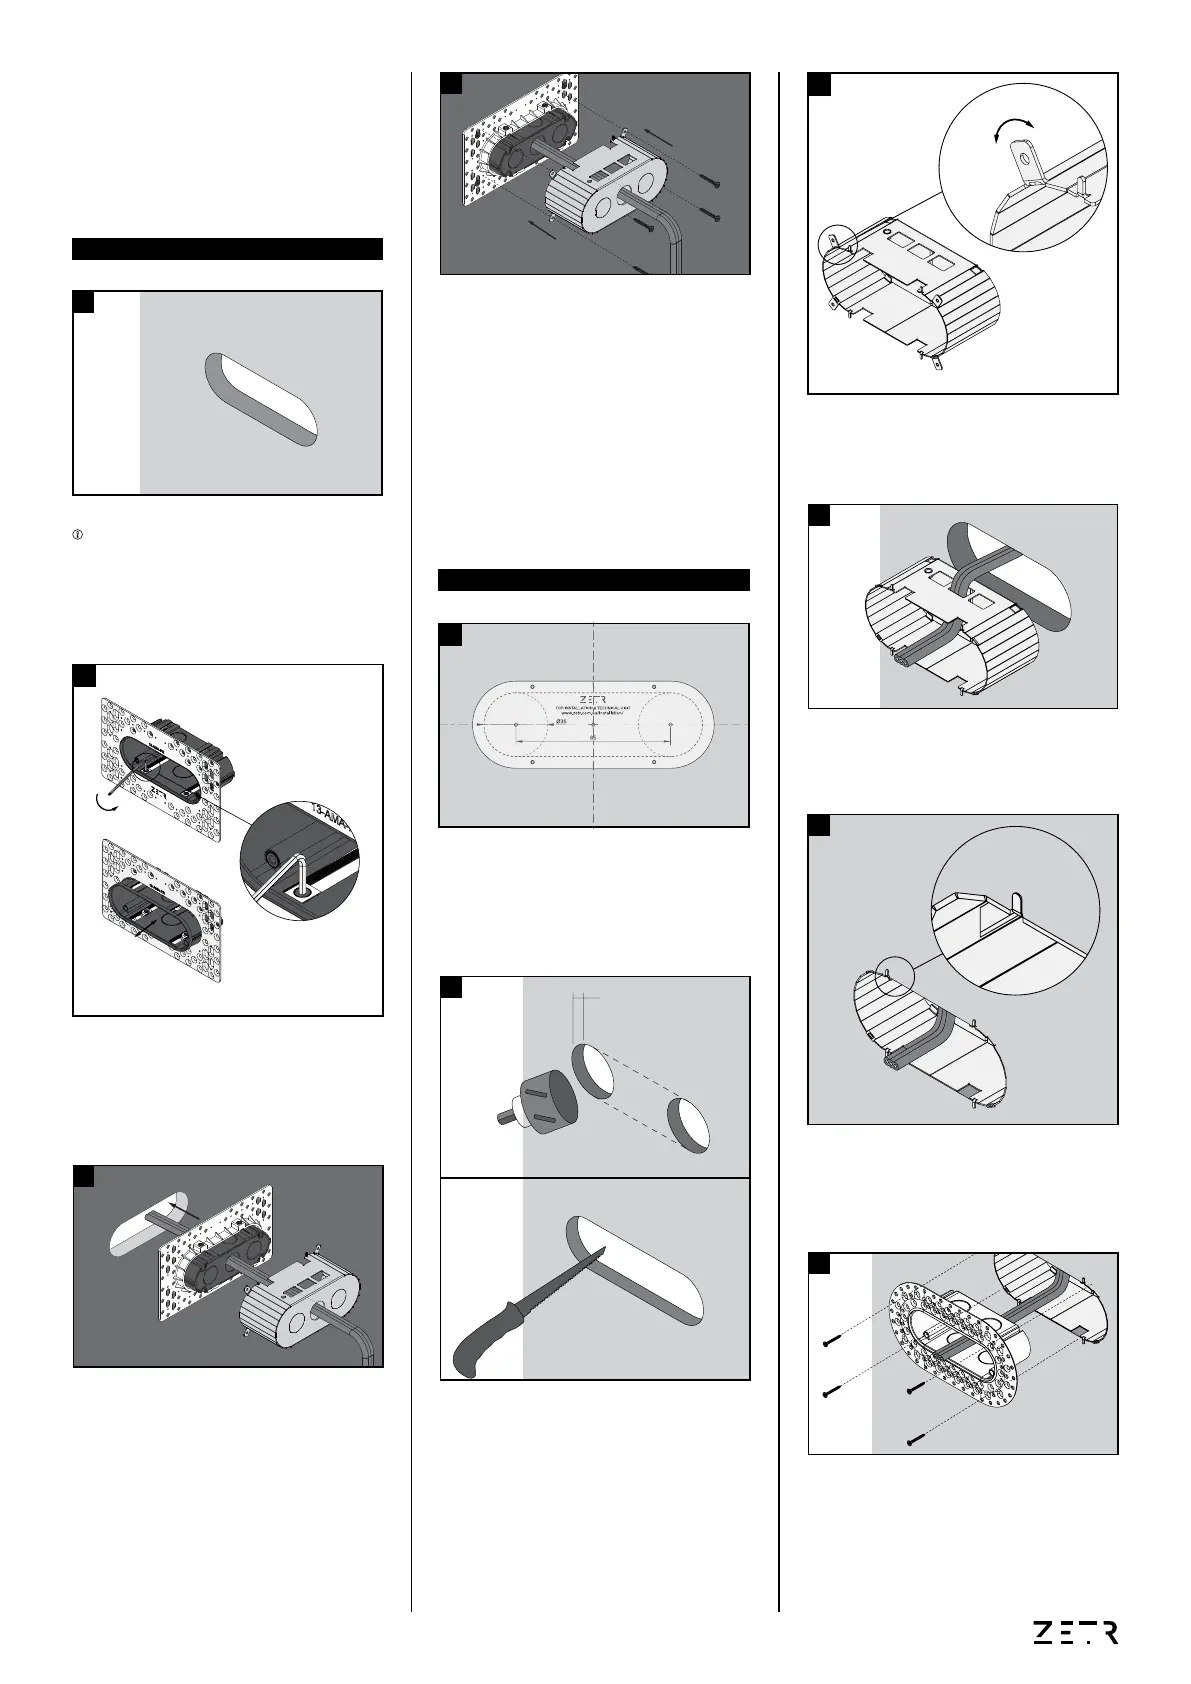
Insert the mounting assembly into the fire
rated enclosure and fasten to the fire resistant
plasterboard.
6
Using a mechanical fastener secure the fire
rated shroud and mounting assembly to the
back side of your substrate.
N.B. Consult your substrate fabricator or
contractor for best fastening method.
4
CONTINUE INSTALLATION FROM STEP 5 OF
THE ‘13-FMA INSTALLATION GUIDE’
Align the centre of the template provided to the
centre of where you’d like to install your outlet/
switchgrid. Once aligned, mark both left and
right hole centres.
1
centre point.
N.B. Ensure these are tangential with the top
and bottom of these holes
mounting assembly and thread through the
hole cut-out.
3
bending them back and forth with pilers.
3
PLASTERBOARD
12.5mm
2
 Loading...