22 23
EN
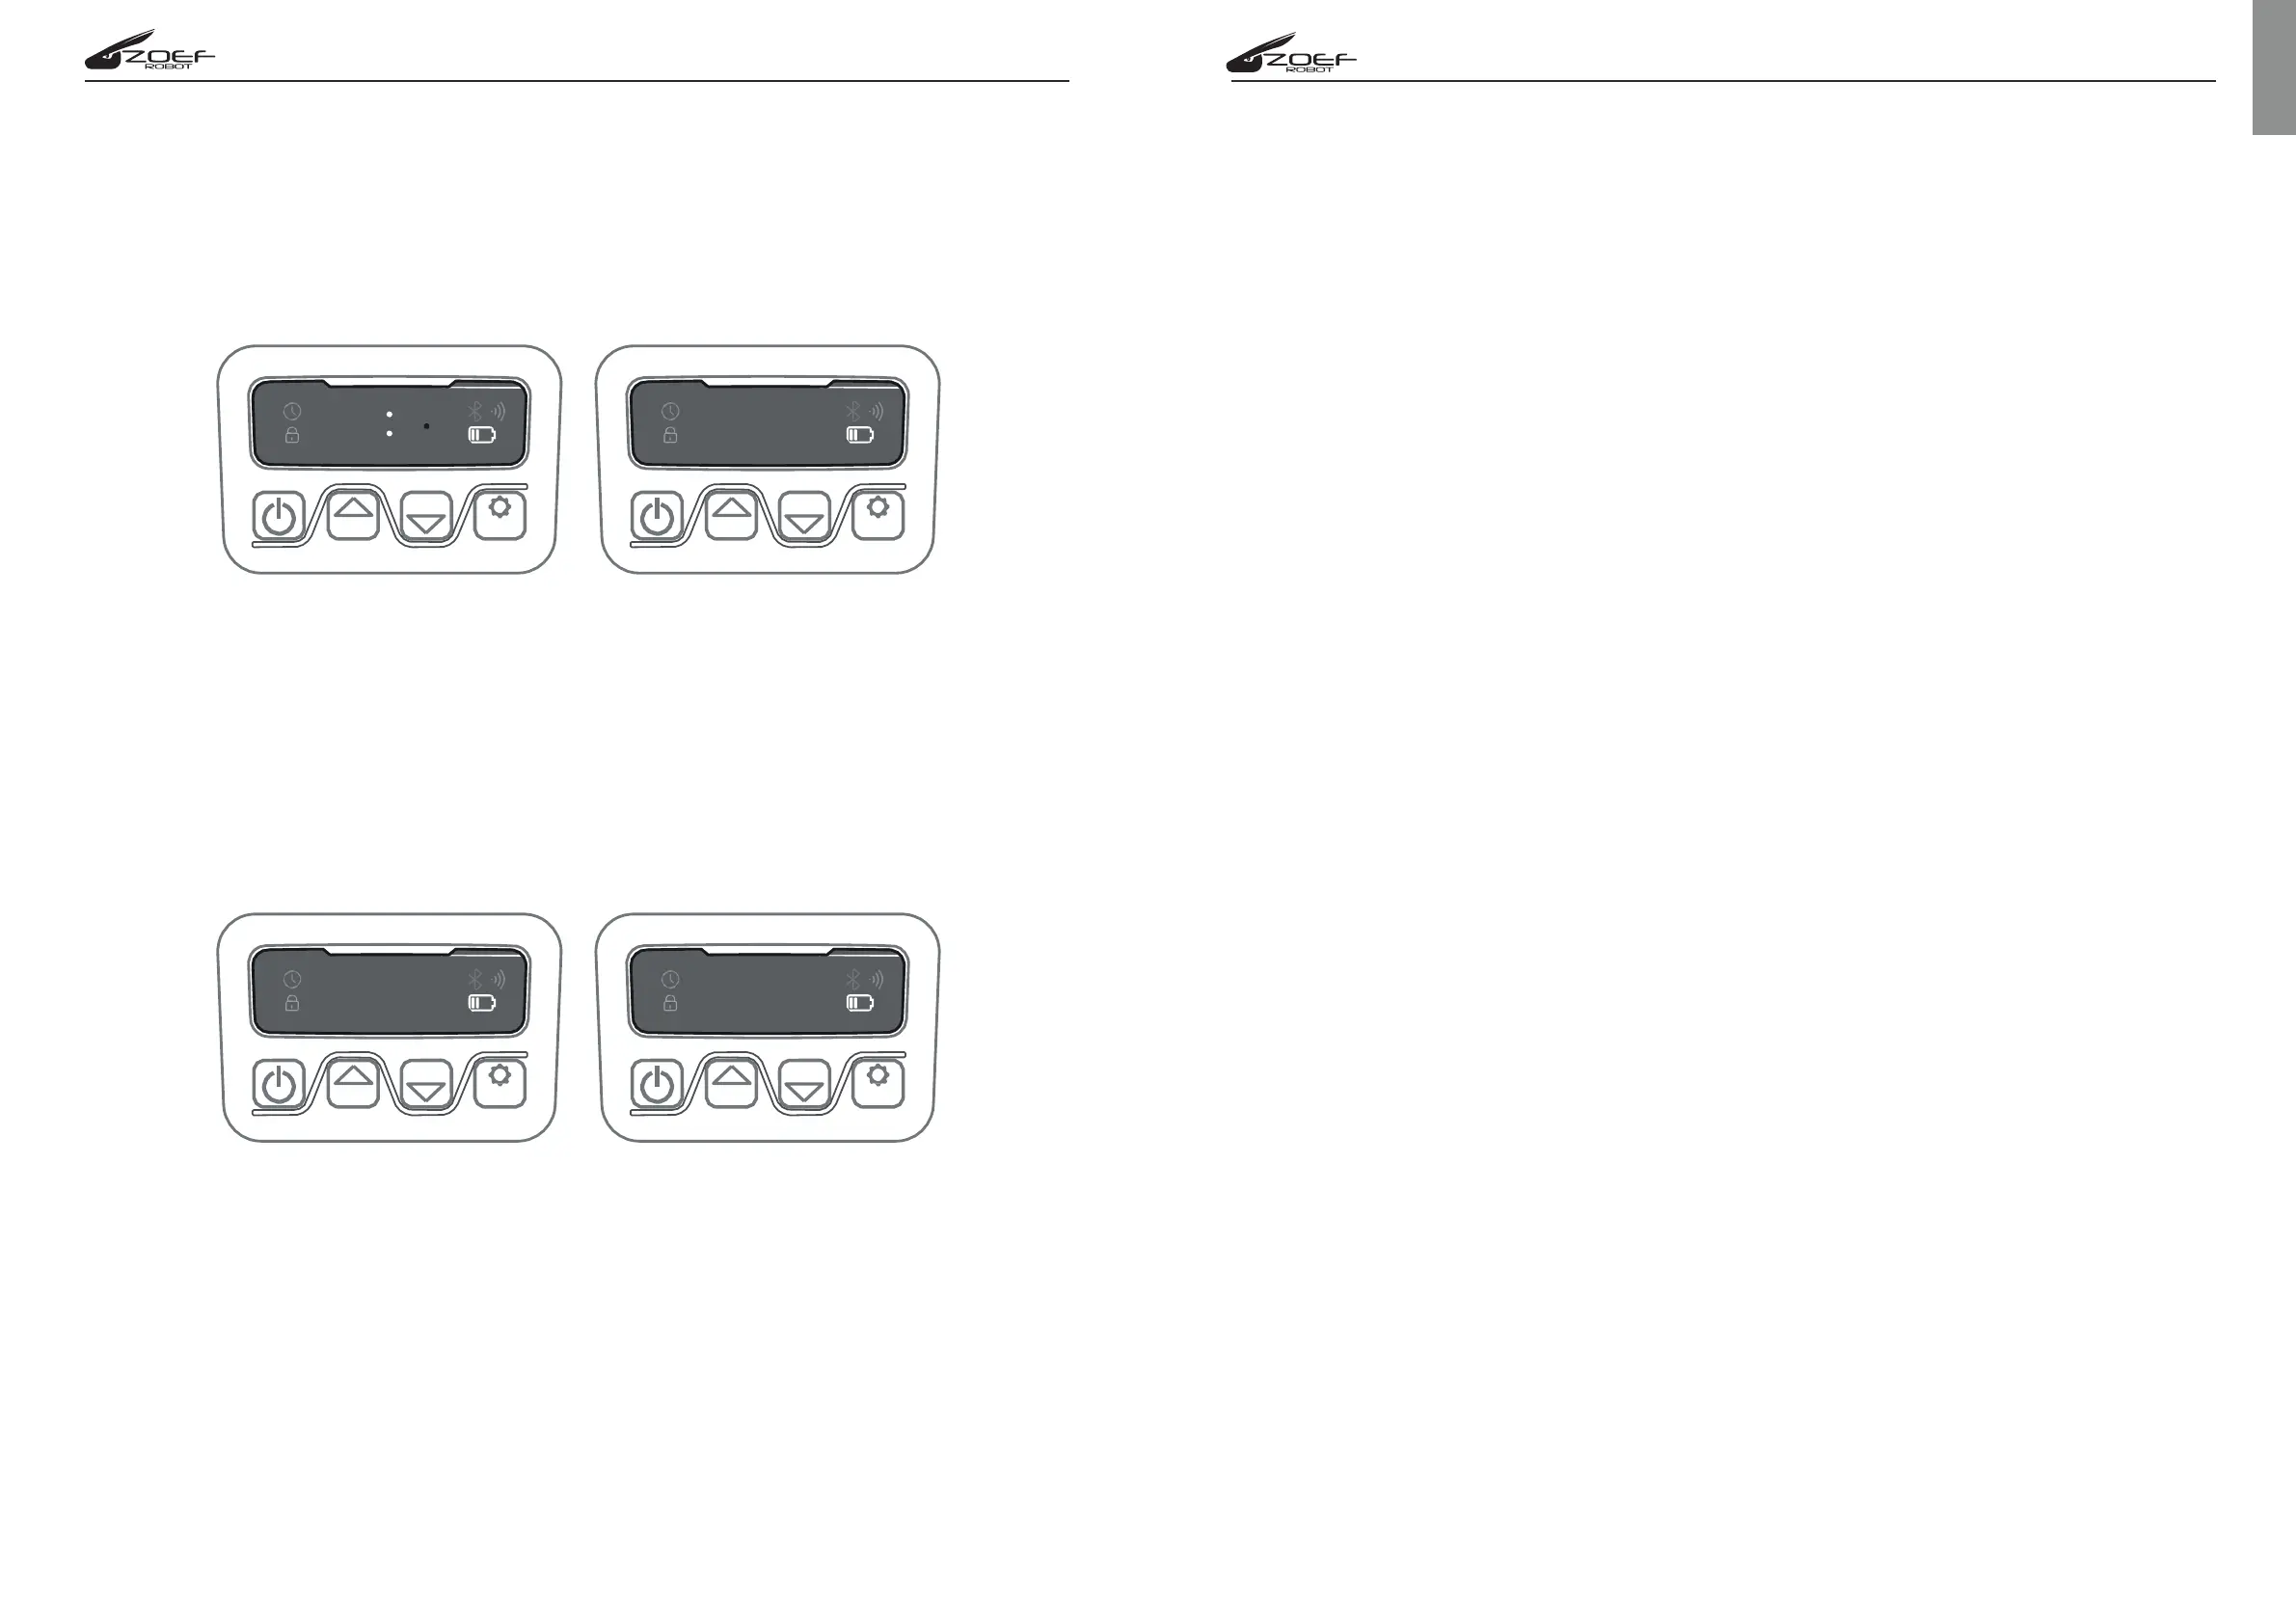
6.3 Change default start time
The default start time of 9:00 can be changed to anytime by keep pressing “START”
and “OK” buttons at the same time for 3 seconds. When the first number is flashing
on the display you can use “START” and “HOME” buttons to select the new start
time and press “OK” to confirm. If “IDLE” will
6.4 Change default Mowing time per day
The default cutting time is 8 hours per day, you can change it to 1-24 hours. Press
“OK” button for 3 seconds, when the first number will flashing on the display use
“HOME” and START” buttons to set a number from 1 to 24 and set how may hours
you want your lawnmower operate in your lawn. Press "OK" to confirm. If "IDLE"
appear on the display the new working time is correctly set.
6.5 Change default mowing time per week
The default cutting time per week 5 day, you can be change to 3 or 7 day, keep.
Press "HOME" and “OK” buttons for 3 seconds, when the first number will
flashing on the display use “HOME” and START” buttons to set a number
from 03 to 07 and set how may days per week you want your lawnmower
operate in your lawn. Press "OK" to confirm. If "IDLE" appear on the display
the new working time per week is correctly set.
7. Function and Error messages self-checking list
Display Status Action
F1 Rain delay activated No action required
E1 Lwanmower outisde 1. Check if the lawnmower is inside the
working area working area.
2.Check if the charging base is porpperly
connected to charger and to the boundary
wire. If yes, the wires are clamped in reverse.
E11 No Boundry signal If the robot is inside the working area and the
charging station light is RED, the wires are not
connected correctly. If it is connected correctly
check whether the wie is interrupted or not.
E2 Wheel motor blocked 1. Turn the mower off and take it to an obstacle
free area.
2. Turn the mower back ond and press OK.
3. If the error message is still displayed, turn the
mower off and check if there is something
preventing the wheels from moving.
4. Remove any obstruction, turn the mower
back upright. Press START then OK.
E3 Blade disc locked 1. Turn the mower off. Turn the mower upside
down and check if there is something
preventing the blades form rotating.
2. Remove any obstruction.
3. Turn the mower upright and take it to an area
with short grass, or adjust the cutting height.
4. Turn the mower on. Press START then OK.
E4 Obstruction sensors 1. Turn lawnmower off. Take it to an area free
are triggerd of obstacles.
2. Remove the floating cover and check the
cylindrical magnet. If there is no magnet,
replace the cover.
3. Turn power on. Press START then OK.
E5 The lawnmower is lifted 1. Turn the mower off. Take it to an area free
of obstacles.
2. Turn the mower on. Press START then OK.
3. If the error message is still displayed; turn
the power off, turn the mower upside down
and check if something prevents the front
wheel axle from moving.
4. Remove any obstruction, turn the mower
back upright. Turn the power on. Press START
then OK.
 Loading...