9
5. Aligning the Finder scope
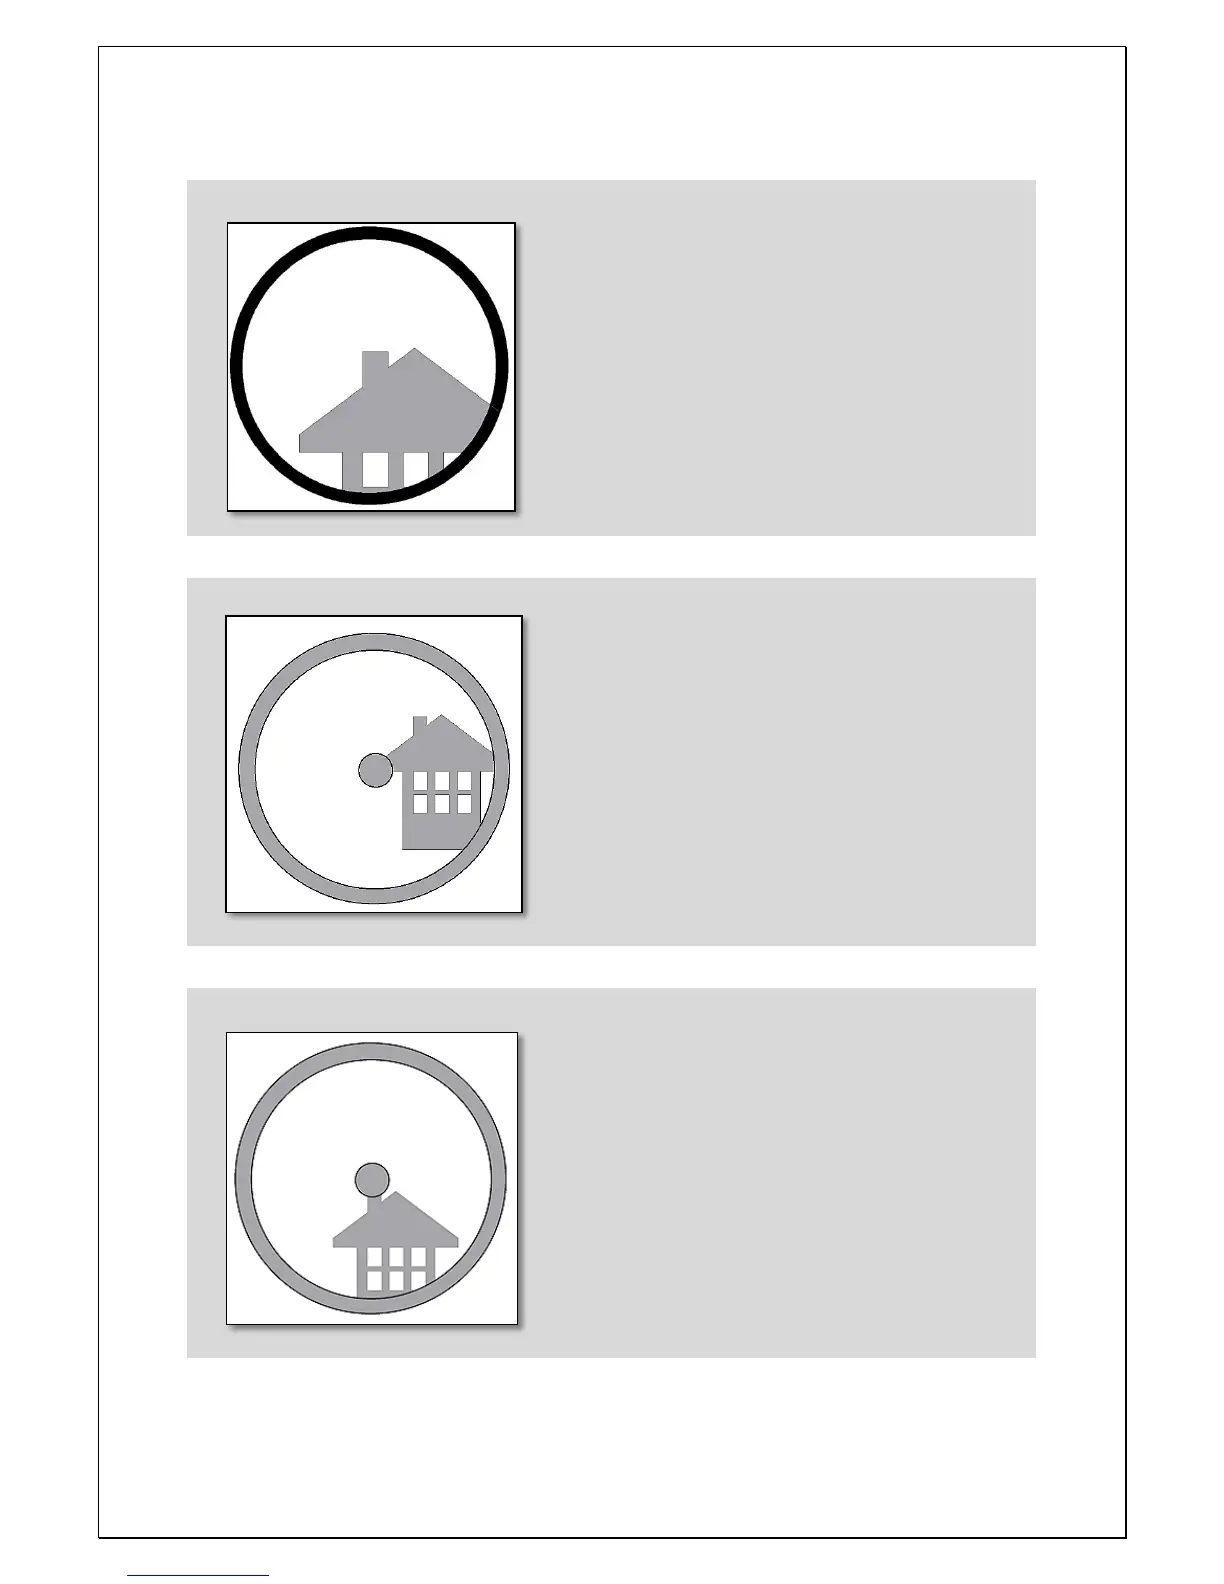
Figure A. A distant object is centered at the telescope’s
field of view. In this example we have a house with a
chimney. The chimney is the reference point to place at
the center of the field of view. We first look through the
telescope with the lowest magnification possible, so we
have the widest field of view.
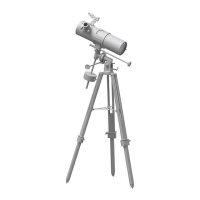
Figure B. Looking through the finderscope (it should be
powered ON) we see the same building ,but in this case
the red dot and chimney are not centered. We adjust
the finderscope using the two altitude and azimuth
knobs so that the finderscope red point moves slightly
until it matches the chimney. This is enough to correct
the objects position in the finderscope. Trial and error
is required to get a satisfactory result.
STEP 2
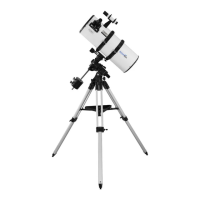
Figure C. After playing with the two findercope
thumbscrews and some trial and error, we get the
finderscope red dot close to the center (in this case the
chimney). The finderscope is now ready to use!
STEP 3