ZEN72 WIRING DIAGRAMS FOR THE MOST COMMON 3-WAY INSTALLATIONS
For more diagrams or to request custom
instructions go to support.getzooz.com
Wire and screw position, as well as color codes
are for illustration only. You should not follow the
colors and positioning in the illustration blindly.
Always identify all wires prior to installing Zooz
switches and make sure you can match the
diagrams to your set-up exactly. Don’t
experiment or attempt a “trial-and-error”
installation for your own safety. Don’t disconnect
any wires before documenting your set-up in
each box with detailed images!
STOP!
NOTE!
If you are not comfortable identifying the wiring
and completing the installation, please consult a
licensed electrician.
Make sure you have identified all wiring correctly
before connecting the switch. If your wiring
doesn’t match any of the below diagrams,
contact our support: ask@getzooz.com
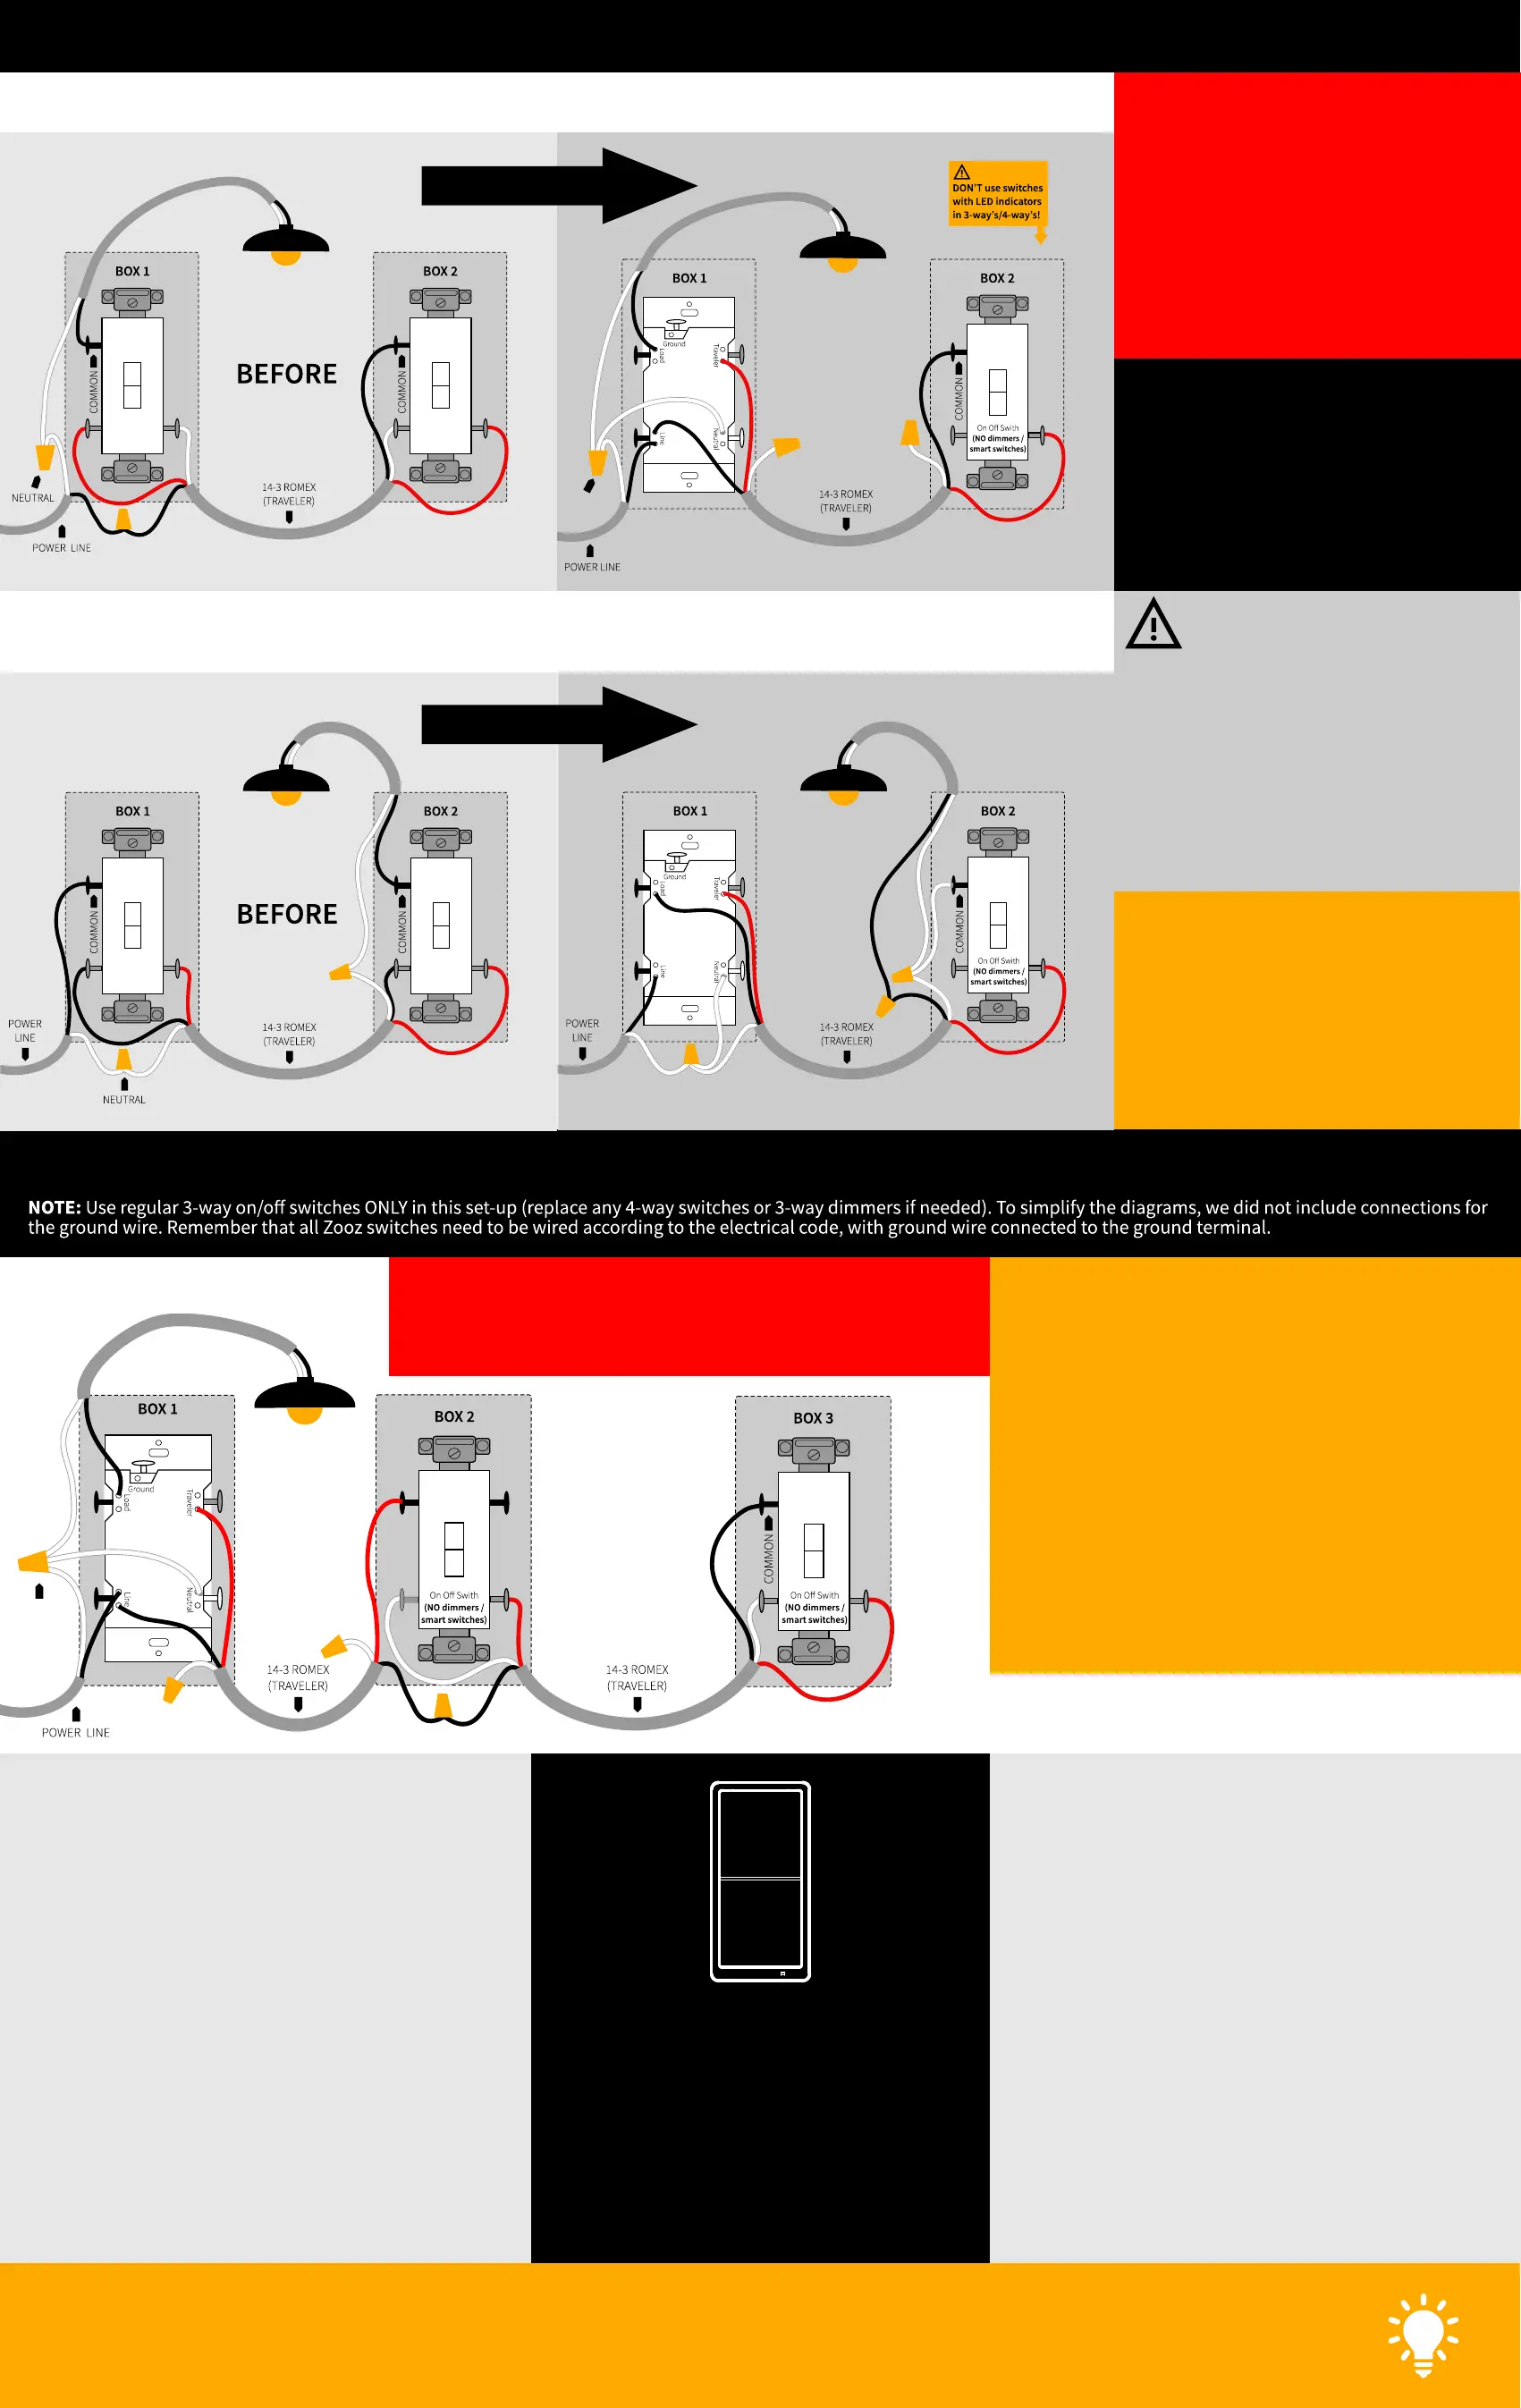
ON/OFF SWITCHES ONLY
Do not connect Zooz Z-Wave switches to an
existing 3-way dimmer, illuminated switch, or
an electronic add-on switch. Zooz switches can
only be wired with mechanical on/off or
momentary switches in a 3-way or 4-way setting!
To simplify the diagrams, we did not include
connections for the ground wire. Remember that
all Zooz switches need to be wired according to
the electrical code, with ground wire connected
to the ground terminal.
POWER OFF!
Cut power to the circuit before handling the
wiring.
Always install your Zooz switch in the box
with direct connection to power line.
Diagrams and instructions in this manual
are for ZEN71 and ZEN72 models ONLY!
ZEN72 4-WAY INSTALLATION WIRING DIAGRAM (LINE AND LOAD MUST BE IN THE SAME BOX)
EACH BOX NEEDS TO BE REWIRED ACCORDING TO
THE 4-WAY DIAGRAM.
Follow this diagram ONLY if you confirmed you
have direct connection to power and light in the
same box. If they’re in separate boxes, use the
ZEN27 / ZEN77 model instead or ask us about
using the ZEN72 dimmer with ZAC99 momentary
switches in 4-way and 5-way installations.
If you have power or load coming into the box
with the 4-way switch, contact us for custom
instructions: ask@getzooz.com
USE IT WITH SMART BULBS!
Want to control your smart bulb from a wall switch without cutting power to it every time you turn the light off from the switch?
We’ll tell you how, just ask!
NEED HELP?
If you’re having trouble reading the
diagrams or don’t see your wiring set-up
here, get in touch! We have more 3-way,
4-way, and 5-way diagrams and
instructions. There are many ways to wire
multi-point control set-ups so unless you
can match your wiring to the diagrams
here, please don’t attempt the installation
for your own safety.
www.support.getzooz.com
ask@getzooz.com
You can now easily check if the switch is within your Z-Wave
hub’s range:
Press and hold the lower paddle for 10 seconds until the LED
indicator starts blinking. Release the paddle and within 2
seconds, tap the lower paddle 2 times quickly. The LED
indicator will then report signal strength.
Solid green = direct communication with the primary controller
is stable
Flashing green = direct communication with the primary
controller is established but signal is weak
Solid blue = stable communication with hub via repeaters
Flashing blue = communication with the primary controller is
established via repeaters but signal is weak
Solid red = communication with the primary controller has
failed
Tap the lower paddle to exit testing mode.
NOTE: This function may only be activated once the switch has
been included to a Z-Wave network.
RANGE TEST TOOL
The white paddles on the ZEN72 switch can
be replaced for a different color!
Please get in touch with our support to check
which colors are currently available and how
to order replacement paddles.
Zooz switches will match the shade of
standard Leviton switches and wall plates
available at any major retailer.
MORE COLOR?
3-WAY DIAGRAM FOR 2-POINT CONTROL WITH ZEN72 AND REGULAR 3-WAY SWITCH: OPTION 1
ZEN72 3-WAY SWITCH
NEUTRAL
3-WAY DIAGRAM FOR 2-POINT CONTROL WITH ZEN72 AND REGULAR 3-WAY SWITCH: OPTION 2
ZEN72 3-WAY SWITCH
REWIRE BOTH BOXES!
REWIRE BOTH BOXES!
NEUTRAL
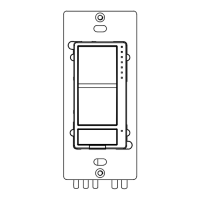
ZEN72
CHECK 3-WAY / 4-WAY TYPE!
Your 3-way and 4-way switches may have a different terminal
layout so identify the in and out terminals on the 4-way switch and
the common terminal on the 3-way switch before the installation.

 Loading...