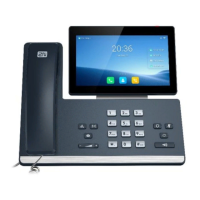
IP Phone Basic Functions
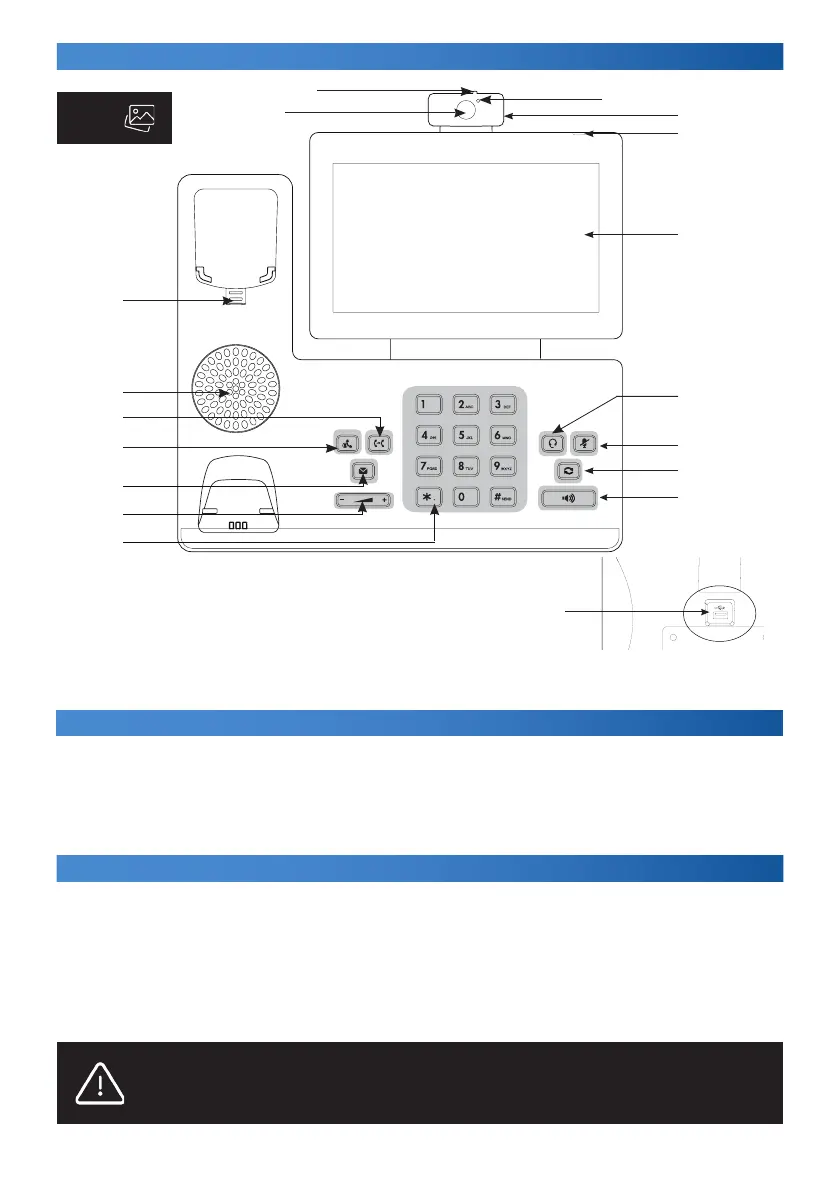
3
3.
4.
5.
6.
7.
8.
9.
15.
16.
17.
14.
13.
12.
2.
1.
10.
11.
Putting in Operation
18.
To put the device in operation, you need to:
• connect the IP phone (connect cabling and power supply)
• 2N® IP Phone D7A – insert the camera
• perform basic IP phone settings (save the configuration data obtained from your IP provider into the
phone system memory)
• Language setting: Menu >Basic > Language > English
Device Connection
1. The phone can be connected to the Internet by an Ethernet cable or Wi-Fi.
a) Using an Ethernet cable, connect the “Internet” socket on the IP phone directly to the Internet
providing device (modem/router, cable modem, Wi-Fi).
b) Using Wi-Fi – having connected your phone to the power adapter and turned the phone on,
interconnect the “PC” socket on the IP phone backside with your PC. Thus, your PC will be connected
to the Internet via the IP phone again. With multiple PCs, you can use an external switch or HUB for the
PC – phone connection.
2. Power supply – connect the adapter to the DC5V socket on the phone backside.
Caution
Never use the power source and PoE supply simultaneously! This may damage the device.
10. Camera LED indicator
11. Camera
12. Power LED sensor
13. Touch display
14. Headset button
15. Mute button
16. REDIAL button
17. Speaker button
18. USB 2.0 on phone backside
1. Aperture switch
2. Camera lens
3. Fork switch – holder
4. Speaker
5. Transfer button
6. Hold button
7. MESSAGE
8. VOLUME button
9. Dial