English
– 9 –
Getting Started
This quick start guide contains software installation instructions for the
following operating systems:
■
Windows NT
■
Windows 2000
■
NetWare
Before you begin software installation:
■
Make sure that all installation requirements are met. The requirements
are listed in the
EtherLink Server 10/100 PCI NIC Family User Guide
on the
3Com EtherLink Server CD
.
■
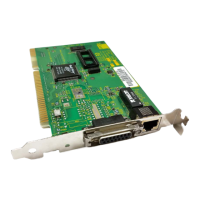
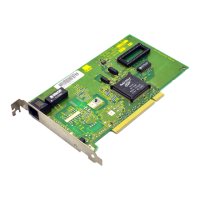
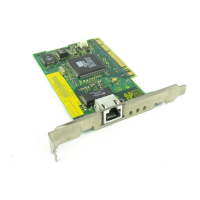
Install the hardware as shown in Figure 1 (see the back inside cover of
this guide).
Installing in Windows NT
Use the following procedure to install the driver and diagnostics for the first
time in a computer that is running Windows NT. (If you are updating a
previous installation, see procedures for updating in Windows in the
EtherLink Server 10/100 PCI NIC Family User Guide
on the
3Com EtherLink
Server CD
.)
1 Boot the computer and start Windows NT.
2 Log in to the Windows NT Administrator account.
3 Insert the
3Com EtherLink Server CD
in the CD-ROM drive.
4 From the Welcome screen, select
NIC Software
.
5Click
NIC Drivers and Diagnostics
.
6 Follow the Wizard prompts.
7 Choose Typical or Custom Installation.
The
Please Wait
screen appears. After the installation is completed, an
Update dialog box appears.
8 Click OK.
The Setup Complete screen appears.
If your network environment uses the TCP/IP communications protocol,
the Microsoft TCP/IP Properties dialog box appears. Enter the information
needed to define an IP address. Continue after you have defined the
TCP/IP settings.
9 Click Finish to complete the installation.
10 Click Exit.
11 Restart your computer for changes to take effect.
QuickGuideMulti.book Page 9 Thursday, October 26, 2000 11:49 AM