4
ASSEMBLY AND ADJUSTMENT
3M™ Welding Shield
Adjusting head band size (Fig. 1)
The ratchet adjustment can be set to the correct head size by pushing the hand-wheel in and turning. The
adjustment position is locked when the hand-wheel is released.
Fig. 1
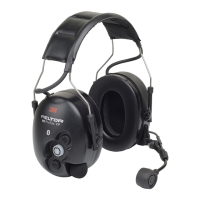
Adjusting the Stop Angle of the Shield (Fig. 2 & 3)
The angle that the welding shield stops when lowered for welding can be adjusted by repositioning the stud in
the shield to one of the four holes in the stop angle adjustment tab as shown. (Fig. 2) The pivot friction knob
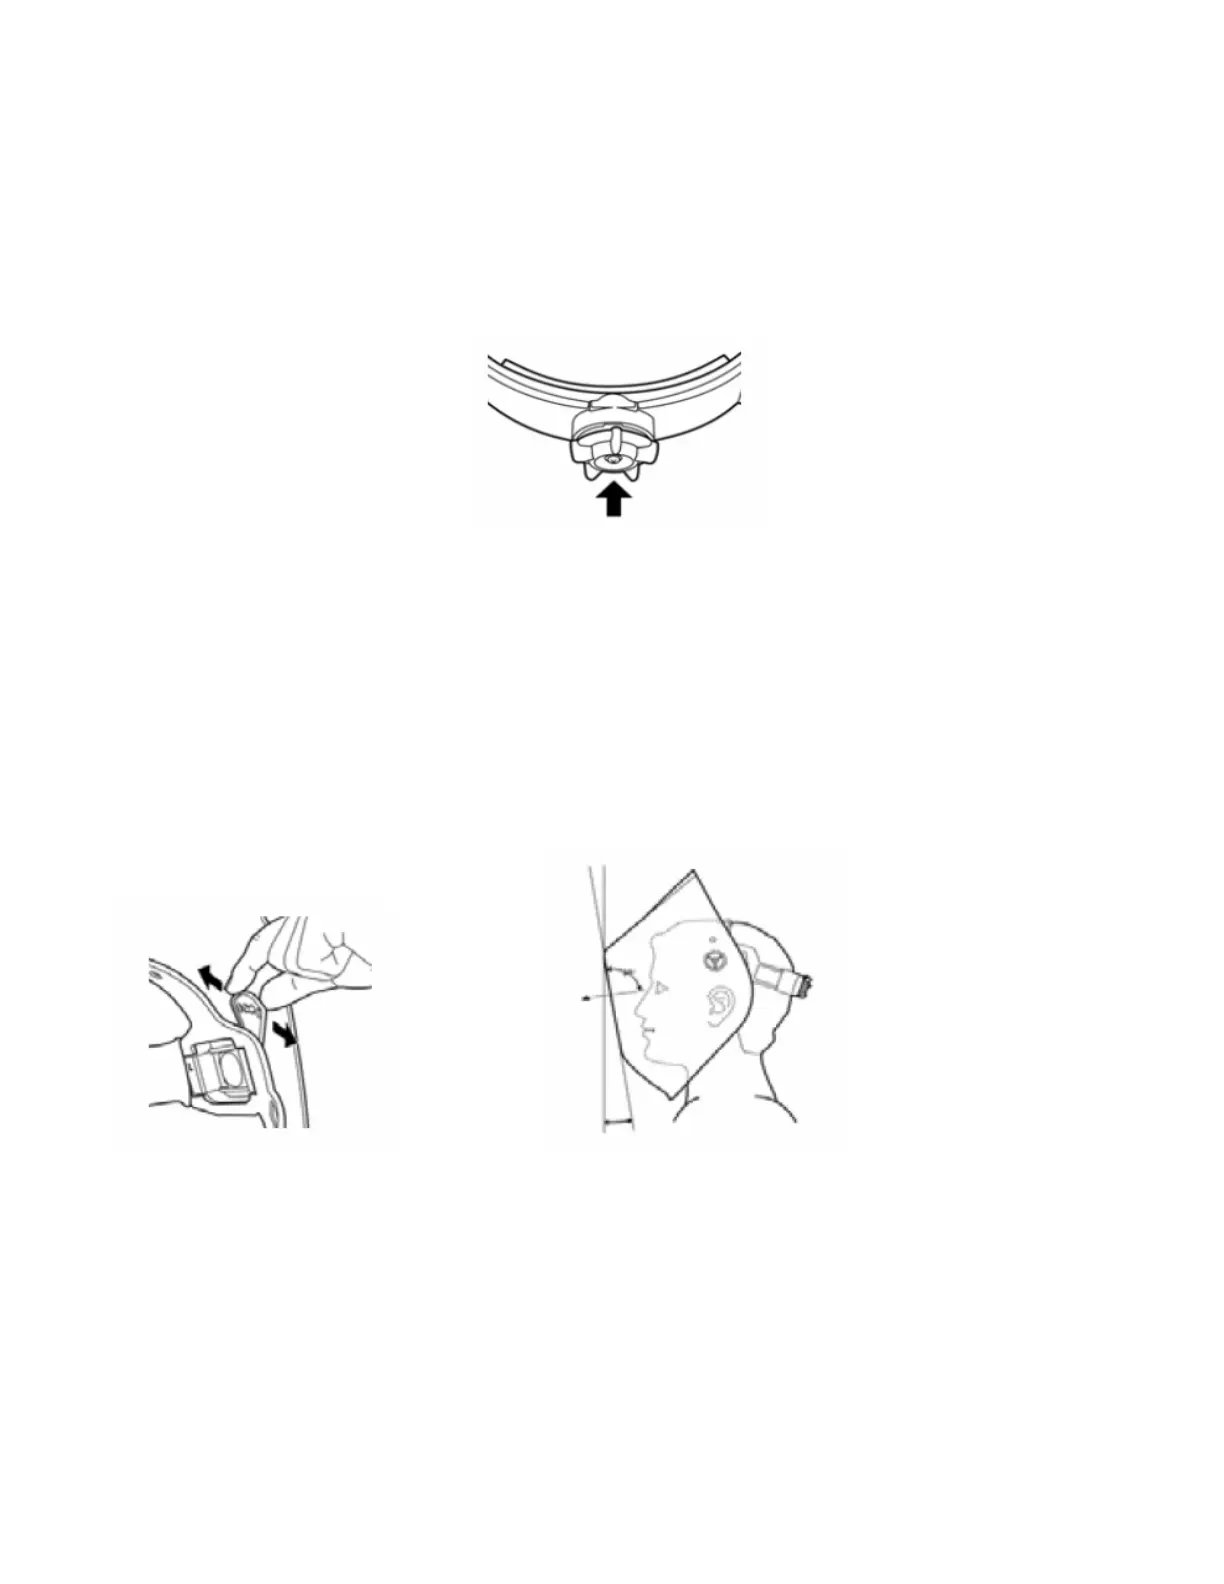
must be loosened before performing this adjustment. The shield should be adjusted so that the welding filter is
perpendicular to the line of sight between the welder’s eye and the welding position. (Fig. 3) If the correct angle
cannot be obtained without the welding shield being too close to the face, the front-back position should be
adjusted outward as shown. (Fig. 4)
Fig. 2 Fig. 3
Adjusting the Front-Back Position
To adjust the distance between the users face and the welding shield, the pivot bushing can be positioned to the
front or back of the notched slots. The pivot friction knob must be removed in order to complete this adjustment.
(Fig. 4)