3. Installation
3.1 Mounting
Often, the most suitable location for the immerSUN is near to the consumer unit. Usually all the
connections required are available here.
The following should be considered when deciding upon the most suitable location:
• Close to the main incoming mains electrical supply of the property
• Access to immersion heater supply cable (this is usually at the consumer unit)
• Access to suitable supply via 16A MCB or 13A fused outlet
• User access to immerSUN controls and visibility of LCD screen
• Adequate ventilation – keeps vents clear and provide airflow around the unit
• Cable access point – through the rear or bottom of the unit
Use the 3 screws and wall plugs provided to mount the immerSUN at the chosen location.
Remove LCD protective cover after mounting the unit.
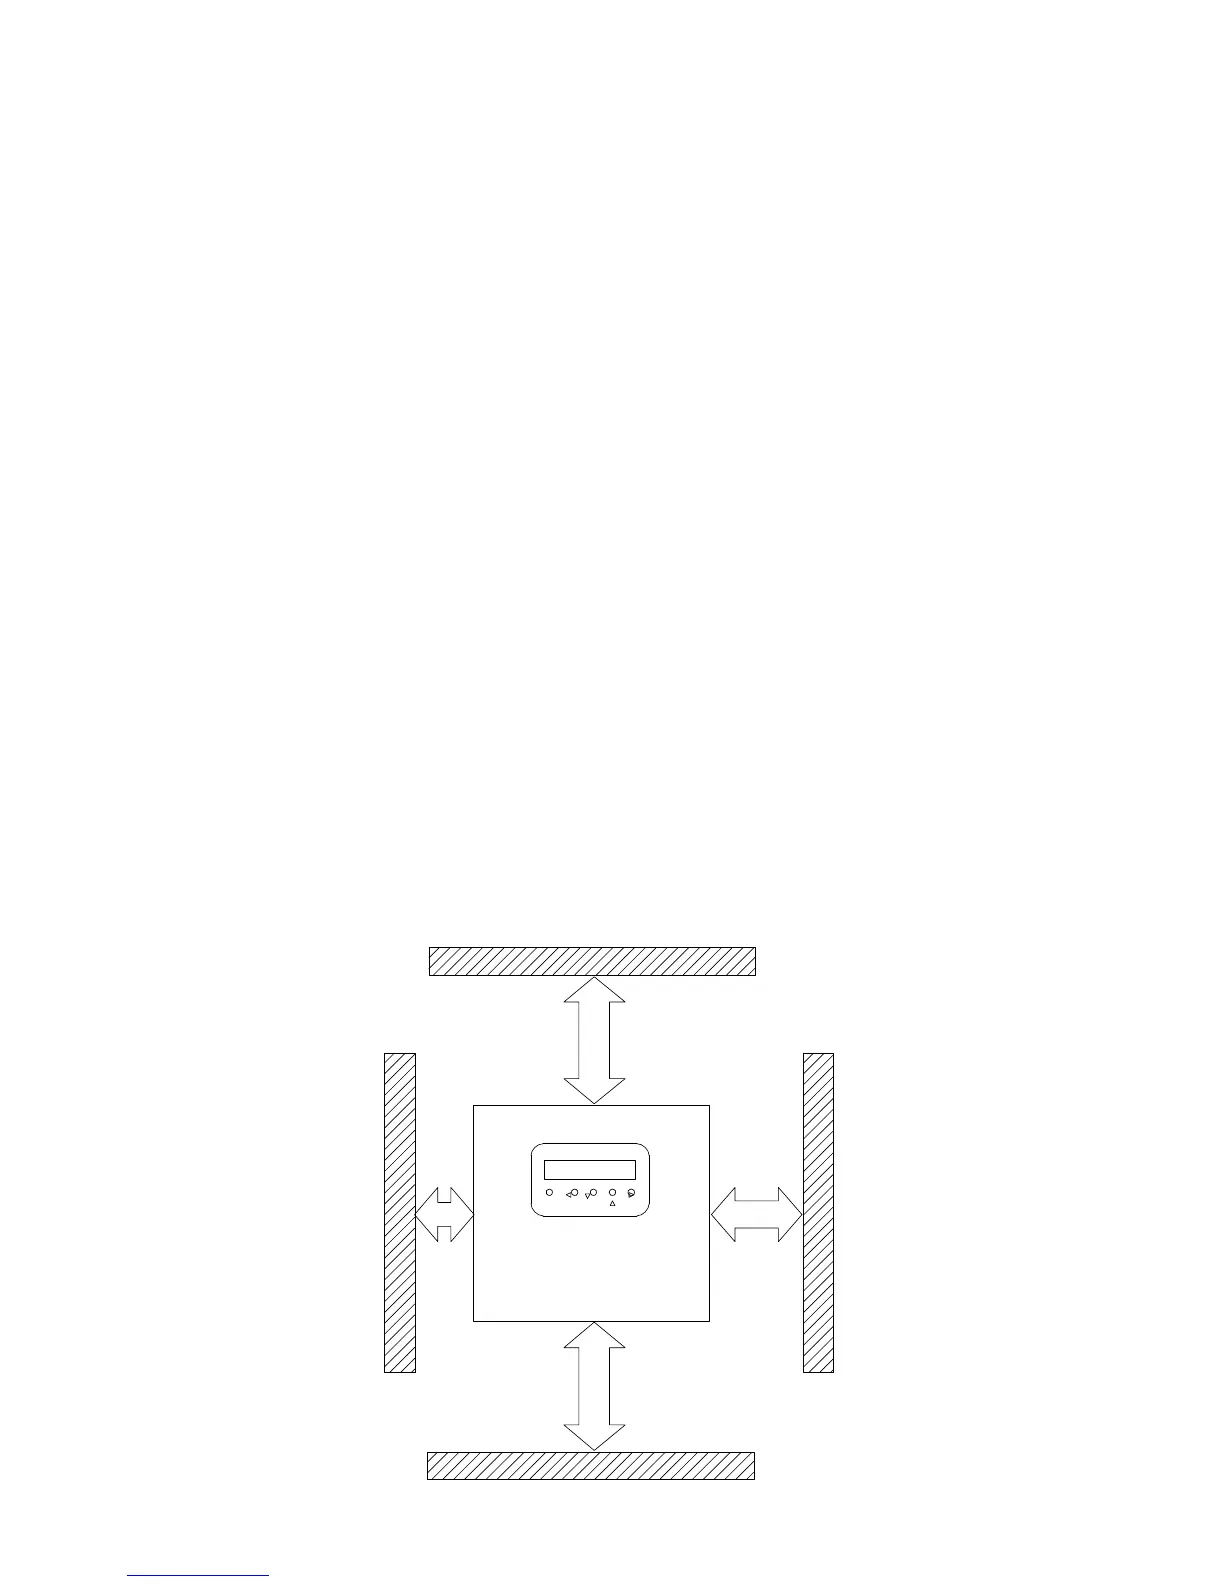
DO NOT BLOCK VENTS! The enclosure may get hot, always keep vents clear of obstruction and allow
sufficient clearance from walls, ceilings and other objects. Observe minimum clearances as shown below.
6
50mm
100mm
100mm
0mm
 Loading...