Do you have a question about the A.O. Smith AO-WH-SOFT-350 and is the answer not in the manual?
Explains the process of water softening through regeneration cycles.
Details the four cycles: Backwash, Brine Rinse, Second Backwash, Brine Refill.
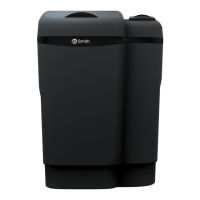
Lists all included parts for the water softener appliance.
Lists tools necessary for basic installation of the softener.
Determines water characteristics like hardness and pH before setup.
Key points to check before commencing appliance installation.
Defines types of iron and how they affect water softening.
Calculates compensated hardness by adding ferrous iron to actual hardness.
Guidelines for proper installation and usage to ensure optimal performance.
Identifies parts on the rear of the water softener unit.
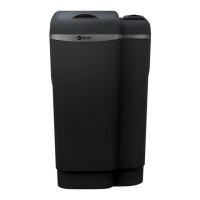
Identifies parts on the top of the water softener unit.
Steps for appliance preparation, area setup, and turning off utilities.
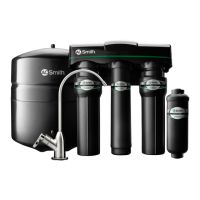
Details on connecting inlet/outlet lines to the appliance.
Connect overflow elbow to brine cabinet and drain line.
Route drain line to a suitable waste receptacle, ensuring proper air gap.
Flush plumbing with water to remove foreign material.
Inspect all connections for leaks and repair as needed.
Connect the transformer to the controller and electrical outlet.
Configure settings like hardness, time, and regeneration parameters.
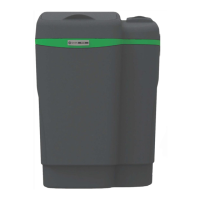
Add initial water to the brine cabinet for startup.
Fill the brine cabinet with appropriate salt type.
Final steps including flushing and placing the cover.
Addresses issues related to the absence of soft water output.
Diagnoses why water flow is not registered or indicated incorrectly.
Troubleshoots problems with the controller display and power connection.
Resolves problems with regeneration cycles and brine tank water levels.
Addresses salty water output and controller error codes.
| Brand | A.O. Smith |
|---|---|
| Model | AO-WH-SOFT-350 |
| Category | Water Dispenser |
| Language | English |