Initial Setup
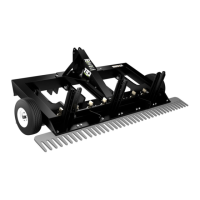
Step 1:
Attach the tractor to the lower arms indicated by arrow #1
in the picture. There are two connecting holes on the TR3
for the bottom arms of the tractor to attach to. If the TR3 is
connected to the bottom holes, then make sure to connect
the Top Link in the bottom holes on the mast shown by
the arrow labeled #2. If the lower arms of the tractor are
connected to the TR3 in the top hole, connect the Top Link
using the top hole as well. The Top Link is shown in Fig. 1.
Step 2:
Make sure that the Scarifiers are pinned in the first hole or
above on top of the Scarifier Tube for the setup process.
The Scarifier tube has 4 holes in it, allowing the Scarifier’s
to be adjusted to the depth desired for ripping with the
TR3. For setup purposes the Scarifier’s should be pinned
up, so that the TR3 can be properly leveled; without the
Scarifier’s hindering any adjustments.
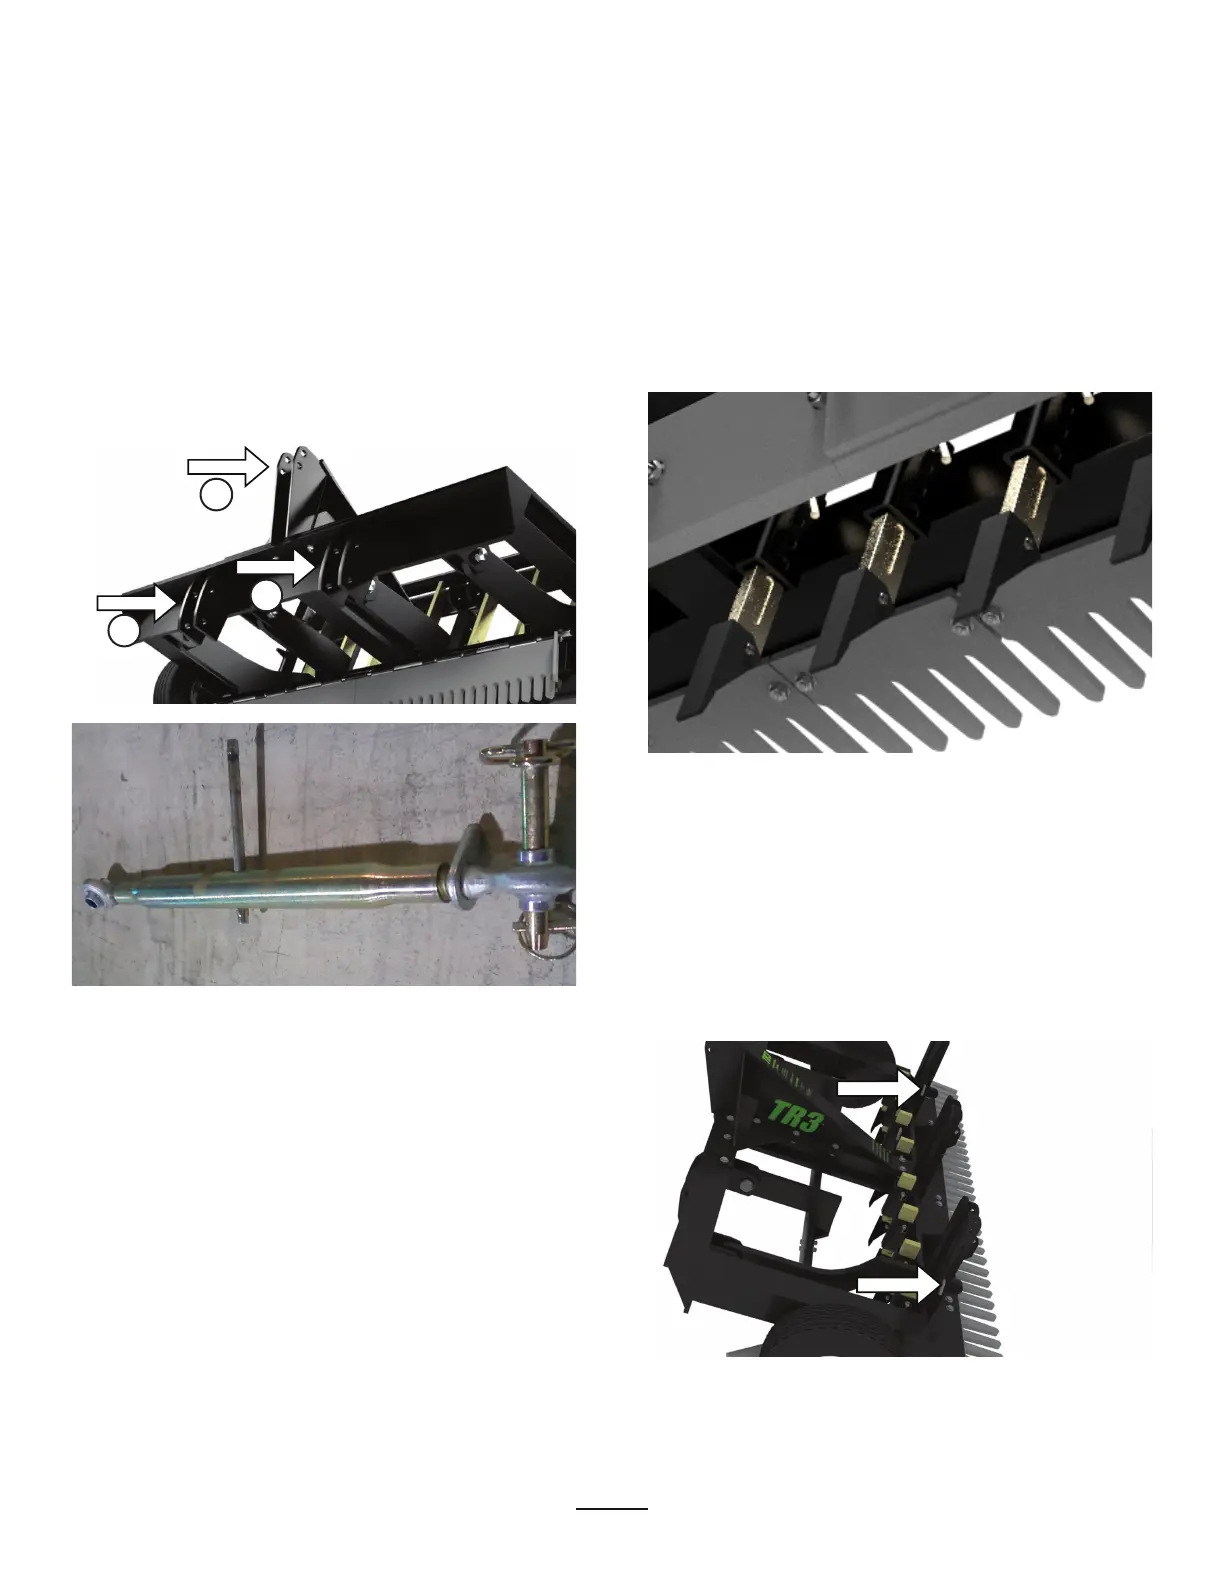
Step 3:
Remove the ½” bent pins from the upright mast on the back
that is locking down the leveling blade. If these pins are
already up then skip this step and move on to step 4. If the
pins are in place and cannot be removed from the uprights,
then the TR3 may need to be lowered to the ground to take
the pressure o the pins. Remove the pins and pin each one
in the top hole on the uprights.
Figure 1
NOTE: Ensure the Draw Bar on the Tractor is pushed in before
hooking up the TR3 to the Tow Vehicle. Make sure the bottom
3 point arms are set to the same length, and that the Tractor
sway bars are fully locked on the bottom 3 point arms prior to
operation.
#2
#1
#1
Visit: www.abisupport.com
10