8 Aceletiqs Align Ball Storage Rack Assembly Guide & User Manual 9
9-MINUTE ASSEMBLY GUIDE 9-MINUTE ASSEMBLY GUIDE
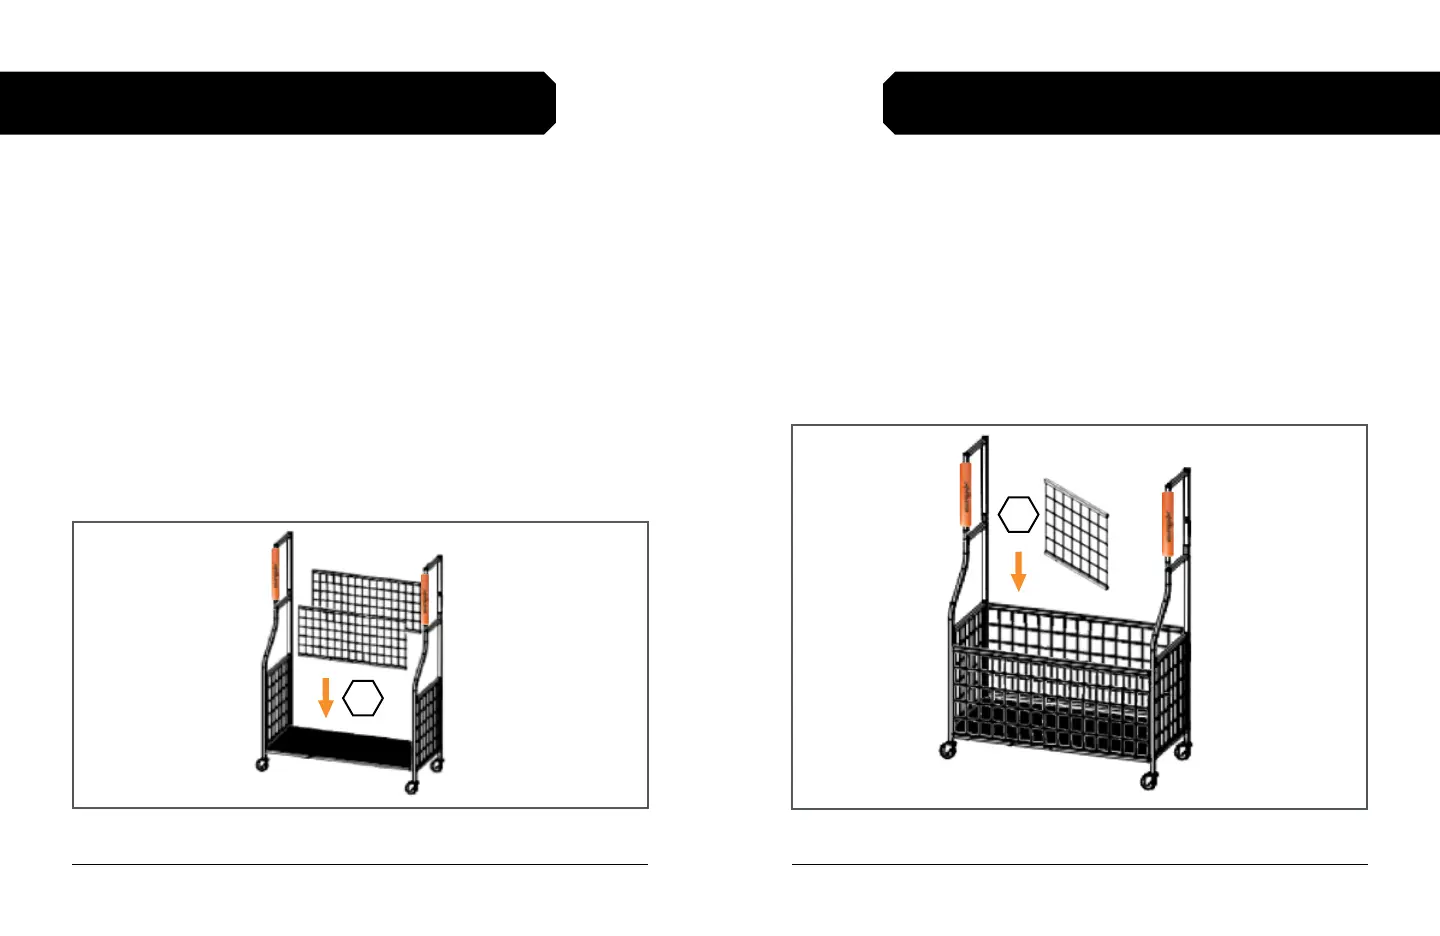
STEP 4: ATTACH THE CENTER PANEL
1. Gather the center panel, labeled [6].
NOTE: Center panel divides the bottom section into two large bins.
2. Use four M6×24mm screws to attach the center panel [6]
between the front and back panels. See Fig. 4.
a. One screw will insert from the front and one from the back
3. Use the hex key to fully tighten the screws.
STEP 3: ATTACH THE FRONT AND BACK PANELS
1. Gather the front and back panels, labeled [5].
2. Use four long M6×24mm screws to attach one of the front and
back panels [5] to the front of the rack. See Fig. 3.
a. Screws insert from the sides (on the outside) of the frame.
b. Use the upper screw holes.
c. Wire mesh on the front and back panels [5] faces to the
outside.
3. Use the hex key to fully tighten the screws.
4. Repeat 2–3 above to attach the second panel [5] on the back
side of the rack.
Figure 4. Attach the center panel
Figure 3. Attach the front and back panels
5
6