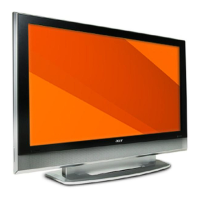
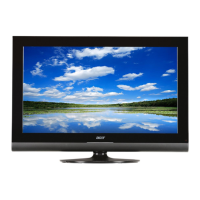
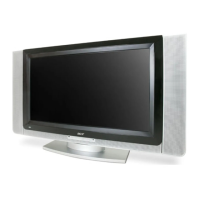
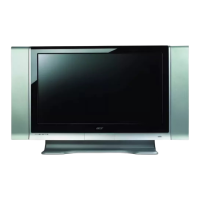
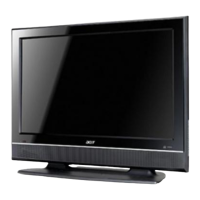
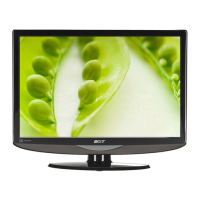
The Acer LCD TV is a versatile display unit designed to provide years of entertainment and satisfaction. This user's guide introduces you to its various features, offering clear and concise information for optimal use and maintenance.
Function Description
The Acer LCD TV serves as a primary display for various audio and video sources, including analog TV, DVD players, VCRs, set-top boxes (STBs), cameras, camcorders, video game consoles, and personal computers. Its core function is to render high-quality images and sound from these diverse inputs.
For analog TV viewing, the device connects to an antenna or cable, allowing users to access broadcast channels. The TV features a built-in tuner that supports PAL and SECAM color systems, B/G/D/K/I/L sound systems, and NICAM/A2 stereo systems, ensuring compatibility with various regional broadcast standards. Teletext 1.5 is also supported, providing additional information services.
The TV offers extensive connectivity options on its rear panel, including HDMI, VGA-in, PC Audio-in, AV-Audio L/R + CVBS + COMPONENT, and SCART ports. These allow for seamless integration with a wide array of external devices. HDMI ports are recommended for the highest quality digital connections, followed by Component, SCART, and Composite for analog signals.
The remote control is the primary interface for operating the TV, offering a comprehensive set of keys for power, display information, mute, input selection (TV/AV/SCART/PC), sleep timer, number keys for direct channel access, recall for previous channels, and an ENTER key for confirmation. Directional keys and an OK button facilitate navigation within the On-Screen Display (OSD) menus. Volume and channel up/down buttons provide direct control over audio and channel selection. The WIDE button allows users to toggle between various widescreen display modes, including 4:3, 16:9, Panorama, and Letterbox 1, 2, and 3, to optimize viewing for different content formats. The MPX button is used to select sound input modes such as mono, stereo, or bilingual.
The OSD menus are central to customizing the TV's performance. These menus are categorized into Picture, Audio, Channel Management, Options, and Settings. Through the Picture menu, users can adjust scenario mode, brightness, contrast, color, sharpness, noise reduction, and color temperature. The Audio menu allows for adjustments to treble, bass, balance, and sound effects. Channel Management provides tools for country selection, channel skipping, reordering, naming, frequency adjustment, and auto/manual scanning. The Options menu includes settings for wide mode, sleep timer, and resetting options. The Settings menu covers menu language, PIN setup, and TV locking features.
Usage Features
Upon first use, the TV guides the user through a "Setup Wizard" to select the preferred language and country, and to scan for analog channels. This ensures a quick and easy initial setup. If the setup process is interrupted, users can choose to resume it, restart it at the next startup, or exit without reminders.
Channel selection can be done directly using the number keys on the remote control, with a 2-second delay before switching, or immediately by pressing ENTER after entering the channel number. Alternatively, the CH up/down buttons allow for sequential channel browsing. Volume control is managed via the VOL up/down buttons.
For external devices, the TV supports various connection types. DVD players, VCRs, STBs, and other audio/video equipment can be connected via the SCART port, which supports both input and output (SCART-out works only with analog broadcasts). Cameras, camcorders, and video game consoles typically connect to the video/audio ports. For PC or notebook connections, the VGA-in port is used, with a recommended resolution of 1360 x 768 pixels at 60 Hz refresh rate for optimal display. Selecting the correct input source is crucial and is done by pressing the corresponding input buttons (TV, AV, SCART, PC) on the remote control. The AV key toggles between AV, HDMI1, and HDMI2, while the SCART key toggles between SCART1 and SCART2.
Advanced features enhance the user experience. The "Lock TV" function allows users to block all TV sources by setting a four-digit PIN, preventing unauthorized viewing. The default PIN is "0000," and a reset code "6163" is provided in case the PIN is forgotten. Channel reordering and re-scanning are also available through the Channel Management OSD menu, allowing users to organize their channel list and update it for new broadcasts. The widescreen display mode offers flexibility in how content is viewed, accommodating different aspect ratios to prevent distortion or to fill the screen as desired.
Maintenance Features
The user's guide emphasizes several safety and maintenance instructions to ensure the longevity and safe operation of the Acer LCD TV.
For cleaning, the TV should be unplugged from the wall outlet, and a damp cloth should be used; liquid or aerosol cleaners are not recommended. The TV should not be used near water or placed on unstable surfaces. Proper ventilation is crucial, so slots and openings should never be blocked. The TV should not be placed near radiators, heat registers, or in built-in installations without adequate ventilation.
The TV should be operated using the specified power type, and the power cord should not be stepped on or overloaded. If an extension cord is used, its ampere rating and the total rating of all plugged-in products should not exceed the fuse rating. Objects should never be pushed into cabinet slots to avoid electric shock or fire. Spilling liquids on the product should also be avoided.
Servicing should only be performed by qualified personnel. Users are advised not to attempt to service the product themselves, as opening covers can expose dangerous voltage points. Specific conditions warranting professional service include a damaged power cord or plug, liquid spills, exposure to rain or water, abnormal operation, physical damage (dropped or damaged case), or a distinct change in performance.
Troubleshooting tips are provided to address common issues before contacting customer service. If there is no picture or sound, users should check the power cord, input mode, antenna connection, main power switch, volume, mute setting, and headphone connection. For unclear pictures, checking the antenna cable, signal reception, and interference from other peripherals or electrical devices is recommended. Issues with picture darkness, lightness, or tint can often be resolved by adjusting color, brightness, and sharpness settings. If the remote control is not working, users should check the batteries, ensure the remote sensor window is not under strong fluorescent lighting, clean the sensor lens, or use the TV's physical buttons as an alternative.
The guide also highlights the importance of using the proper type of power supply cord set provided with the unit and disconnecting it before any servicing or disassembly. For products with a three-wire grounding-type plug, ensuring the AC outlet is properly grounded is a safety feature that should not be defeated.
These guidelines ensure that users can maintain their Acer LCD TV in optimal condition, prolonging its lifespan and ensuring a safe and enjoyable viewing experience.