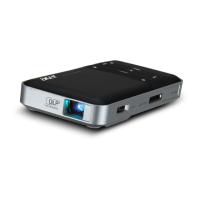
1. Connecting the Projector
Connect the USB connector to your computer and plug the USB connector
to the projector. If you want a brighter display, plug two USB connector to
you computer.
Note: It is recommended that you should plug the two USB
connectors on the same side of the computer to get the best
performance. Please make sure that your computer is capable of
supplying sufficient current through the USB ports.
Note: If only one USB port is available, use the Master USB
connector.
2. Software Installation
When you first plug in your projector, the built-in software will automatically
run. Select “Run AcerDetection.exe” to complete installation.
If the software does not auto run, open your file manager and click on the
“Acer DisplayPal” drive and click on the “Acer DisplayPal_Setup.exe” to
complete the installation.
QSG.fm Page 1 Wednesday, July 20, 2011 12:06 PM