Do you have a question about the Acer CB271H and is the answer not in the manual?
Turn off, unplug, spray non-solvent cleaner onto rag, clean gently.
Avoid windows, rain, moisture, sunlight. Do not apply excessive pressure to the screen.
Authorized service only. Store between -20° to 60° C. Unplug and call technician for damage.
Remove monitor, attach footstand, lock base, secure with screw using tab or coin.
Connect signal cable (VGA, DVI, HDMI) to monitor and computer graphics card.
Connect audio input and monitor power cable, then plug into outlet.
Turns the monitor on/off. Indicates power status (Blue/Amber).
Minus/Plus for OSD options or volume. Menu to view/enter OSD. Auto for OSD exit or optimization.
Acts as OSD exit key or selects scenario mode when OSD is inactive.
Device complies with FCC Part 15 and CE directives for safety and interference.
Use shielded cables and only certified peripherals for EMC compliance.
Avoid unauthorized modifications. Do not lift by the base. Follow operation conditions.
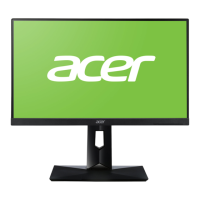
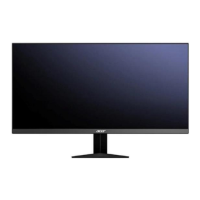
| Screen shape | Flat |
|---|---|
| Display diagonal | 27 \ |
| Display technology | LED |
| Native aspect ratio | 16:9 |
| Maximum refresh rate | - Hz |
| Display brightness (typical) | 250 cd/m² |
| Supported graphics resolutions | 1920 x 1080 (HD 1080) |
| HDMI version | 1.3 |
| Power consumption (standby) | - W |
| Tilt angle range | -5 - 35 ° |
| Panel mounting interface | 100 x 100 mm |
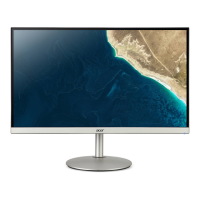
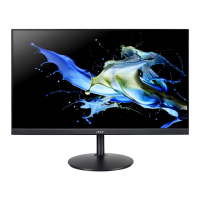
| Product color | Black |
| Market positioning | Home |
| Cables included | AC, VGA |
| Depth (with stand) | 236.2 mm |
|---|---|
| Height (with stand) | 551.18 mm |
| Weight (with stand) | 7348 g |
| Depth (without stand) | 62 mm |
| Width (without stand) | 640 mm |
| Height (without stand) | 381 mm |
| Weight (without stand) | 4400 g |