Page1of6
06‐0421‐000Rev.B
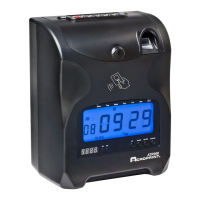
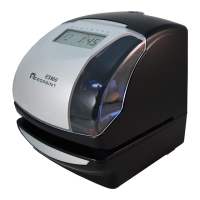
Model ATR360 Quick Start Setup
For complete instructions please reference the ATR360 User Manual,
website: www.acroprint.com
or call Service at 919-872-5800 Option 1.
Initial Setup:
Remove top cover by turning clock key and pulling up, locate buttons at the top of the clock labeled P4, P5
and P6 and program switch to the left of the fingerprint reader. Move the switch to the down position, now
you are in setup mode.
• P4 changes values down
• P5 changes values up
• P6 is used to save and select modes
Setting Year
• The mode indicator “01” will be flashing, press P6 to select
• Press P4 or P5 to select the current year and Press P6 to Save
Setting Month/Date
• The mode indicator “02” will be flashing, press P6 to select
• Press P4 or P5 to select the current month and Press P6 to Save
• Press P4 or P5 to select the current date and Press P6 to Save
Setting Time
• The mode indicator “03” will be flashing, press P6 to select
• Press P4 or P5 to select the current hour and Press P6 to Save
• Press P4 or P5 to select the current minute and Press P6 to Save
Setting Day Advance Time
• The mode indicator “04” will be flashing, press P6 to select
• Press P4 or P5 to select the current hour and Press P6 to Save
• Press P4 or P5 to select the current minute and Press P6 to Save
Setting Card Format
• The mode indicator “05” will be flashing, press P6 to select the format by pressing P4 or P5
o Set 00 for first row blank - for weekly and bi-weekly pay periods
o Set 01 prints on first row – for monthly and bi-monthly pay periods
• Press P6 to save
Setting Pay Period
• The mode indicator “06” will be flashing, press P6 to select the pay period type by pressing P4 or P5
o If the pay period is monthly or bi-monthly select 00
o If the pay period is weekly or bi-weekly select 01
• Press P6 to save
Setting Clock Display Format
• The mode indicator “07” will be flashing, Press P6 to select
• Press P4 or P5 to select the clock display format (12-hour or 24-hour/military)
• Press P6 to save
Setting Printing Position
• The mode indicator “08” will be flashing, Press P6 to select (NOTE: OK to skip this step unless the printed
registration is not positioned well in the box.)
• Press P4 or P5 to select
o Set 00-15 for vertical axis
o Set 00-30 for horizontal axis
• Press P6 to save