service@actionspares.com.au
MODEL: S002144
AFTER SALES SUPPORT
1800 465 070
10
Assembly Instructions (cont)
NOTE: Check against the parts list that all parts have been included before assembly. If there are any missing
parts, please contact the Service Centre to order replacements.
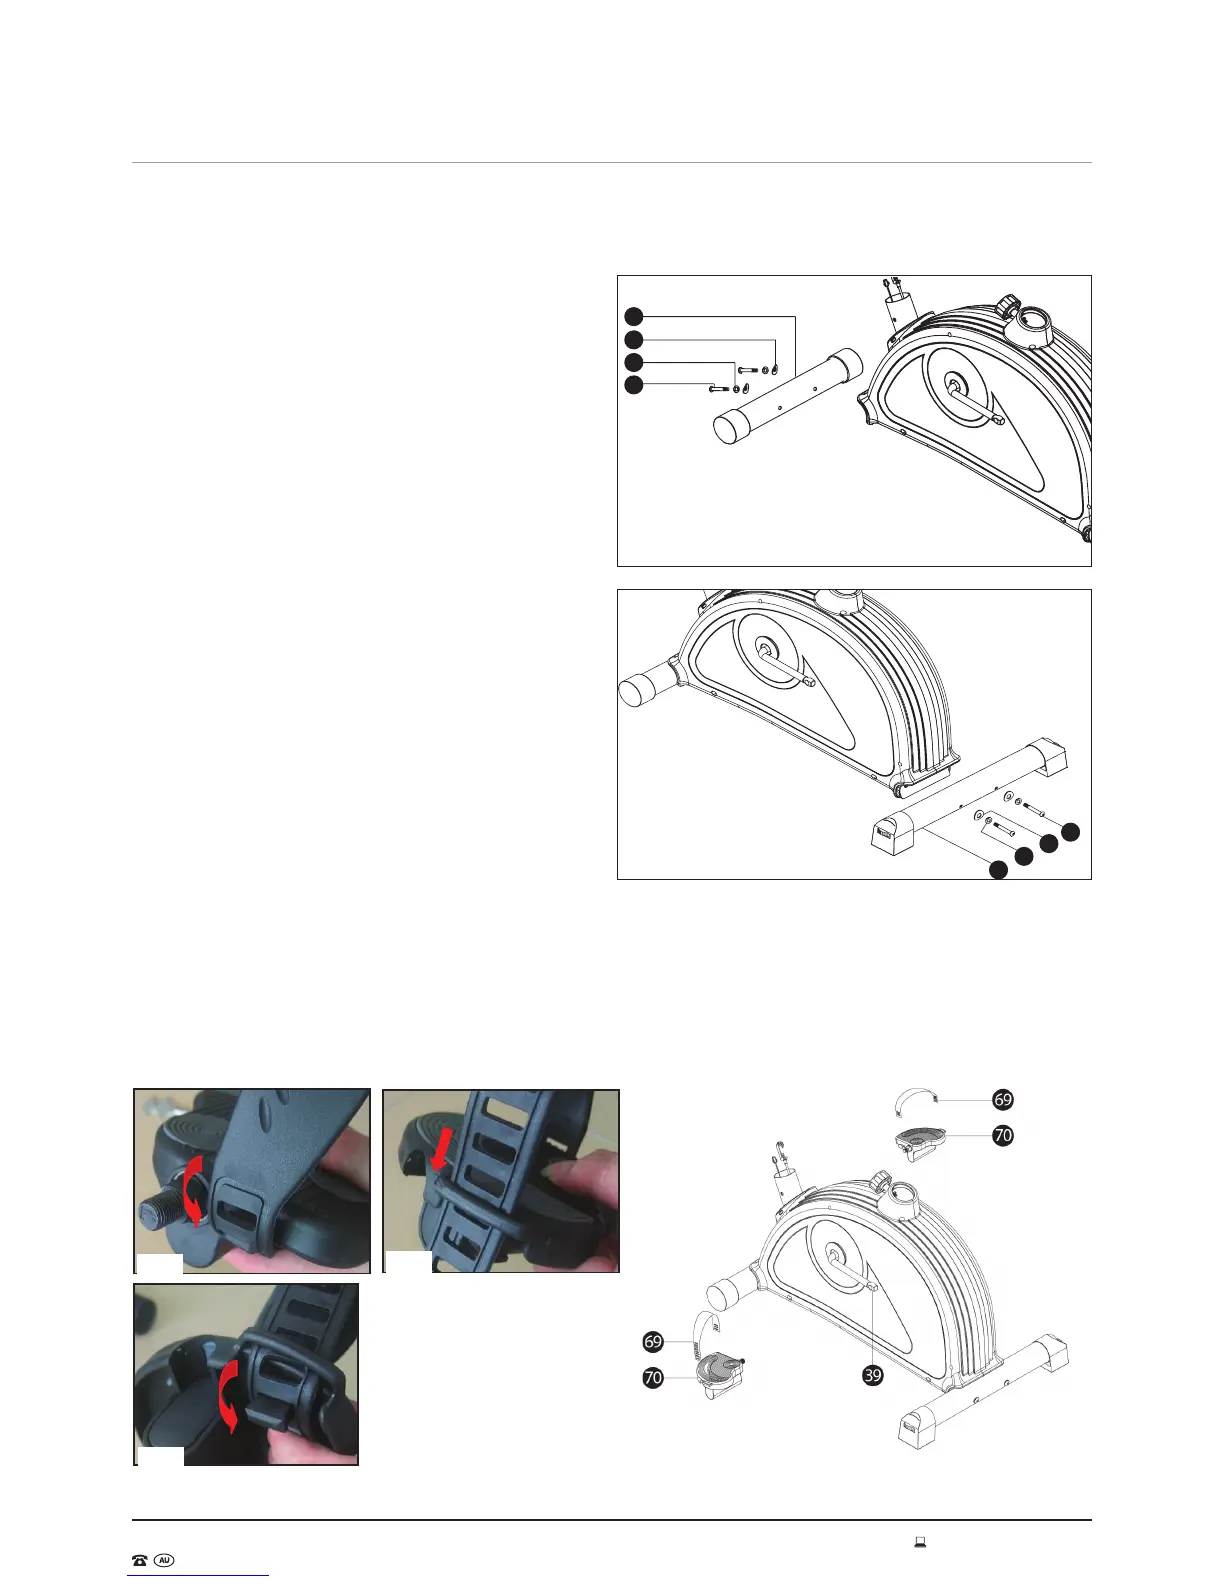
Step 1 - Front Stabiliser
Attach the front stabiliser (68) to the front of the main
frame using M8 x 72 inner hexagon screw (66), M8 spring
washer (12) and OD20 x ID8.5 x 1.5T arc washer (16) (See
Fig. 1).
Step 2 - Rear Stabiliser
Attach the rear stabiliser (65) to the rear of the main
frame. Use two M8 x 72 inner hexagon screw (66), M8
spring washer (12) and OD20 x ID8.5 x 1.5T arc washer
(16) to lock them up (See Fig. 2).
Step 3 - Pedals
1. Attach the pedal straps (69) on to the pedals (70),
ensuring the le strap is attached to the le pedal, and
the right strap is attached to the right pedal (See Fig.
3, 4, 5 and 6).
2. Attach the le pedal with strap to the le side of the
crank (39) and screw it anti-clockwise until tight.
3. Attach the right pedal with strap to the right side of
the crank (39) and screw it clockwise until tight.
68
66
12
16
Fig. 1
66
65
12
16
Fig. 2
Fig. 3
Fig. 4
Fig. 5
Fig. 6