© 2012 SPRUCE KNOB SENECA ROCKS TELEPHONE INC © 2012 SPRUCE KNOB SENECA ROCKS TELEPHONE INCPAGE 8 PAGE 9
Using the MENU button for
recording
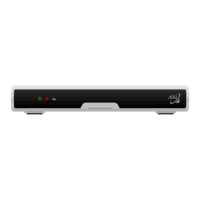
PVR menu
Press the MENU button, then select
PVR from among the choices at the
top. The fi rst screen to appear is
the PVR menu. On the right side is
a list of recorded programs. Moving
the cursor to the right, or pressing
RECORDINGS, enters the recordings
menu.
From the RECORDINGS menu the
individual program, once selected,
may be played, locked, or deleted.
In addition, the remaining buttons in
the menu allow the recordings to be
sorted by DATE, TITLE CHANNEL, or
VIEWED/NOT VIEWED.
From the PVR menu, selecting TO
RECORD shows programs waiting to
be recorded. Moving the cursor to
the right, or pressing TO RECORD
allows the individual program to be
edited or cancelled.
From the PVR menu, selecting
SCHEDULE PRIORITY shows pro-
gram series to be recorded. Moving
the cursor to the right, or pressing
SCHEDULE PRIORITY allows the se-
ries to be edited or deleted.
From the PVR menu, selecting
SCHEDULE EVENT leads to the same
screen displayed from the GUIDE
button. Use it to schedule a program
for recording.
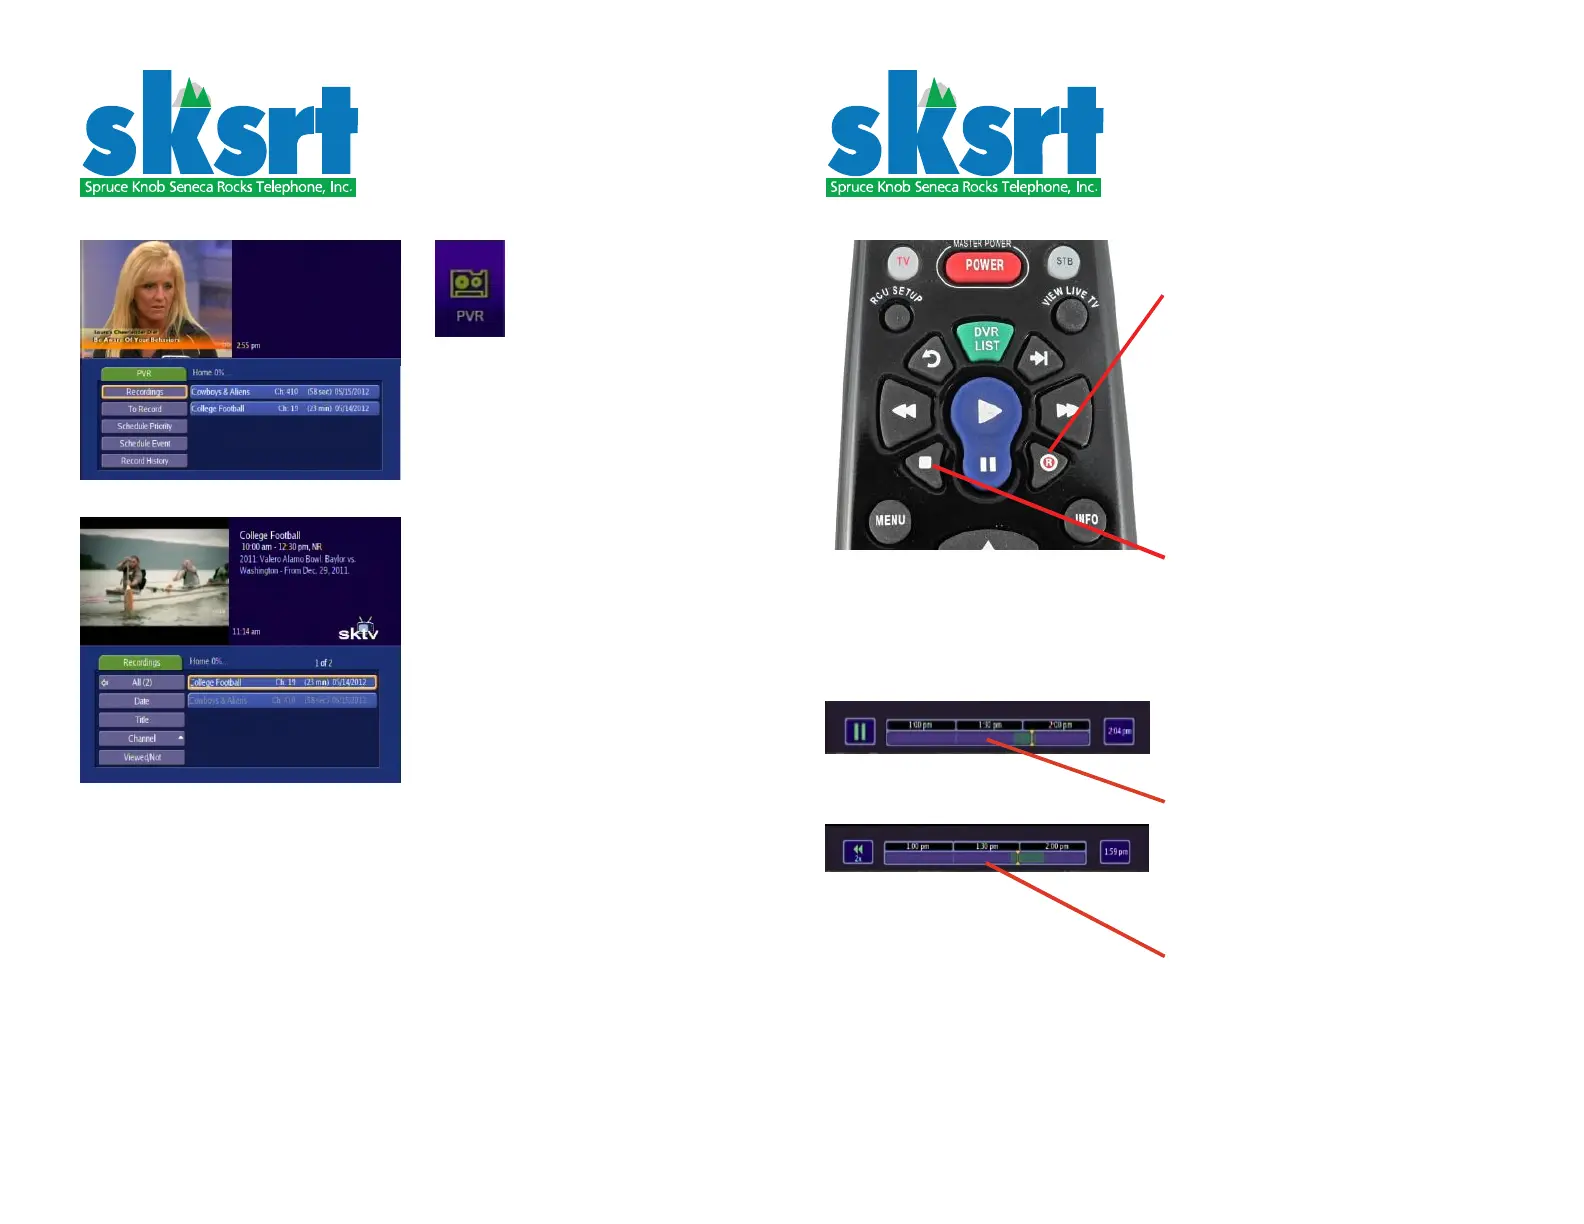
Using the RECORD button
for recording
While viewing a program, press the
RECORD button. The INFO screen
will appear showing the red RE-
CORD circle on the right side. Press-
ing GUIDE will also show the red
circle next to the program name in
the menu. From the GUIDE menu,
for a selected program, pressing
the RECORD button once will start
recording the program; pressing
the RECORD button twice will start
recording the program series. Press-
ing OK while the recorded programs
are highlighted will open the STOP
RECORDING-EDIT RECORDING-CAN-
CEL RECORDING choices. Pressing
the STOP button will offer the STOP
RECORDING option.
While a program is being viewed,
the set top box is recording without
saving that program until the TV is
changed to a new program, at which
point it begins to record without sav-
ing the new program.
While viewing a program press
PAUSE. A status window appears
across the top of the screen. The
green bar shows the amount the pro-
gram has been recorded; the yellow
indicator shows where the screen
currently is in the recorded por-
tion. Pressing FAST FORWARD (2X)
or FAST BACKWARD (2X) navigates
within the recorded portion. Pressing
PLAY resumes normal viewing. Press-
ing OK opens the dialog for recording
and saving the program. Pressing
STOP returns to the normal viewing
screen.
 Loading...