LESSON 5
118
Graphics
Note:
In this lesson, the graphics are added to background frames on master pages, which
determine their fixed position and appearance on body pages. Lesson 9 provides information
on placing graphics in anchored or unanchored frames directly on body pages.
Changing the Right master page
The header and footer text frames on the master pages were positioned automatically by
FrameMaker 7.0 when the document was created. You’ll reposition the header and footer
on the Right master page.
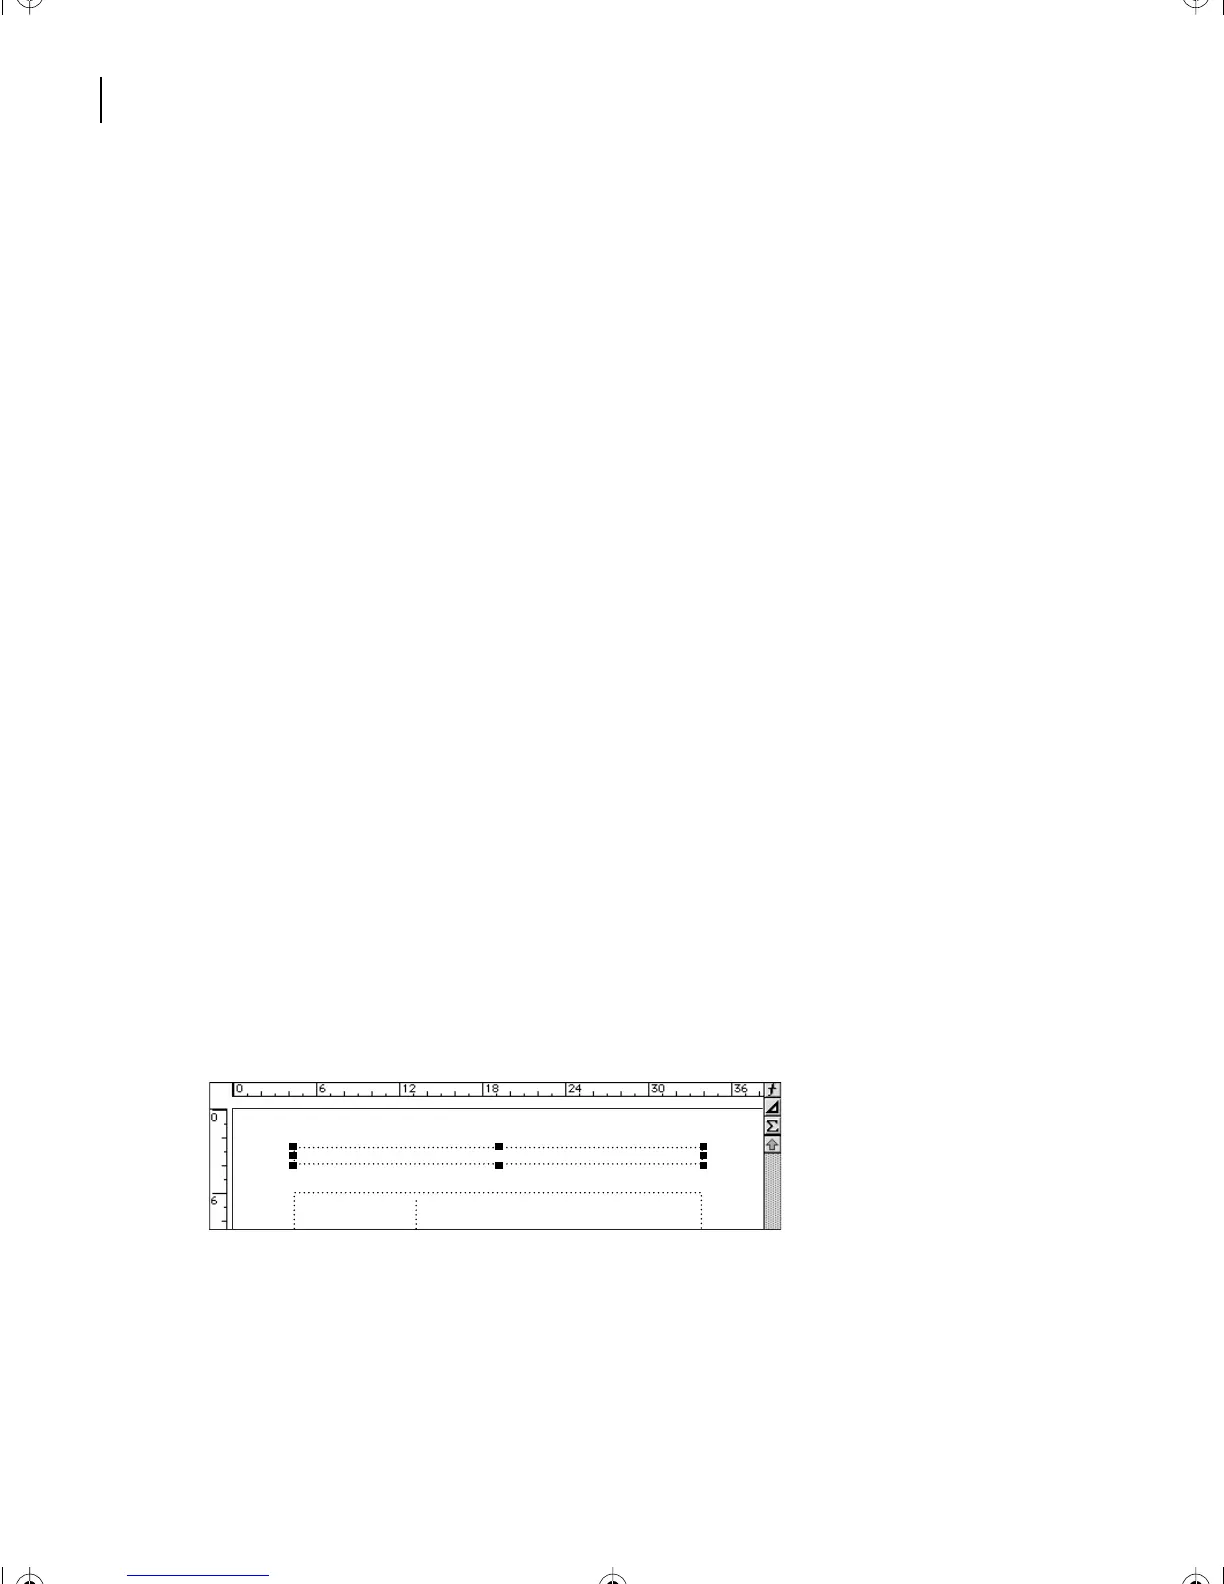
First you’ll move the page header closer to the edge of the page. You’ll use the rulers at the
top and left side of the document window to help you position the header text frame.
The ruler markings are in picas. (Six picas equal one inch or 12 points. There are 72 points
in an inch.)
1
Choose View > Master Pages. FrameMaker 7.0 displays the master page of the body
page you were on. In this case, the Right master page is displayed.
Before you reposition objects, you’ll make sure that the snap grid is on. (Objects snap to
the grid as you drag or resize them.)
2
Click the Graphics menu and choose Snap, if it is not already turned on. A check mark
or filled-in check box next to the Snap menu item indicates the Snap command is on.
3
Do one of the following to select the header text frame:
•
(Windows and UNIX) Control-click the header text frame.
•
(Mac OS) Option-click the header text frame.
Handles appear around the header text frame.
L05.fm Page 118 Saturday, July 6, 2002 11:45 AM