103
ADOBE FRAMEMAKER 7.0
Classroom in a Book
Modify the master page to be assigned
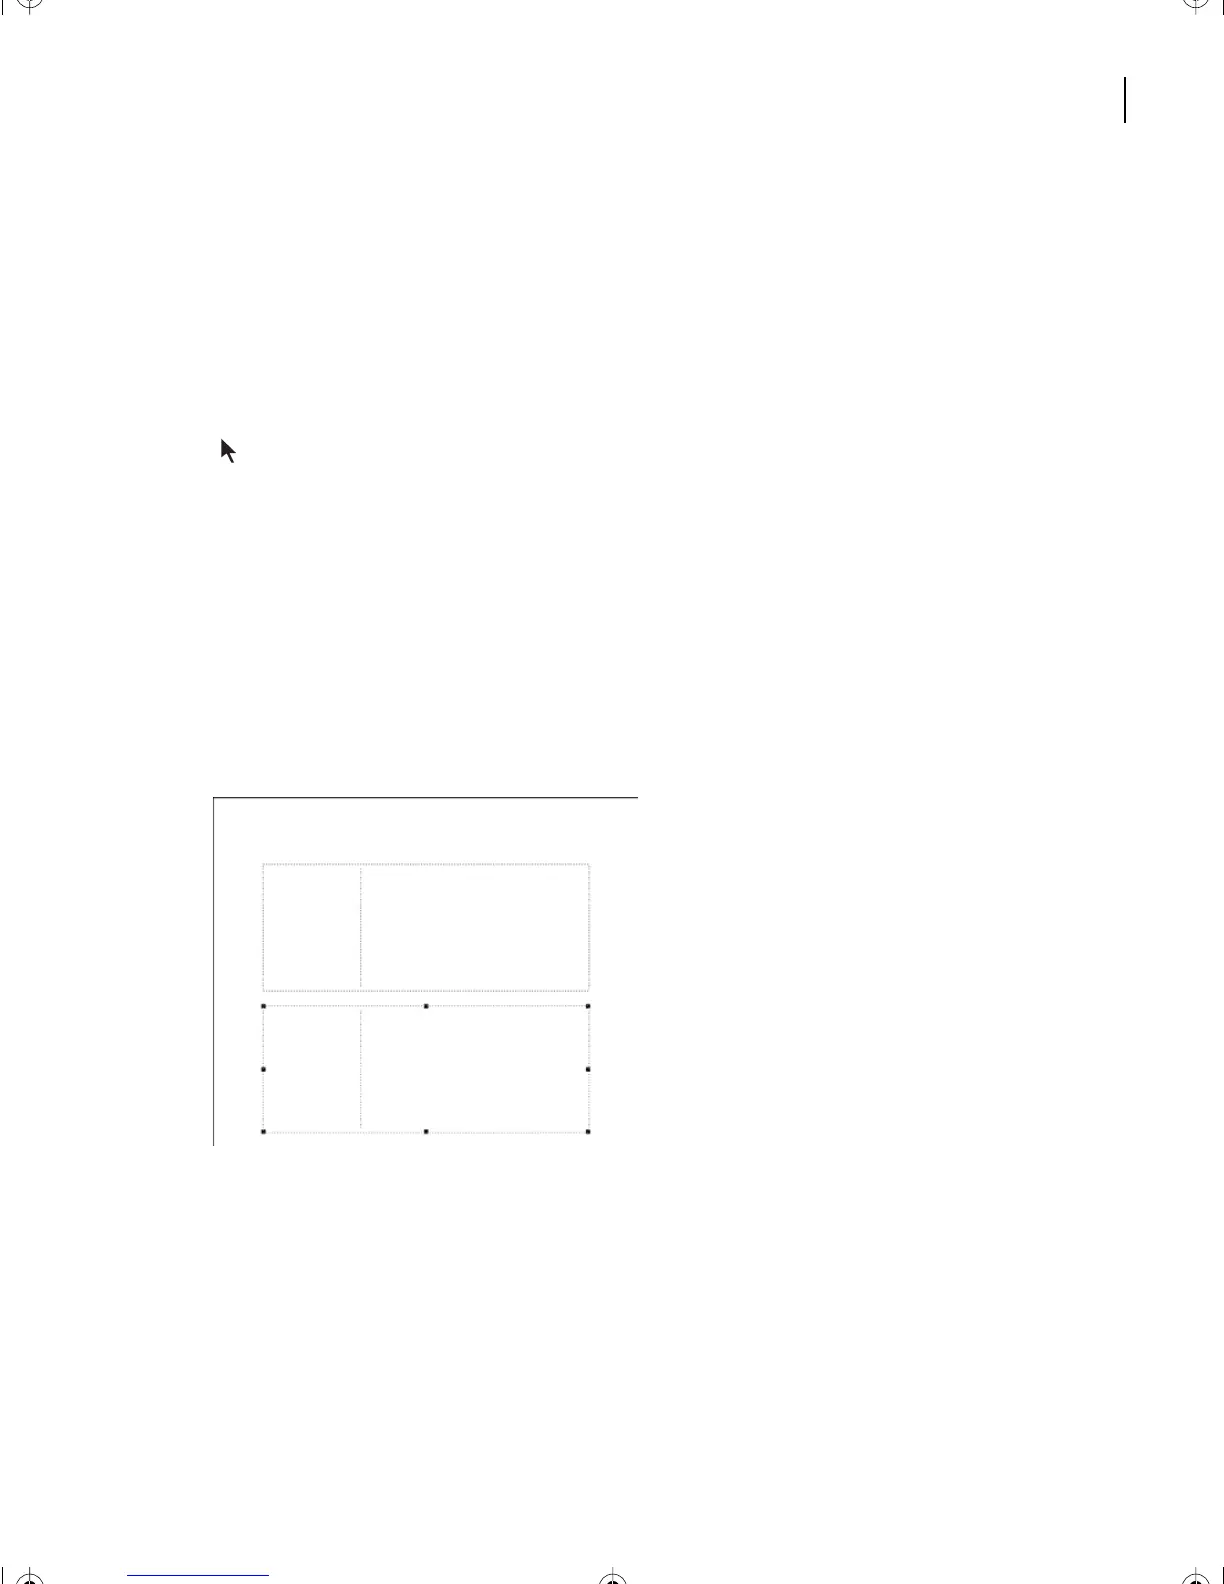
Begin by reconstructing the master page called Start. In similar fashion to that of the
master page called Last, you’ll resize the main text frame, but all resulting frames will be
kept in “Flow Tag A.”
1 Yo u’ll still be in the master page layouts. Go to the master page called Start.
2 Redesign the Start page further, by resizing the text frame. Using the Select Object tool
() to make the frame active, choose Graphics > Object Properties.
3 Change the height to 136.
4 Click Set.
5 Choose > Edit > Copy, then Edit > Paste.
6 When the Add New text Frame appears this time, leave it in Flow Tag A and click Add.
A message appears telling you it has been accepted. Click OK.
7 Choose > Graphics > Object Properties.
8 Change the Top to 220.5 and change the Left to 54. Click Set.
9 Copy and paste again, and, after accepting Flow Tag A Again, change the third frame’s
Object Properties to Top 370 and Left 54. Click Set.
10 Save the document.
L04.fm Page 103 Saturday, July 6, 2002 11:34 AM