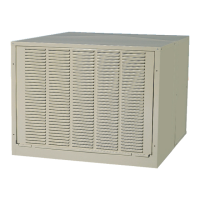
MOUNTING WINDOW MODELS
Assurethatthemountingsurfaceis strong elmughto
bearthe weightof thecooler ',','henin nse.
Rememberthatwhen timsystemfillswithwater;the
cooler willbe num]lIleavierthatl whendry For
operatingweigfu,see accompanyingPartsList.
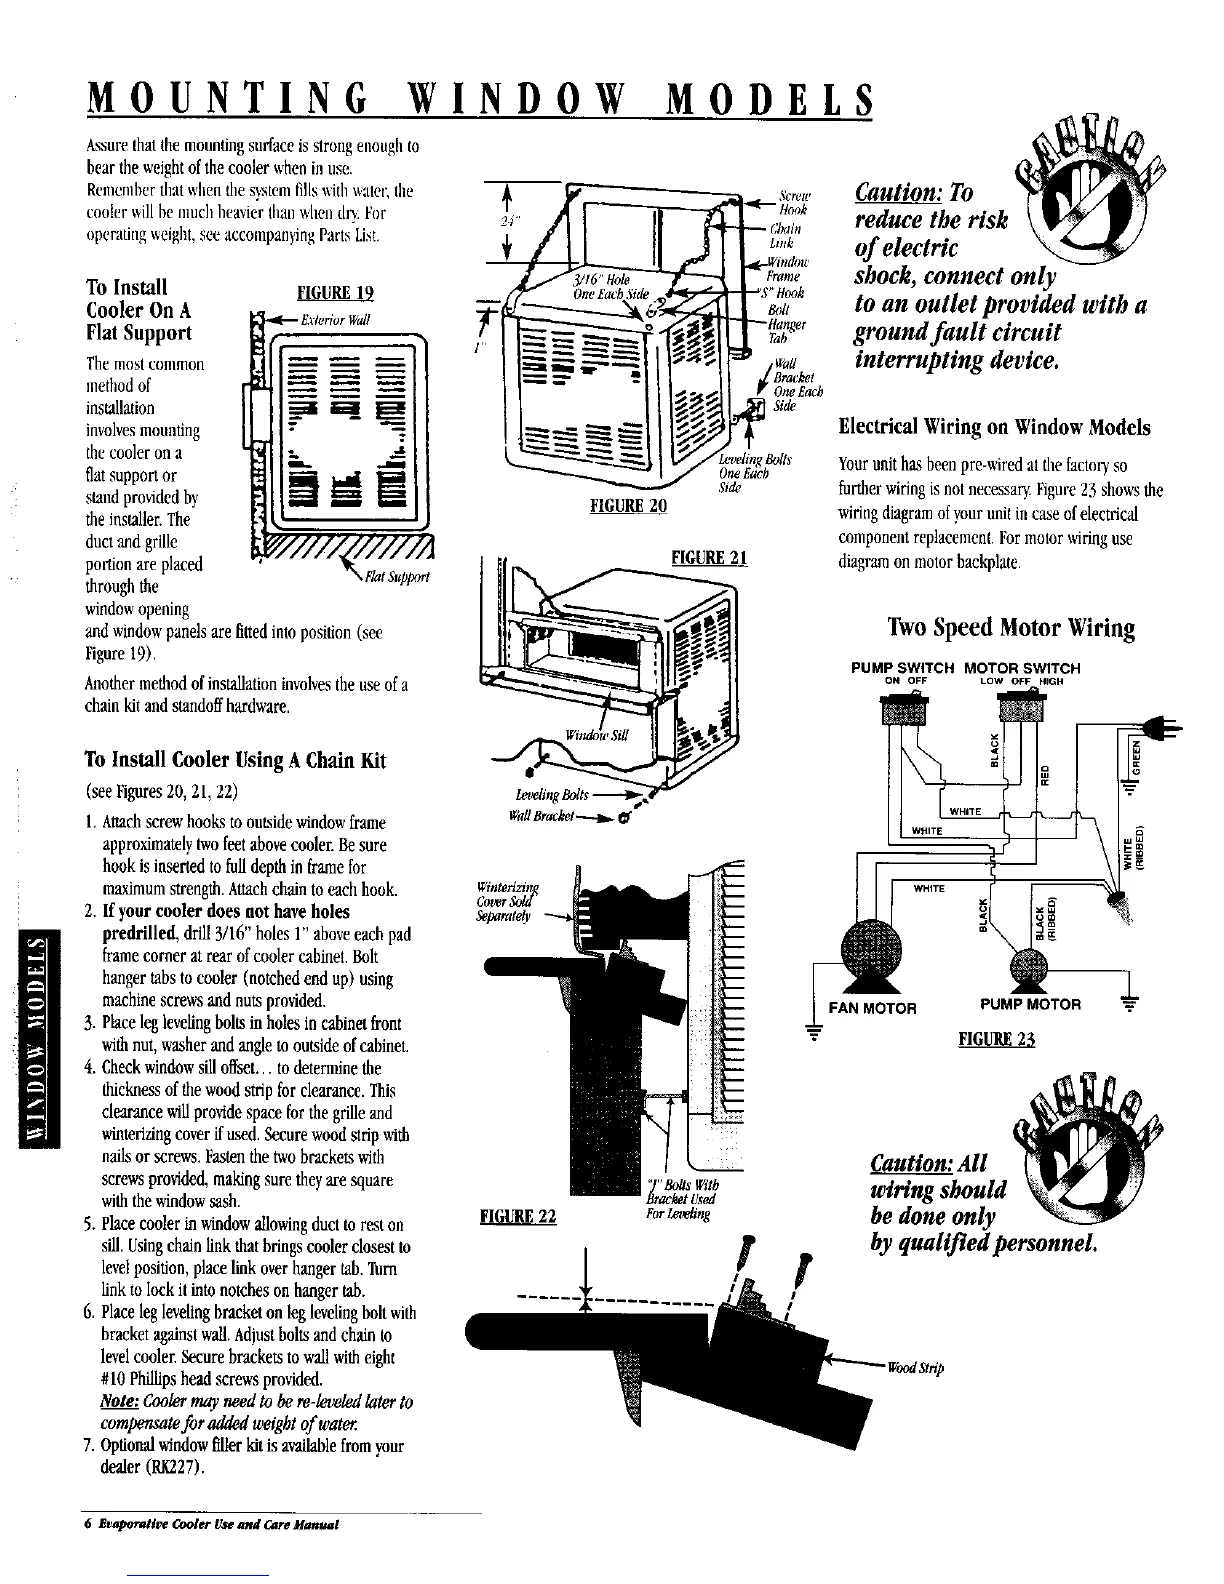
To Install FIGURE19_
Cooler On A
Flat Support
"['he most conmlon
method of
installation _ _
involvesmounting :"
the cooler on a
llat support or
,...it
stand provided by
the installer.The
ductand grille
pmtinn are placed
through the
windowopening
and windowpanels are fittedinto position (see
Figure19).
• FlatSupport
Anothermethodofinstallationinvolvestheuseofa
chainkitandstandoffhardware.
To Install Cooler Using A Chain Kit
(seeFigures20,21, 22)
1. Attachscrew hooks tooutside windowframe
approximatelytwofeetabovecooler. Besure
hook is insertedto full depthin framefor
maximumstrength. Attachchain to eachhook.
2. If your cooler does not have holes
predrilled, drill 3/16" holes 1"aboveeach pad
frame corner at rear ofcooler cabinet. Bolt
hanger tabstocooler (notched end up) using
machine screwsand nuts provided.
3. Placeleglevelingbolts in holesin cabinetfront
withnut, washer and angleto outsideof cabinet.
4. Checkwindow silloffset.., to determine the
thicknessof the woodstrip for clearance. This
clearance will providespace for the grilleand
winterizingcover ffused. Secure woodstrip with
nailsor screws.Fastenthe twobrackets with
screwsprovided, makingsure theyace square
withthewindow sash.
5. Placecooler in windowallowingduct to rest on
sill.Usingchain link that bringscooler closest to
levelposition,place link overhanger tab.Turn
link to lock it into notches on hanger tab.
6. Place leg levelingbracket on leglevelingbolt with
bracket against wall.Adjustbolts and chain to
level cooler.Secure brackets to wall witheight
#10 Phillipshead screws provided.
Note: Cooler may need to be re-leveled later to
compensate for added weight of water
7. Optionalwindowfillerkit is availablefrom your
dealer (RK227).
: _ Wa#
:_ si_
FIGURE20
, m_l
LevelingBolts
WaftBracket_ if:
Wintenzin
Cover
SeparateO
FI_!9_._____
I
I
i
i
i
i
i
i
I
I
i
I
I
m
I
m
I
k
i
i
i
'J"Bo_s With
BracketUsed
Forlgveling
! !
Caution:To
reduce the risk
ofelectric
shock, connect only
to an outlet provided with a
ground fault circuit
interrupting device.
Electrical Wiring on Window Models
Yourunit has been pre-wired atthe factory so
furtherwiringis not necessary Figure23 shows the
wiringdiagramof your unit in case of electrical
component replacement.For motor wiringuse
diagramon motor backplate.
Two Speed Motor Wiring
PUMP SWITCH MOTOR SWITCH
ON OFF LOW OFF NIGH
FIGURE23
Caution:All
by qualifled personnel.
6 Evaporative Cooler Use and Care Manual