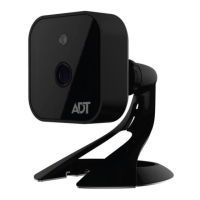
4. Check the LEDs
• Power LED. The Power LED lights up solid green during startup,
which takes about one minute. After startup is completed, and prior
to enrollment, the Power LED blinks green.
• Network/WPS LED. At power up, the Network/WPS LED is off.
(The Network/WPS LED will flash amber when the camera attempts
to connect wirelessly to the gateway. The Network/WPS LED will
turn solid green when the wireless connection is successful.)
5. Enroll the Camera in ADT Pulse
This process is described in the next chapter, ADT Pulse Enrollment.
6. Mount the Camera
Place the camera in its final permanent location near a power source.
For mounting on a wall using the mounting plate, see Chapter 4 Wall
Mounting.
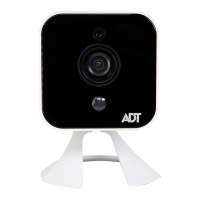
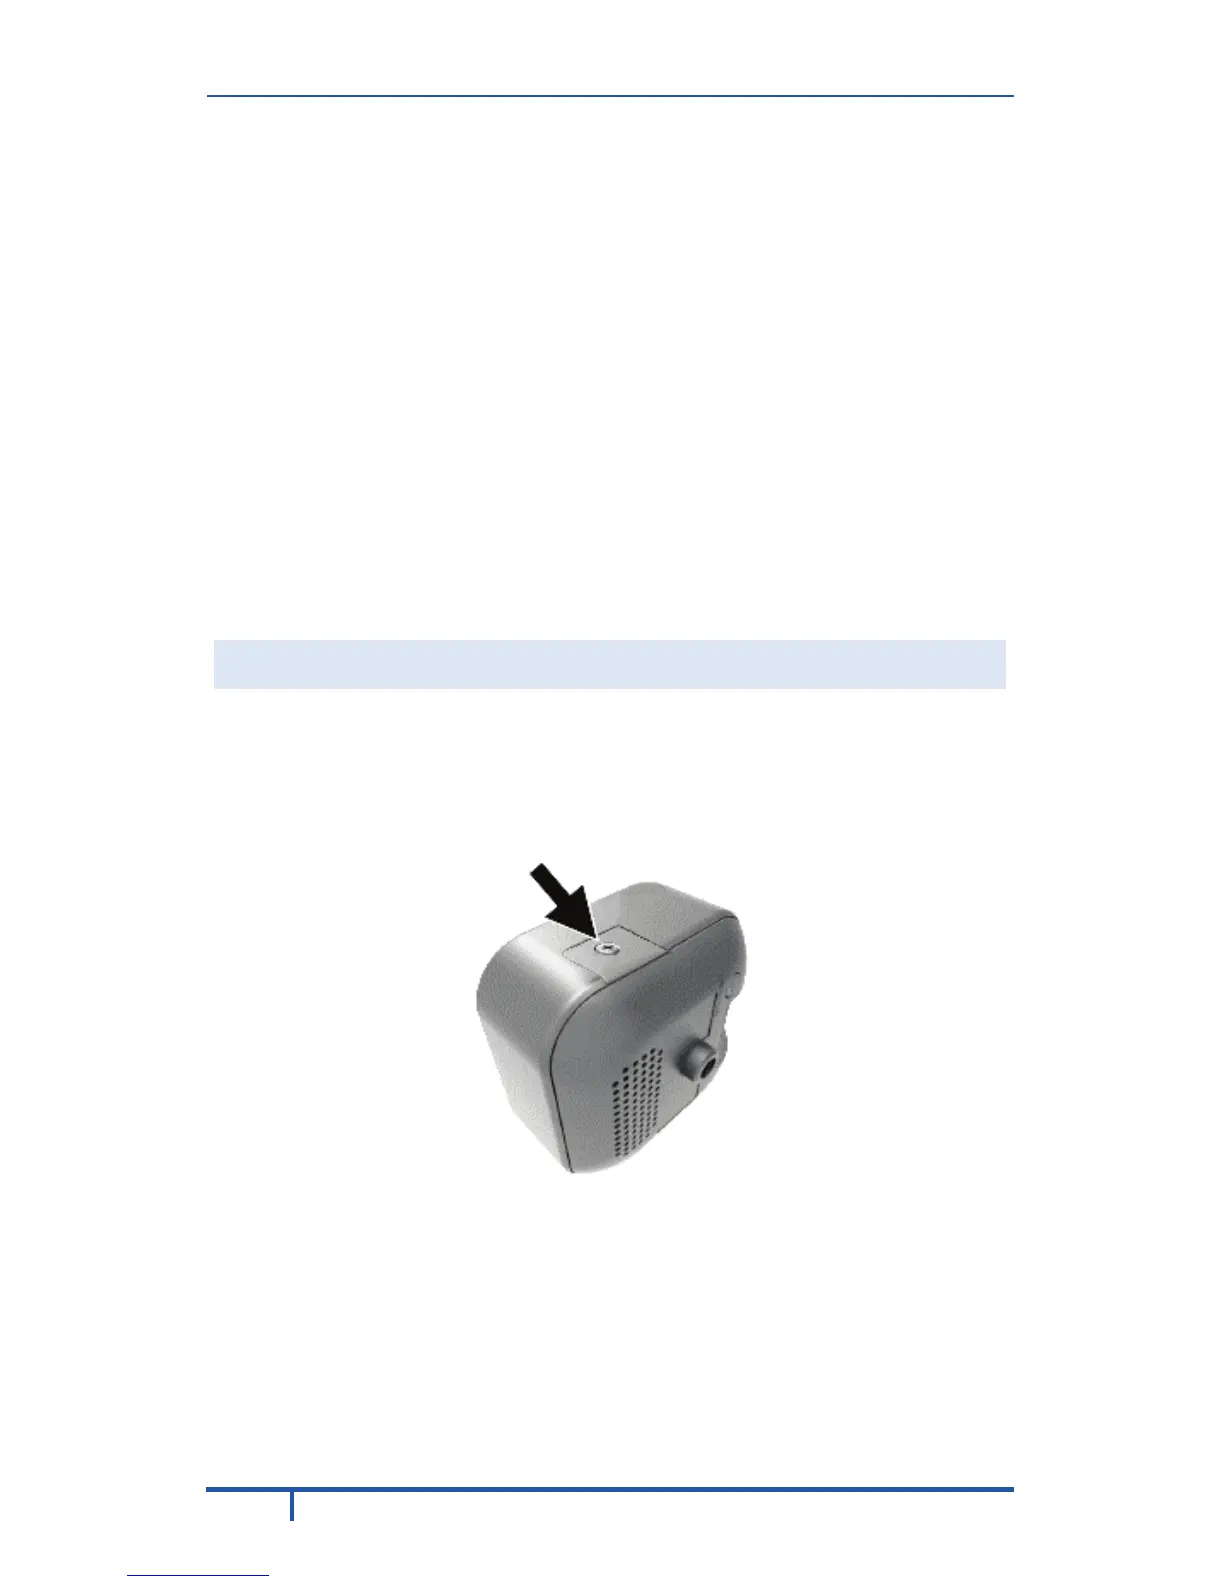
SD Card Slot (Future Enhancement)
On the side of the camera is a small plate held in place with a retaining
screw. Beneath this cover is a SD card slot that will be used in a future
software release.
Note: As the SD card slot is not functional at this time, please do not
remove this protective cover.
Figure 5: Future SD Card Slot Location
 Loading...