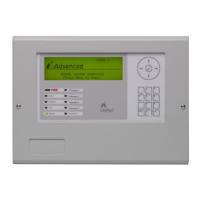
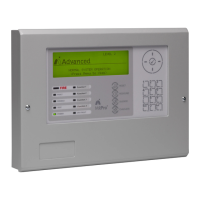
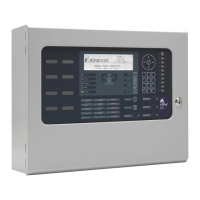
2 Commissioning
All commissioning items are accessed by using the navigation keys and selecting the appropriate item from the
commissioning menu. Wherever possible the menus have been chosen to follow a similar format to the MX fire
panels.
[Commission Menu 1]
PASSWORDS ZONE
EXIT
PC-CONFIG SETUP
VIEW
The steps needed to configure the remote terminal are as follows: -
a) Enter network and service details from SETUP
b) Use the PASSWORD option to enter any custom passwords.
c) Use the ZONE option to enter the text corresponding to the terminal’s zone.
EXIT from commissioning into normal Level 2 operation. Check network.
2.1 Passwords
Allows the passwords used for level 2 and level 3 accesses to be changed. The remote terminal uses the same
defaults as the fire panel.
2.2 Zone
Shows the text corresponding to the terminal zone. Pressing the Tick key allows the text to be changed. It is
recommended that text be chosen that describes where the terminal is in the building, so that in the event of the
EVACUATION key being used, all panels and terminals on the network will show where the fire has been detected.
This text will also be displayed if the terminal’s monitored power supply FLT input goes open or short circuit.
2.3 Exit
Once commissioning is completed, use Exit to return the terminal to normal level 2 operation. It is recommended
that once at level 2, the VIEW/NETWORK option be used to check the network configuration (see network
document for details).
2.4 Setup
Basic network configuration must always be performed first: -
[Setup]
THIS NETWORK NODE : 2
NEXT NETWORK NODE : 3
TERMINAL ZONE : 98
SERVICE NUMBER : 01234 567890
“THIS NETWORK NODE” - The network node address for this terminal.
“NEXT NETWORK NODE” - The address of the next network node
“TERMINAL ZONE” - The zone number used to identify this terminal – select a number that is not being
used by the fire panels or other terminals.
- (The text description of the zone is entered from the “ZONE” option off the
commission menu)