9
Charging Status
Insert the lead of the Plug charger into the base of the Delivery Unit, insert the charger into the
wall socket, and switch ON.
When the wall socket is switched ON you will hear two short “beeps”, and the charging process
will begin
The battery charge status depends on the colour of the left hand button and the LEDs –
see illustration below:
■ ■ ■ ■ charging first quarter (Left button flashing red)
■ ■ ■ ■ charging second quarter (Left button flashing red)
■■■ ■ charging third quarter (Left button flashing red)
■■■■ charging fourth quarter (Left button flashing red)
■■■■ charging complete. Remain flashing for 5 minutes (Left Button flashing Green)
■ ■ ■ ■ Complete. All lights out, just the Left button flashing Green (until power
disconnected, then goes to sleep)
When the Delivery Unit is unplugged you will hear a single “beep”.
** Important **
Please charge fully upon receipt. Typically, a full charge will take between 4-5 hours, but may
be longer or shorter depending on various conditions.
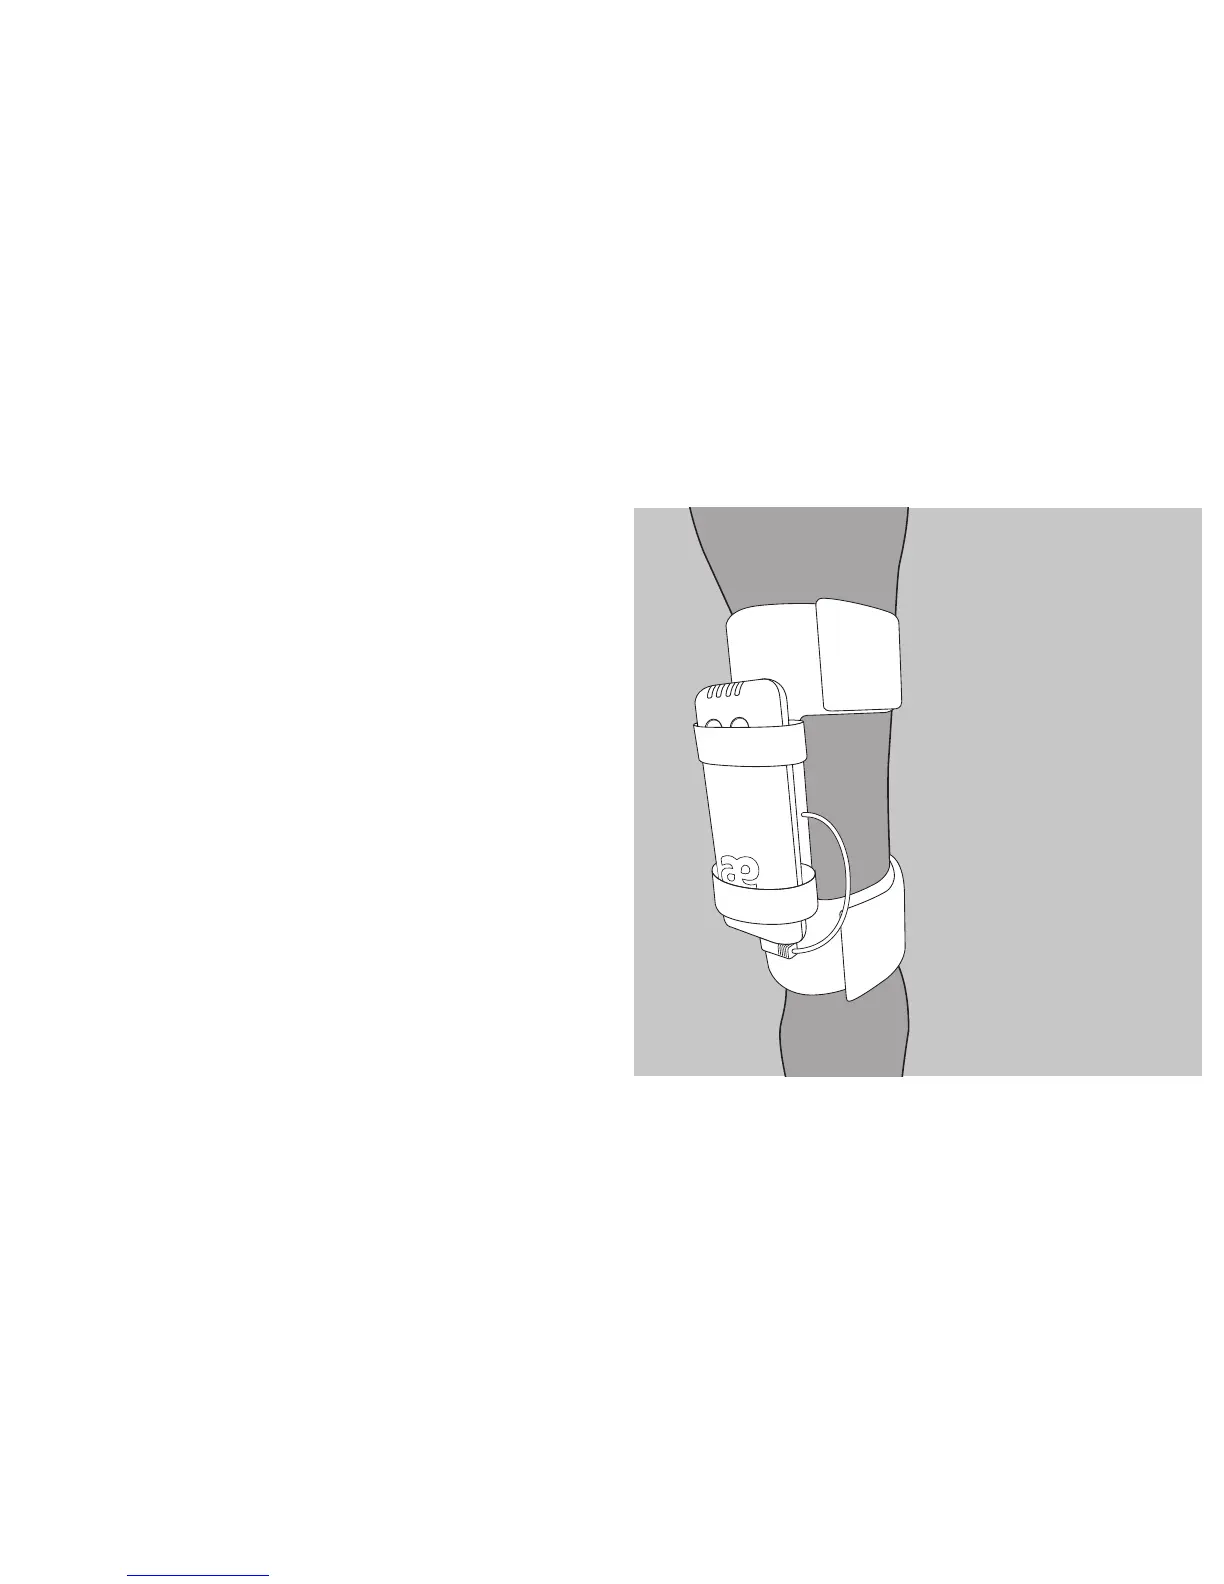
Position The Leg Strap
And Delivery Unit:
• Attach the leg strap with the
Delivery Unit positioned to the
outside of the cannon bone
• Do not strap to an injured leg
• Do not overtighten
• Rotate the leg strap between
sound legs each day
8